
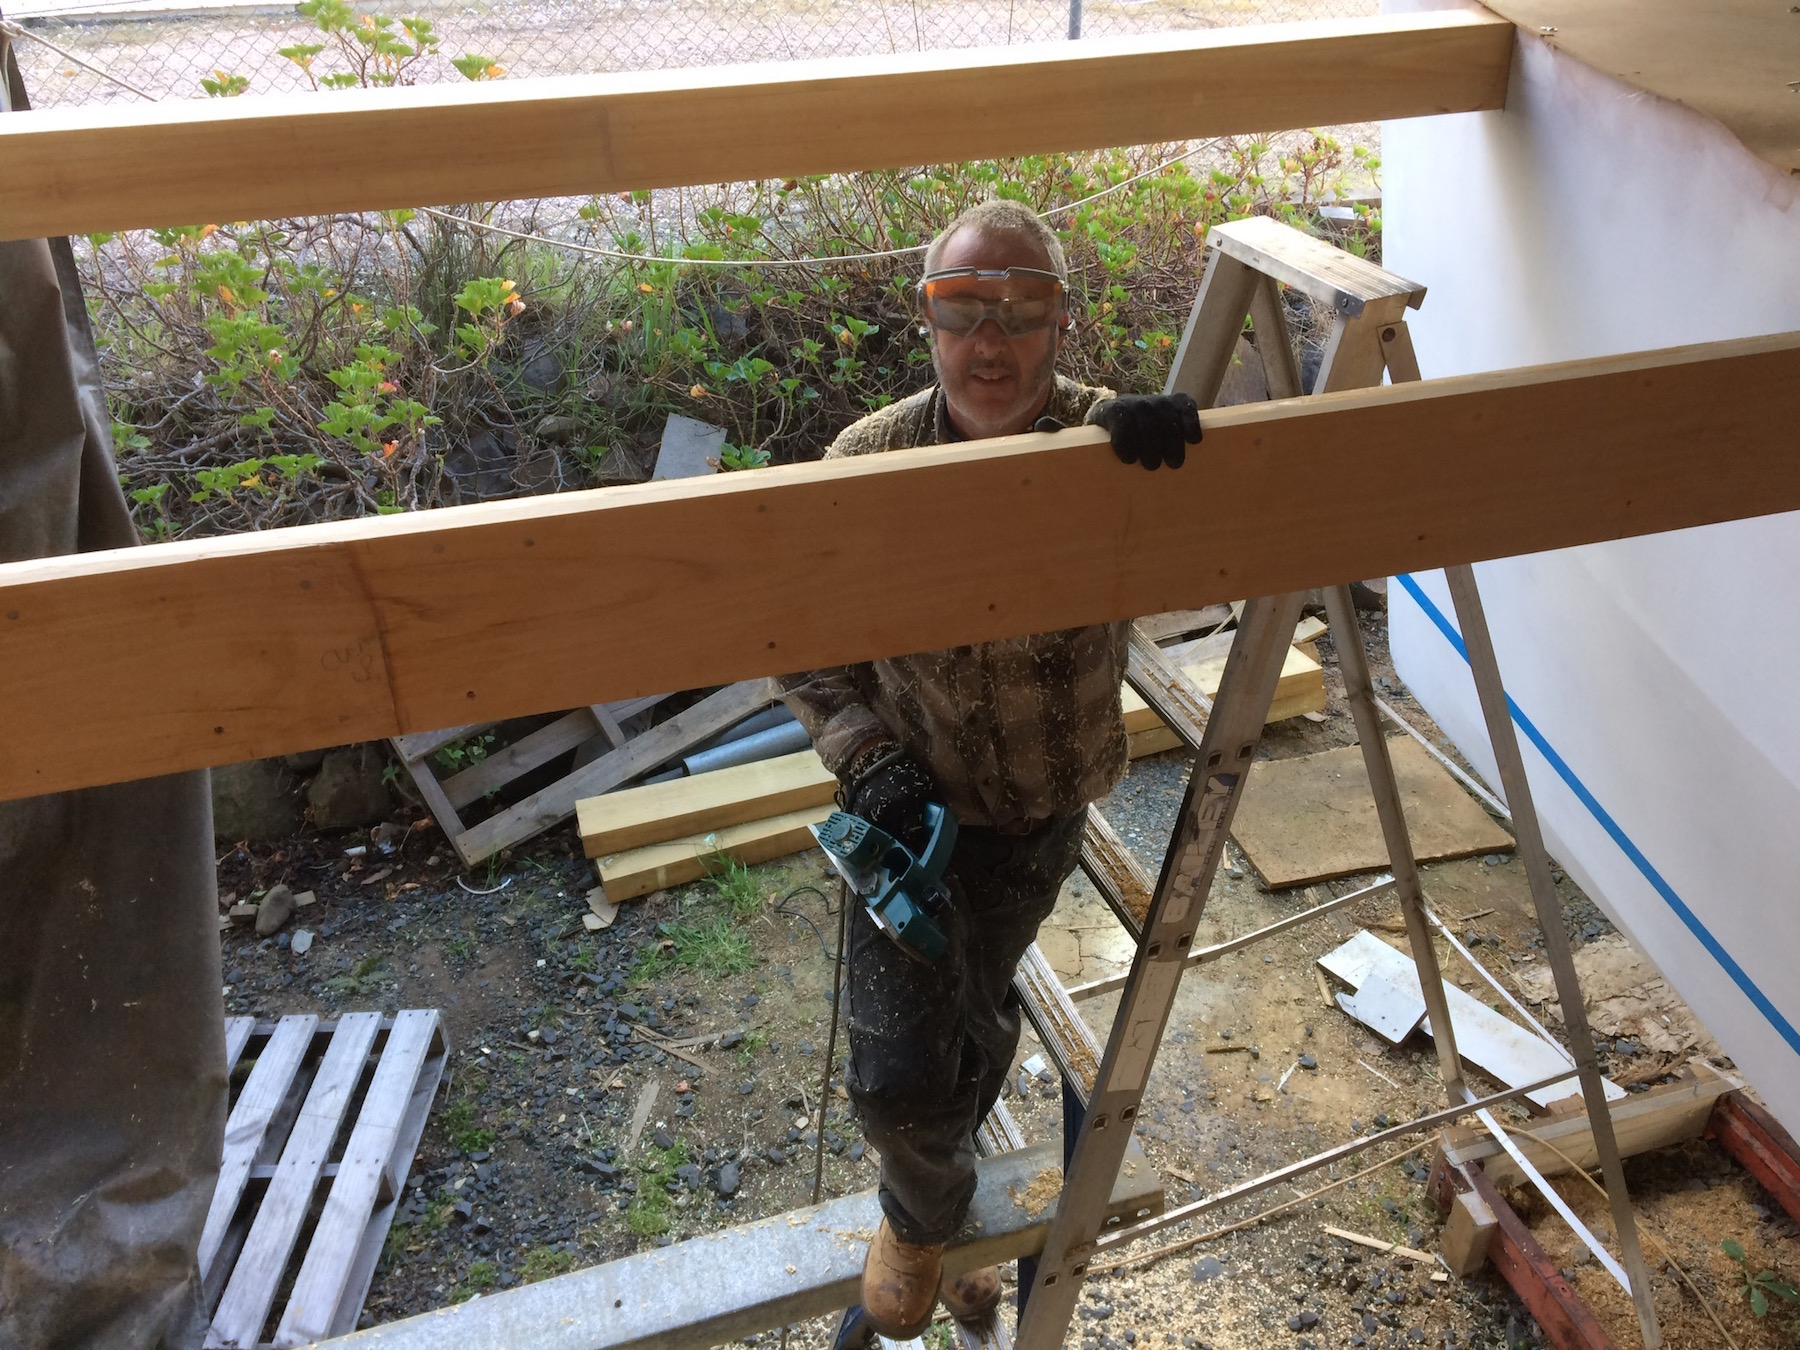
After a few days off last week to spend time with Pete’s dad, while his mum took a trip to the mainland, we returned to the build site refreshed and raring to go.
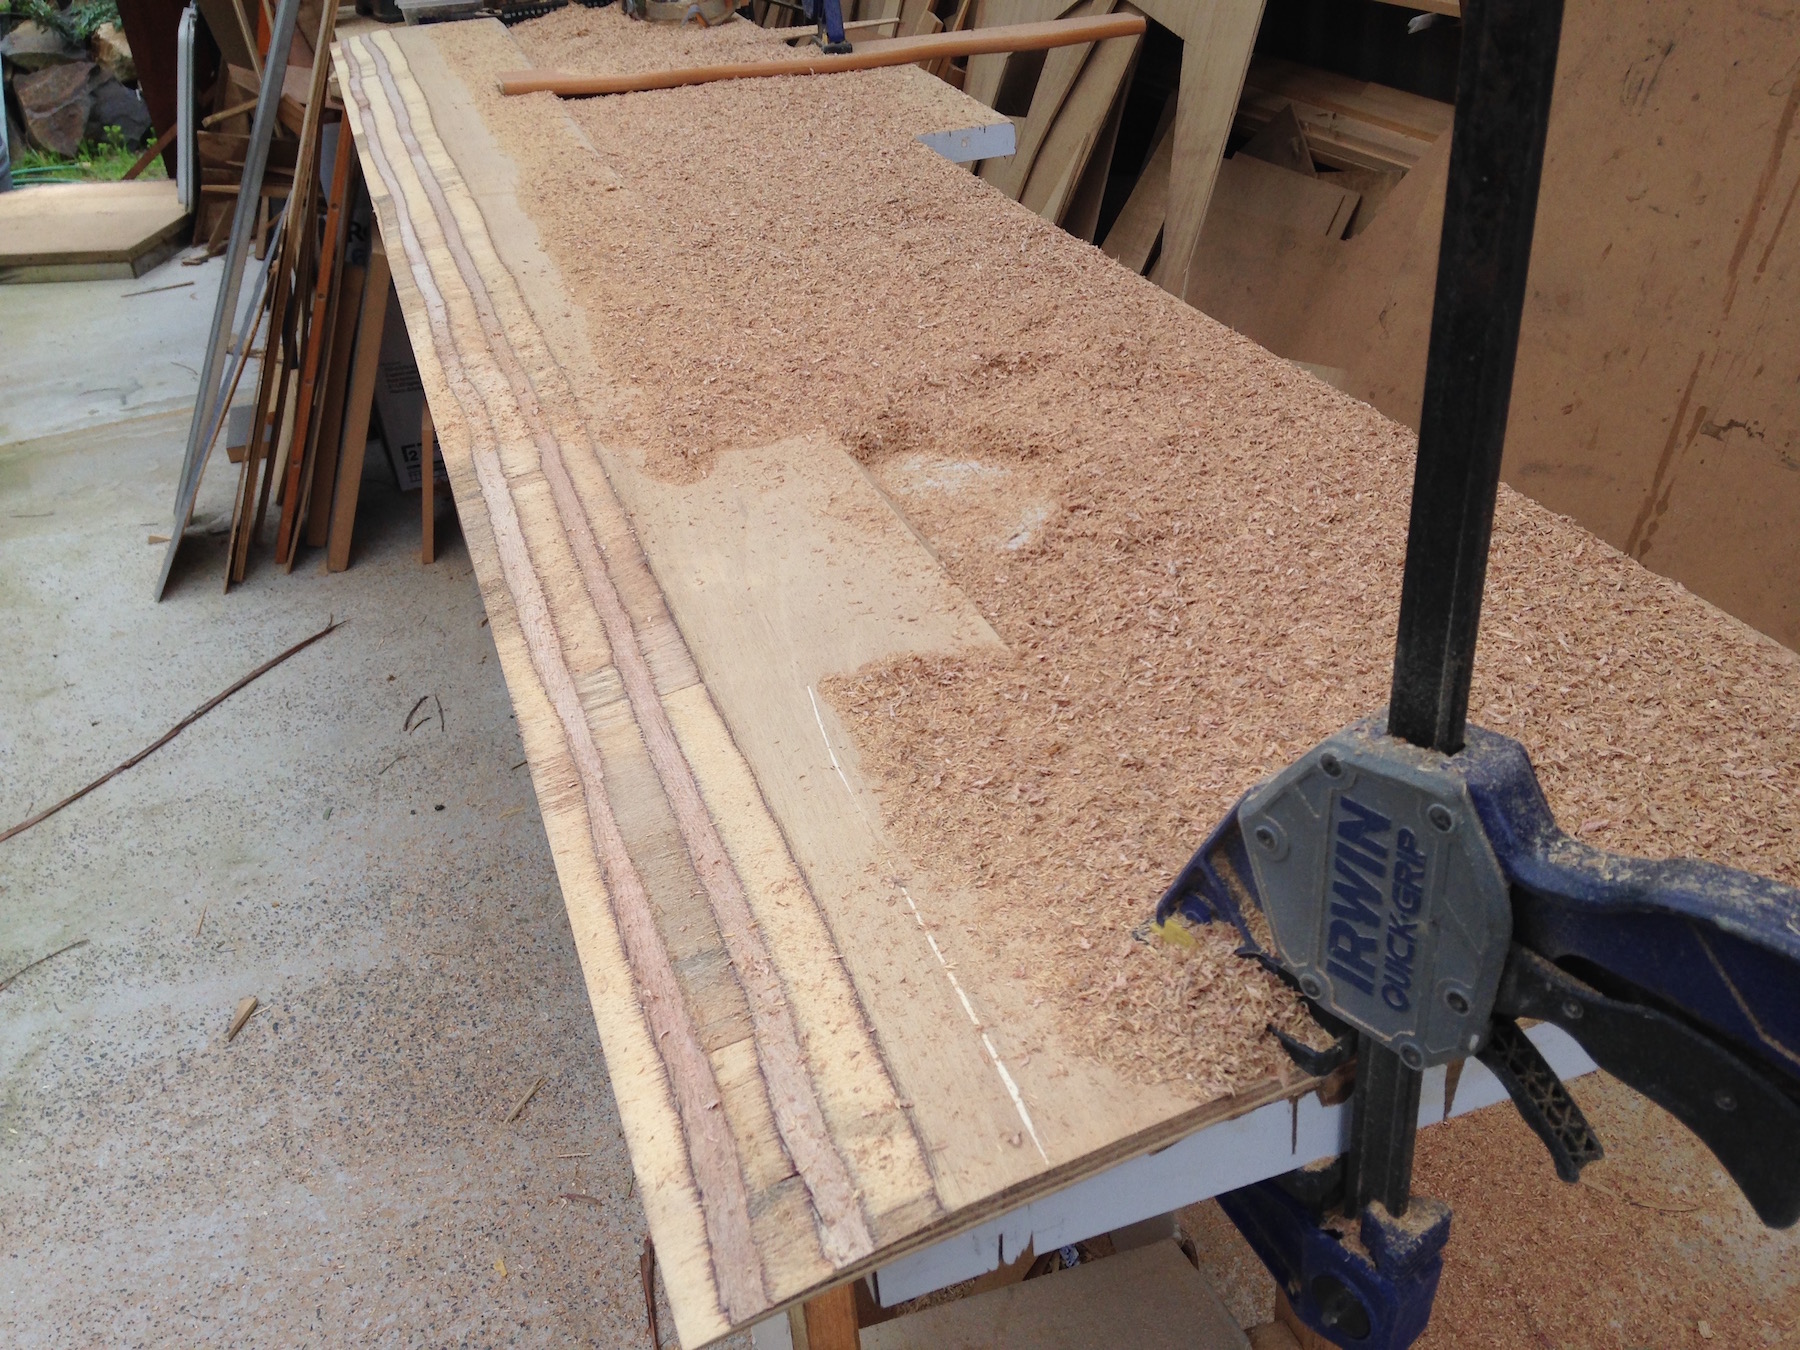
Since the last post, Deb has mainly been continuing with the laborious task of filleting the shelving that runs along most of the internal hull sides. The filleting is done with epoxy resin mixed with either 403 filler for structural bonds and/or micro balloon filler depending upon the application. It’s a long job as there are hundreds of meters to be done, but essential to produce a strong boat with all the major elements bonded together.
We have also completed the office shelving in the port hull and the linen storage cupboard. After they are painted we will add fiddles to the outer face to prevent objects from sliding off in rough weather. The linen cupboard will be enclosed with a door.
There were a number of hours dedicated to “catch up” jobs. These are fiddly follow-up tasks that accumulate over time until we can no longer ignore them.
A little segway here for readers that may be considering building their dream boat:
One of the things that we often get asked is how long will it take to finish. Designers give an estimate of how many hours it takes to build a vessel, but it doesn’t take long before you realise this can only be a rough guide as there are big variables at play. It is not possible to devote one hundred percent of your time to building. Sourcing materials, cleaning up, planning, researching, purchasing hardware, visitors and a host of other factors will impact your build time. Previous experience will obviously determine how long each task takes to complete. Even the nature of your build site will make a big difference. In our case, as we are an outdoor site, we need to pack up all our tools at the end of each day. We have also lost a lot of time protecting the boat from the elements, and storm-proofing our shelter, which is really just a big tent. The designer of Selah gives an estimate of 4500 hours for a self-build. A professional builder we spoke to told us he usually quotes around 3000 hours. Some owner-builders estimate it took them over 5000 hours, so you can see there is a lot of variations.
We have moved outside to tackle the storage web locker forward of frame three. This holds the anchor chain locker, as well as storage for big stuff such as spare anchors, warps, and fenders. The construction method calls for two layers of laminated 6mm ply to be curved around bulkheads, bonded with epoxy fillets and two layers of fiberglass. The whole assembly spans the 3.4-metre distance between the hulls and is divided into 5 spaces. Two are “dry”; being accessed internally. The middle space is the chain locker and the remaining spaces are accessed from above, through deck hatches. Some serious beveling is required with the power planer at the intersecting faces. It was interesting to note that this is something that would have intimidated Pete at the beginning of the project, but with the experience gained in building the hulls, he found that he enjoyed the whole process and it presented no major headaches. Others have told us that bending the full size sheets can be a challenge, but Peter Snell gave us some hints and assured us that we should not find it to difficult. Next week will tell!
After a dry-fit to check dimensions, Deb decided to fiberglass the bulkheads in the workshop, prior to fitting them. It is much easier and faster to do big fiberglass layups horizontally on a bench. Next week we will fit them in place and tackle the big curved sheets.


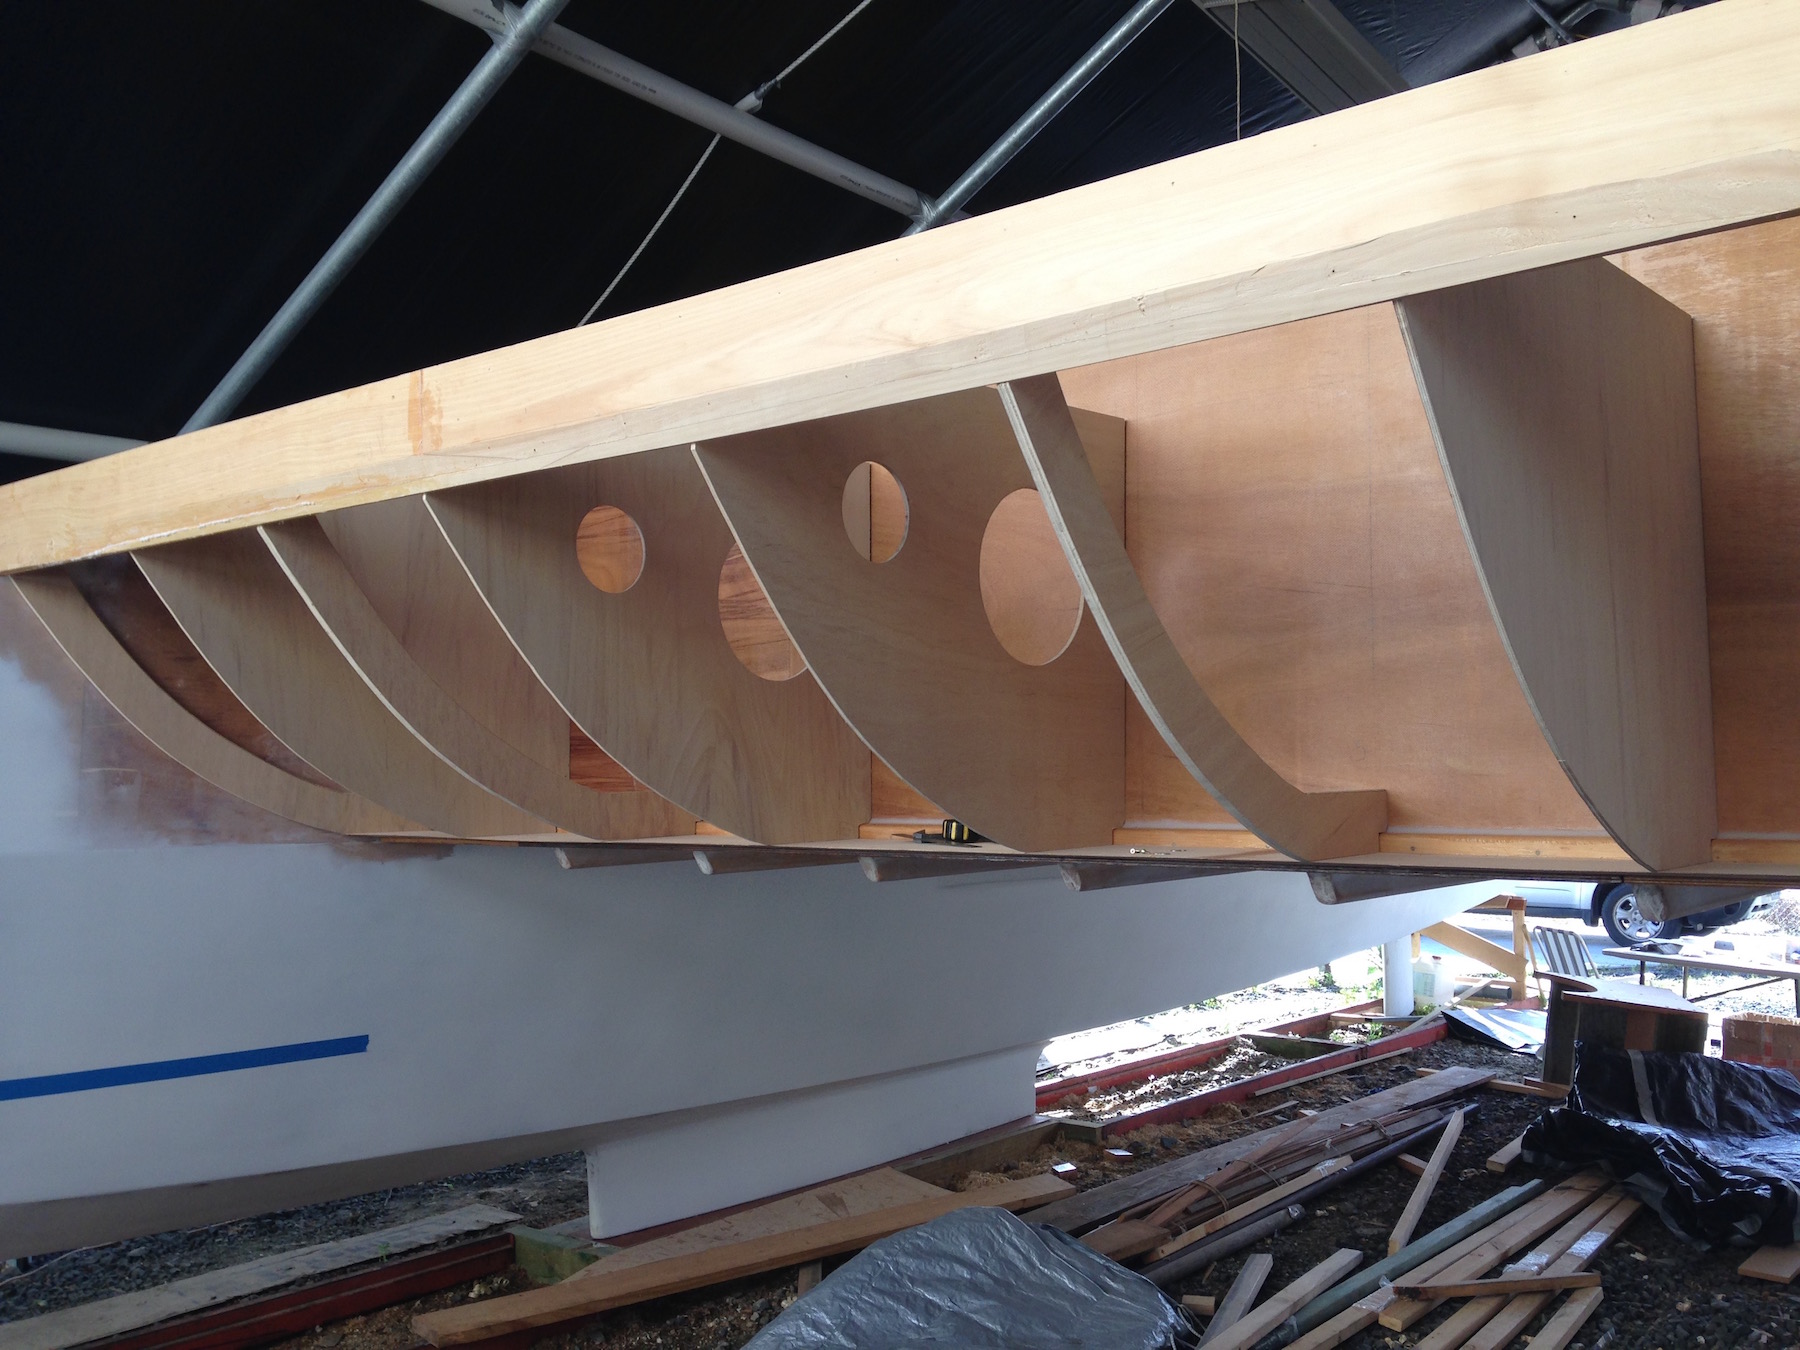


Just a thought on your web lockers. If you intend to store fuel jerry cans in the forward lockers it may pay to block one of the inspection holes you have made in the web bulkheads because if you have a vertical windlass the motor is in the anchor locker and you may want to seperate the potential of fuel fumes from being around the electrical motor, This was advice from Peter Snell, I just wish I hadn’t already completed the lockers and now have to fill in the inspection hole.
John
LikeLike
Thanks John. My main thought was accsess. I’ll keep the cutouts for templates or screw in hatches. I’ve got some rubber stripping I can use for seals.
LikeLike