
Its been a busy few weeks since our last post.
The cockpit furniture is almost complete, and as usual, it has taken longer than we anticipated, mostly due to the helm-station. The plans give basic dimensions, but no construction details. It’s essentially an interface between a whole lot of hardware and the helms-person. Ergonomics and provision for electrical & steering components and their cables had to be thought of. The steering cable, for example, has a minimum radius bend of 400mm so we needed to work out how it was going to be run back to the steering compartment at the rear of the boat. More about that later.
Before tackling the helm station, however, we had a few catch-up jobs to do, starting with the deck lockers.

After that we fiberglassed and installed the fuel tank shelves. These were framed up very strongly as they are supporting 50 kilos of weight each side. They are accessed by lifting the hinged cockpit seats. We have five standard Yamaha 24L tanks which will give us a (theoretical) range of around 400 kilometres.

Deb got to, and fiberglassed the cat-walk. PVC conduit was bonded to the sides, to provide fixing points for the trampolines. The cat-walk is the link between the forward decks and the fore-beam, and is positioned along the centerline.
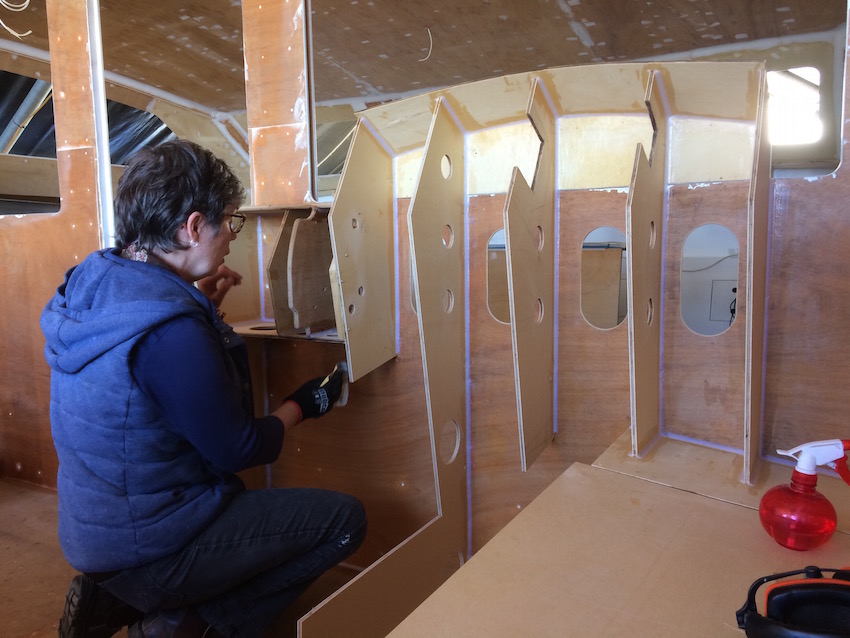
We were then free to begin work on the helm station. This fabrication had been much on my mind in recent weeks, and I have to admit to a little bit of mono-hull sailor snobbery here. Frankly, I never really liked the look of it – too much like a motorboat set-up in my eyes – and for some time I had been toying with doing away with the seat, and simplifying the design. However, when I sat down to give it serious thought I realised the big difference between helming in an enclosed space as opposed to the open style cockpit, of a mono, I was accustomed to. So I embraced these practical realities and set about making a few modifications to the existing design that I think improves the aesthetics and practicalities of our helm station.
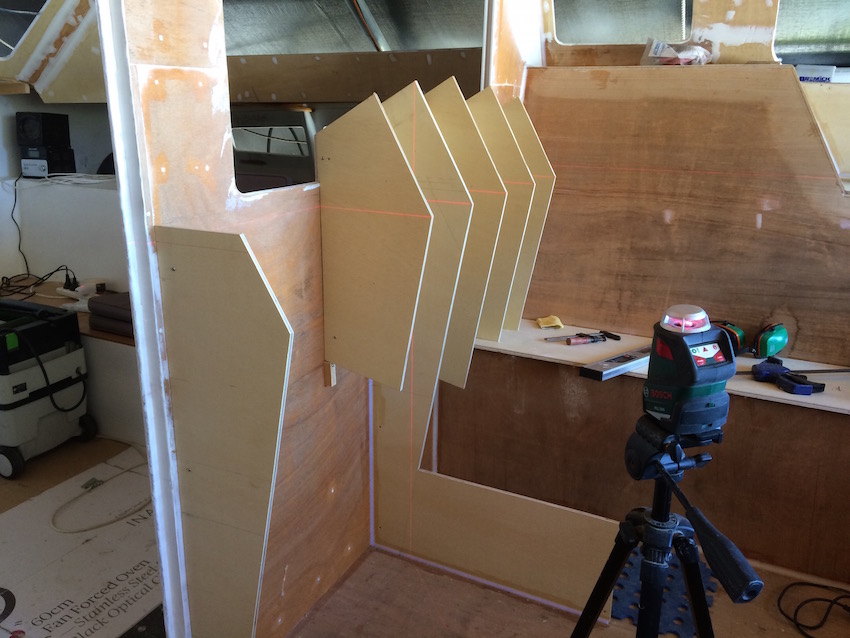
The main modification I made was to widen the console section. I thought this improved the proportions, and also made it possible to fit a 12″ chartplotter at a future date. Our little 7″ plotter will look a bit lost in all the acreage for now, but we intend to use a 12″ iPad loaded with the Navionics App as a back-up so the big chartplotter can wait till we see how much money is left in the kitty.


What a thrill to see such continual visual progress! Great job, you two!
LikeLiked by 1 person
Thanks for your kind words Patrick.
LikeLike