
This is an update that we have been looking forward to posting for a long time.
We have discovered that paint days are an emotional rollercoaster. Long, physically challenging and very smelly (paint thinner lingers, even after a hot shower), but also very satisfying. After months of prep work, without much outward sign of progress, suddenly, within a few days, our girl is transformed.
For the technically minded, we are using the Jotun system. Three coats of Penguard HB two-part epoxy undercoat. This will be followed by two coats of two pack polyurethane topcoat. Weather permitting, we will be applying topcoat Tuesday – Wednesday next week.
The horizontal surfaces will be painted with Tredgrip, a rubberised non-slip coating, that also helps with deck insulation.
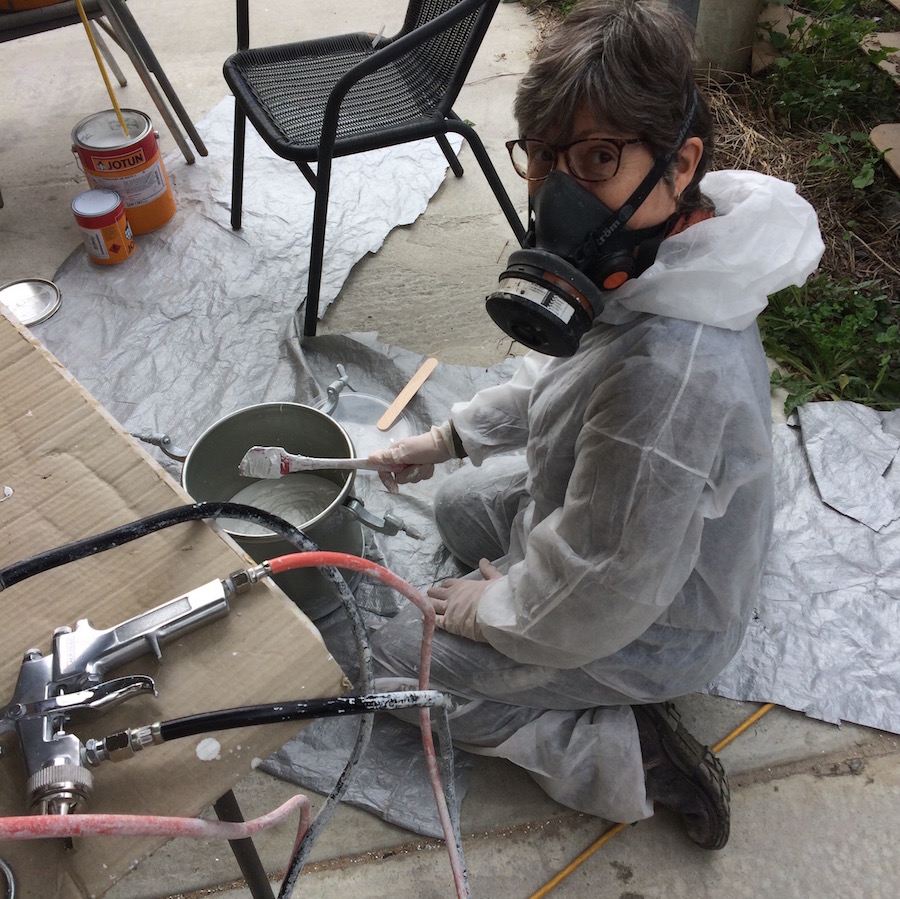
For applying the paint we use a 10L pressure pot, which is excellent, as it enables us to do a full day spraying without re-mixing. Penguard has an eight-hour pot life. The downside of this system is how long it takes to clean up, around an hour, which is critical for a spray setup.
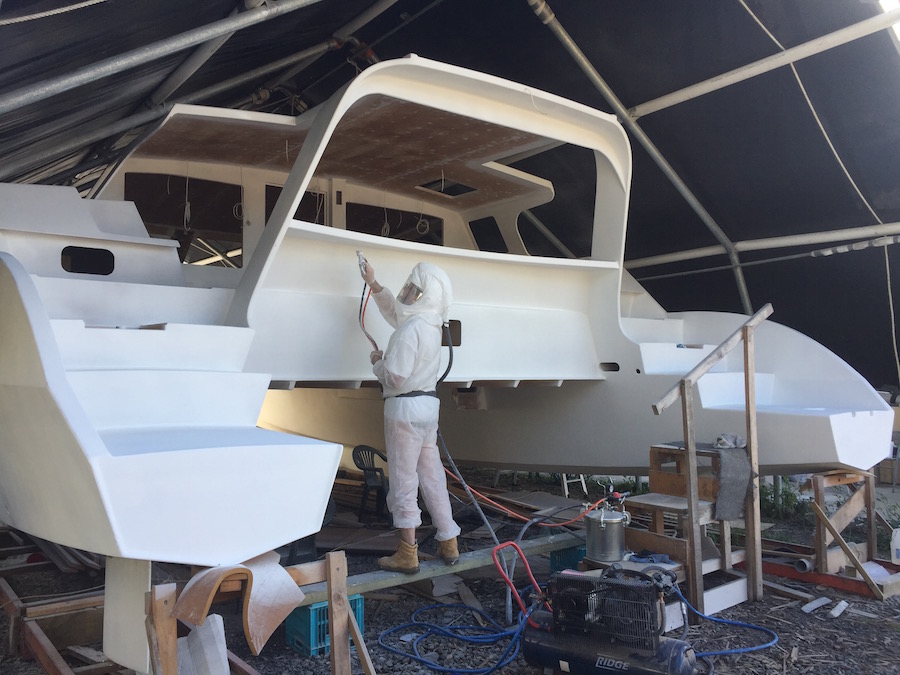
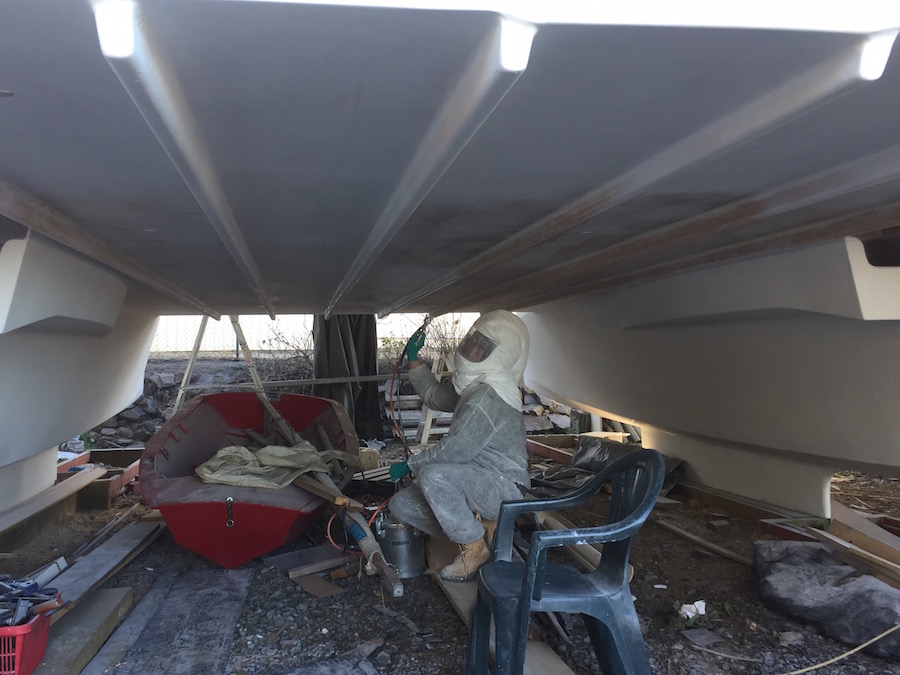
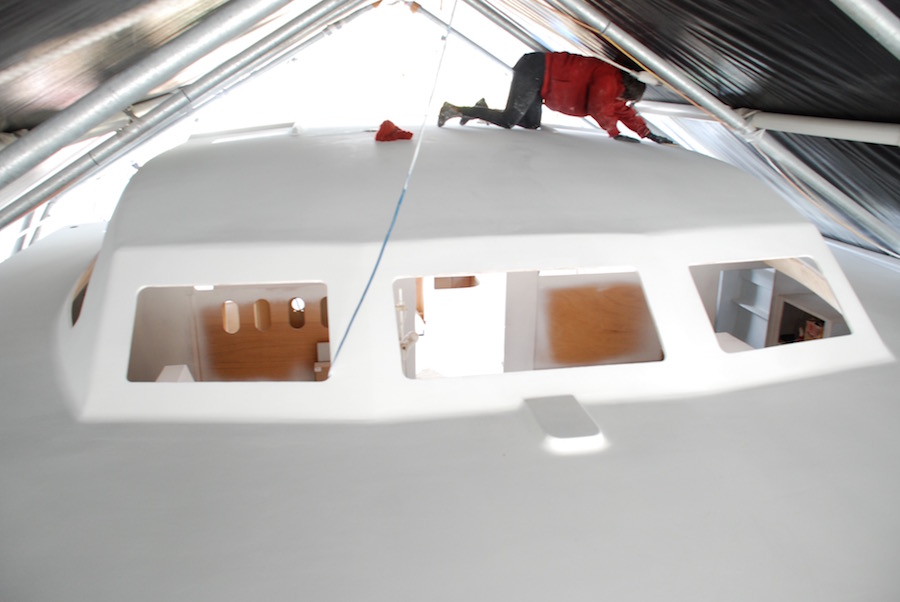
I use a rather excellent, and relatively inexpensive supplied-air system called Breath Cool, from Turbine Products in the US. This was purchased a few years ago before the Australian government decided to slap GST and import duty on online-sales, so the cost may now be prohibitive, but I can recommend the product. I am attached via a 100-foot pipe, to the small turbine which is located well away from the paint fumes and over-spray.
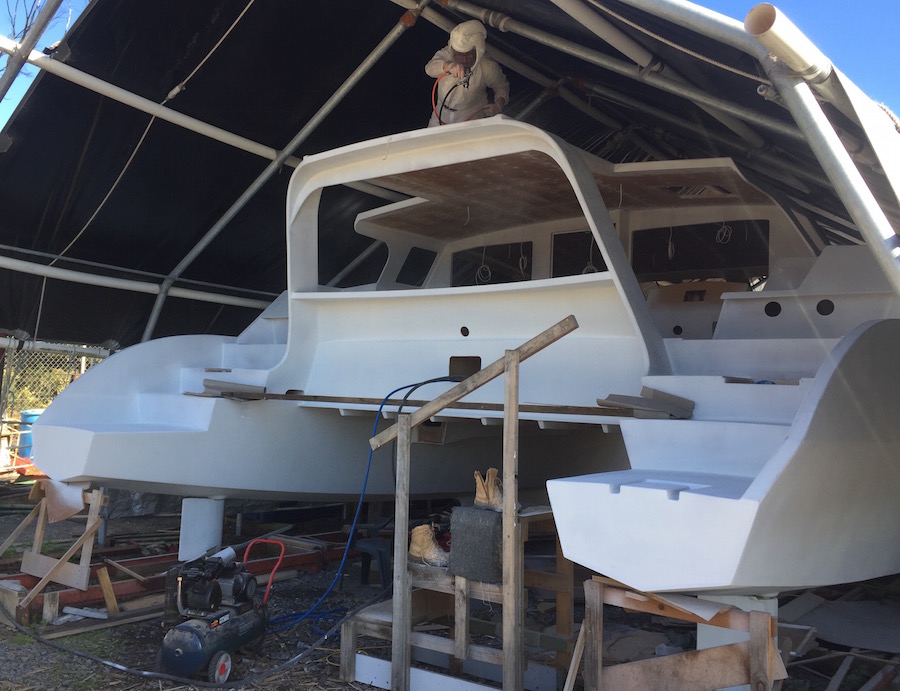
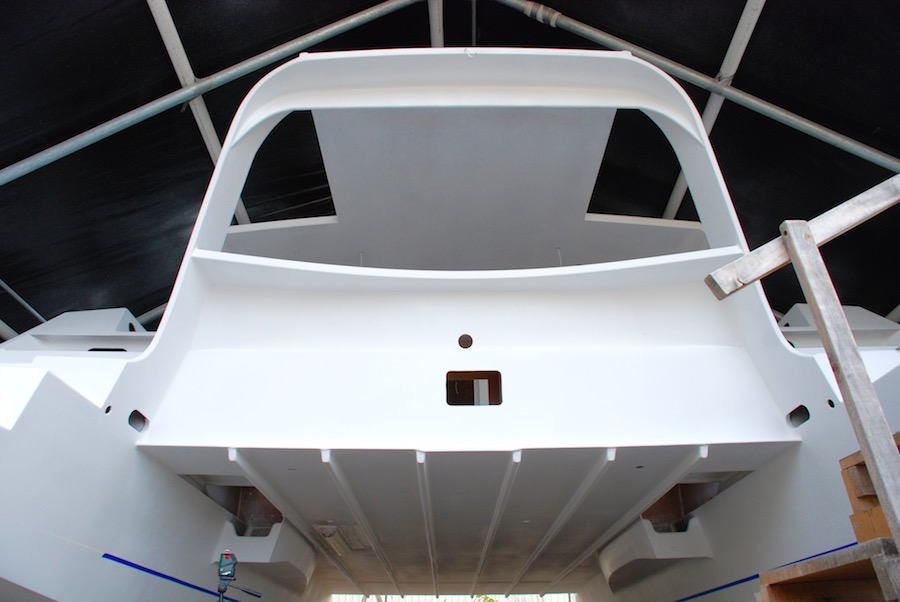
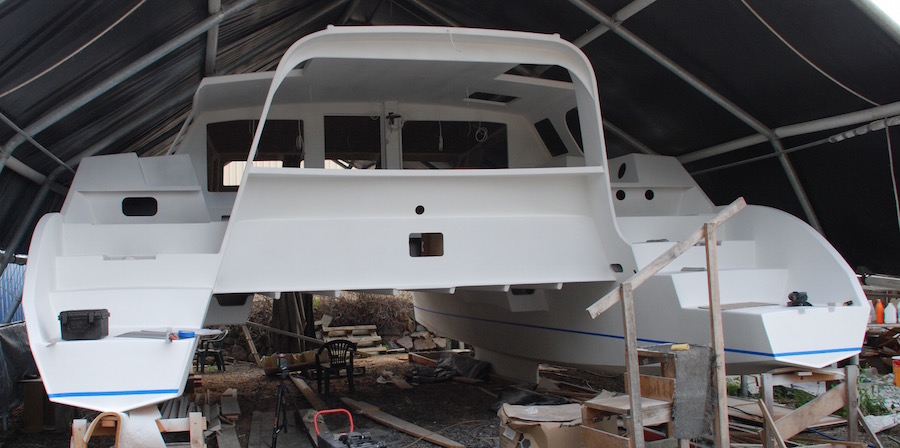
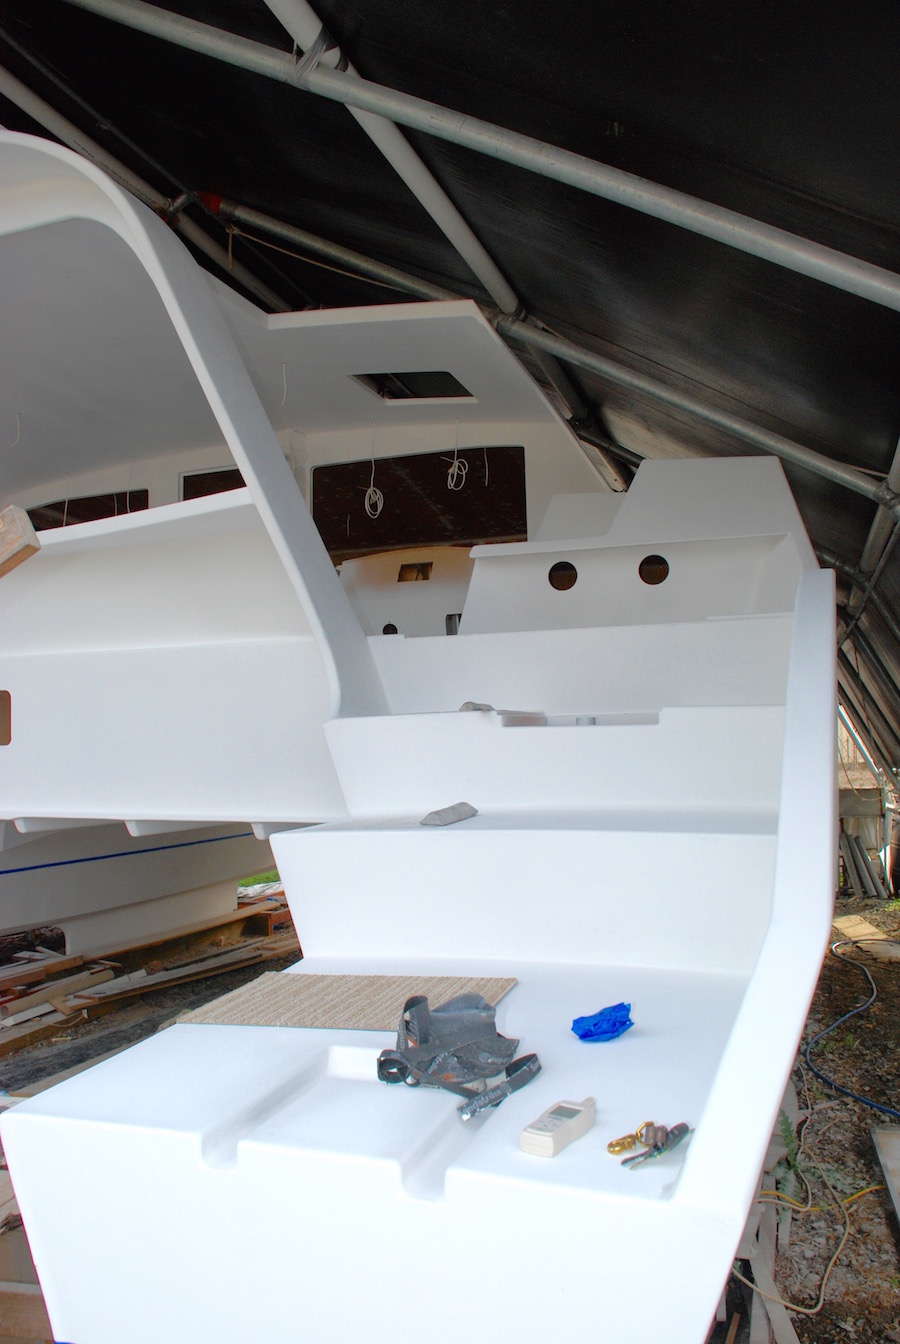
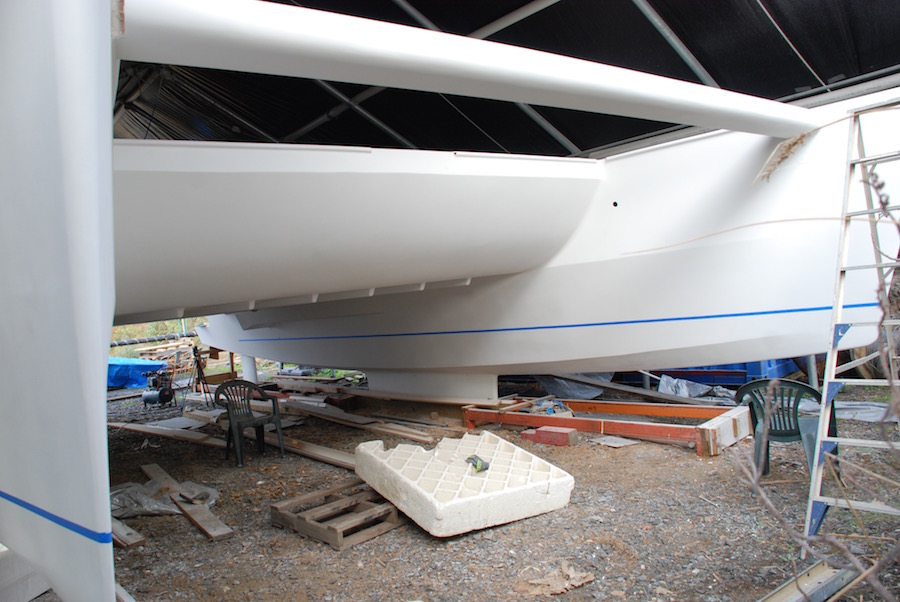
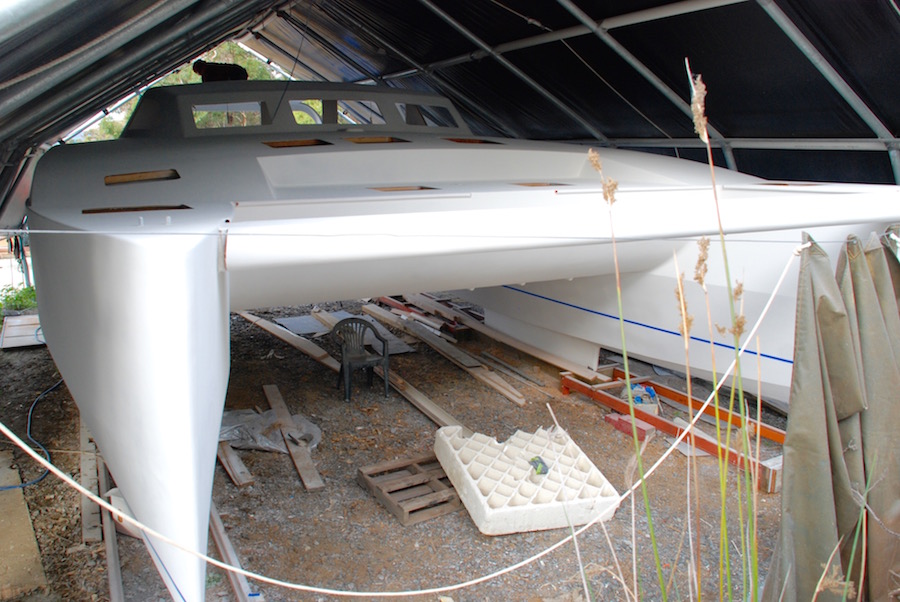
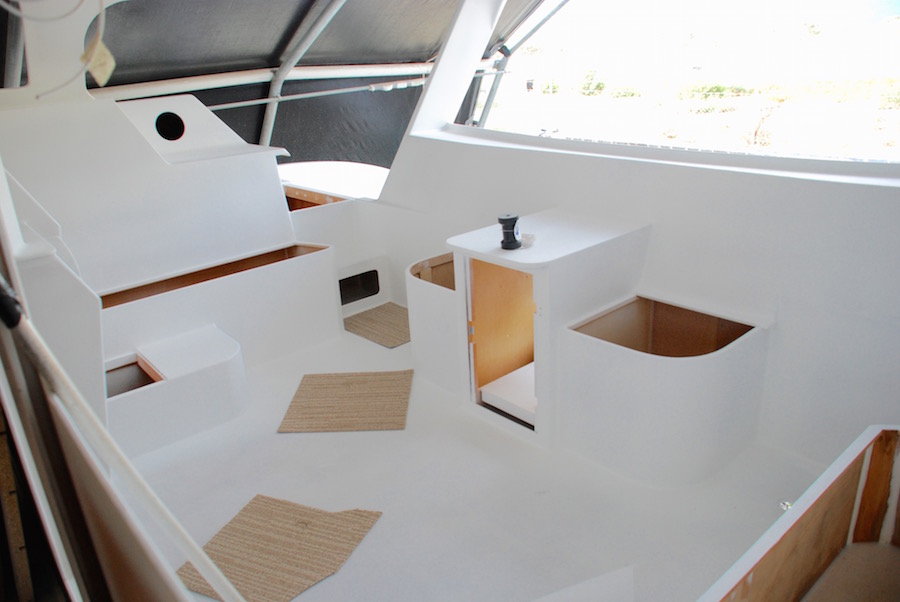
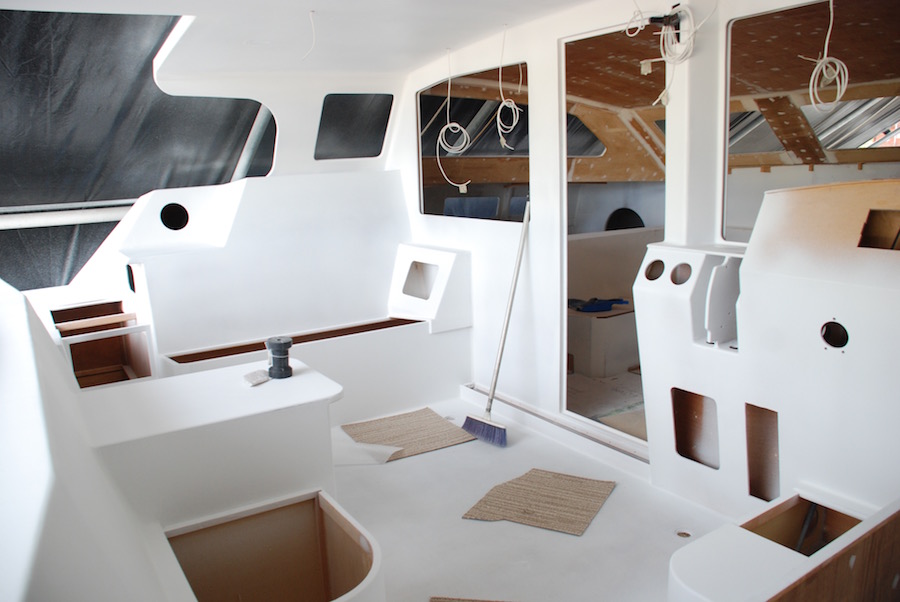
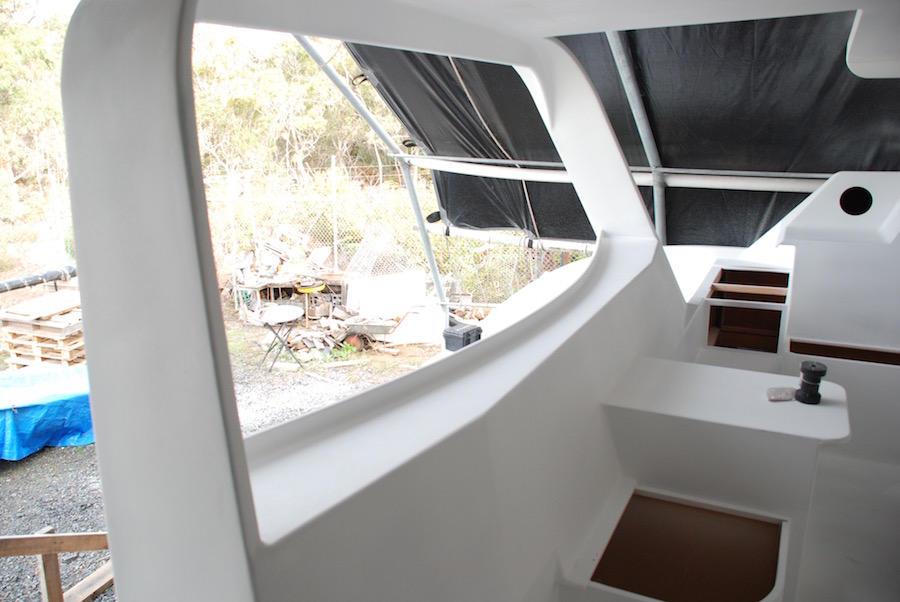
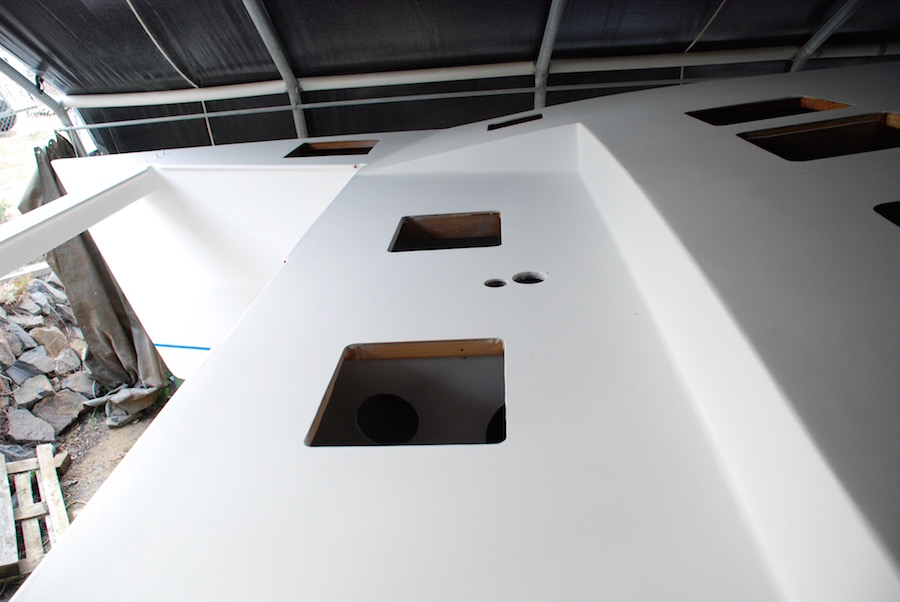
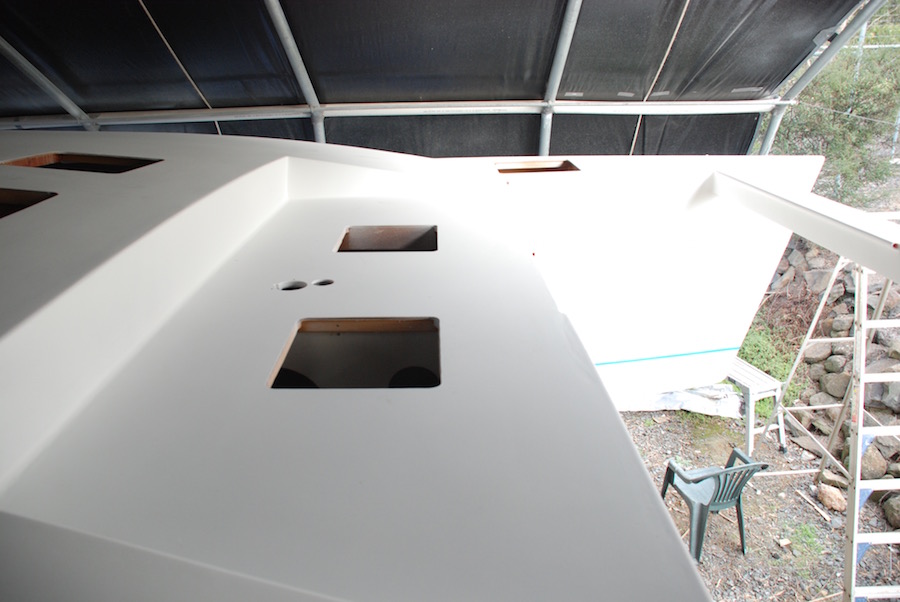
Following is a few shots of the finished primer coat.


Pete and Deb – looking beautiful! (Not you of course). What an incredible transformation and it really is a milestone. Good on you.
LikeLike
Waddaya mean … my alien suit is not going to catch on??😄.
LikeLike
Wow guys, what a transformation! We can appreciate the hard work and very long days, fighting against the clock with the paint!
LikeLike
Thanks guys. We know-you know about the grind! Boats are jealous masters.
LikeLiked by 1 person
ITs looking amazing guys. It will be so worth it when you finish….
LikeLike
Thanks for your comments Dot. Yep looking forward to splash day. Still a way to go though.
LikeLike
Fantastic guys it looks so different to just 3 weeks ago.
Jim & Ali
LikeLike
Hi guys. For sure: paint is one of those milestone events, with a big lead time. Looking forward to getting the windows and hatches on, so we can finally get rid of the big tent. I’ve had a love-hate relationship with that thing for three years now!
LikeLike
Dearest Pete and Deb Awesome…!!! What an achievement so far. Hats off to you guys, you are incredible and so very inspirational!! Looks amazing!!
LikeLike
Well thank you Jacob & Mini! Looking forward to catching up with you in September, for the arrival of a certain baby. 😊
LikeLike