
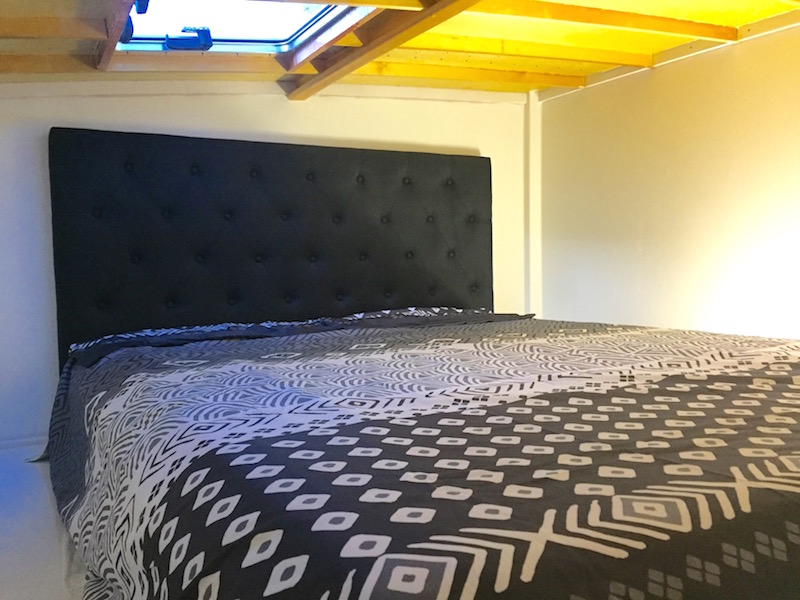
Last night we slept aboard for the first time.
OK now… don’t get too excited.
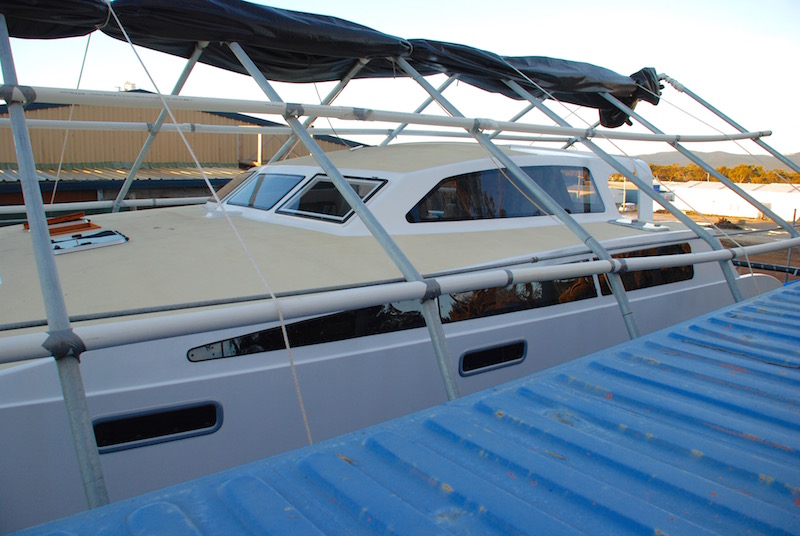
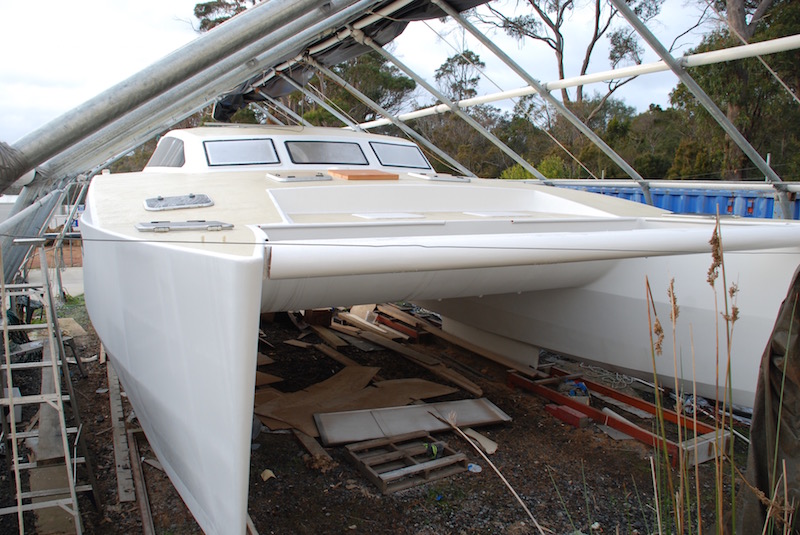
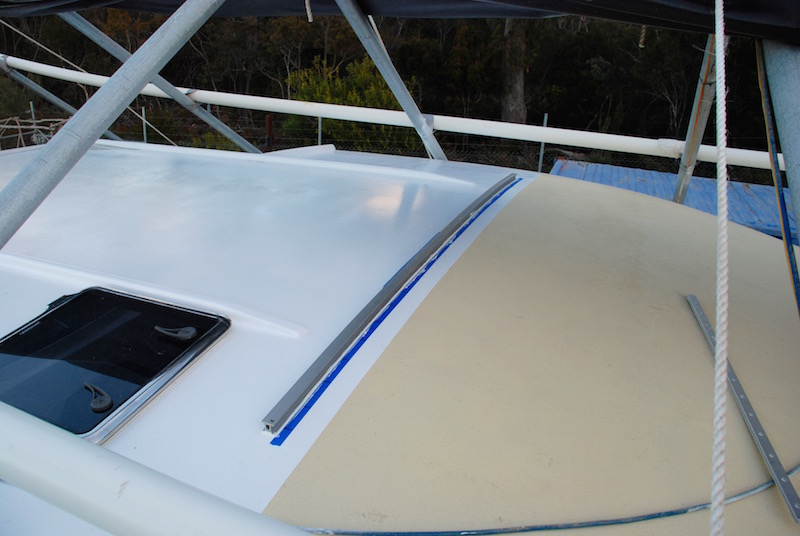
No, we haven’t launched Selah without telling you. But we are pleased to let you all know that our girl is now decently clothed and is fully weathertight. To celebrate we rolled up the big tent. It was a momentous day, as the sunlight flooded in, and we could walk around upright on the decks.
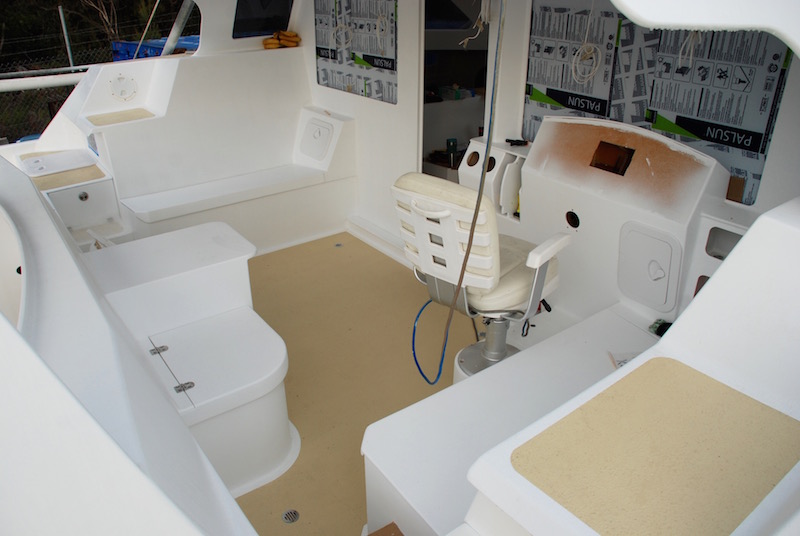
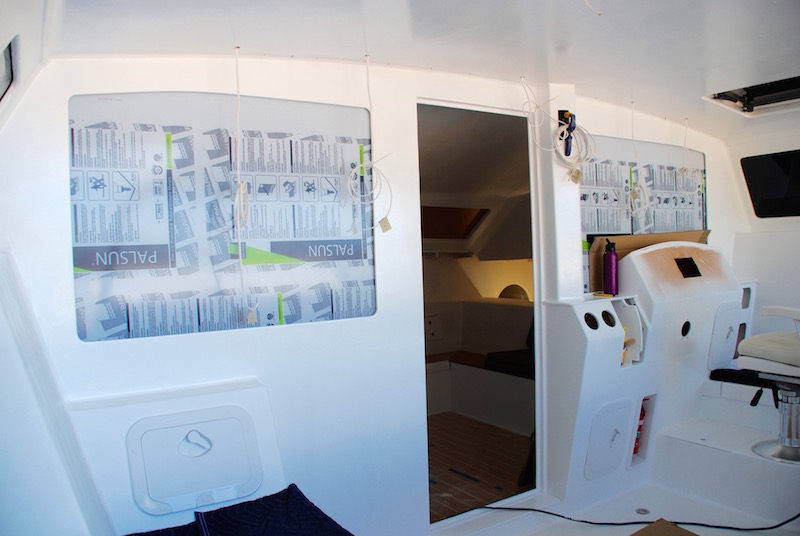
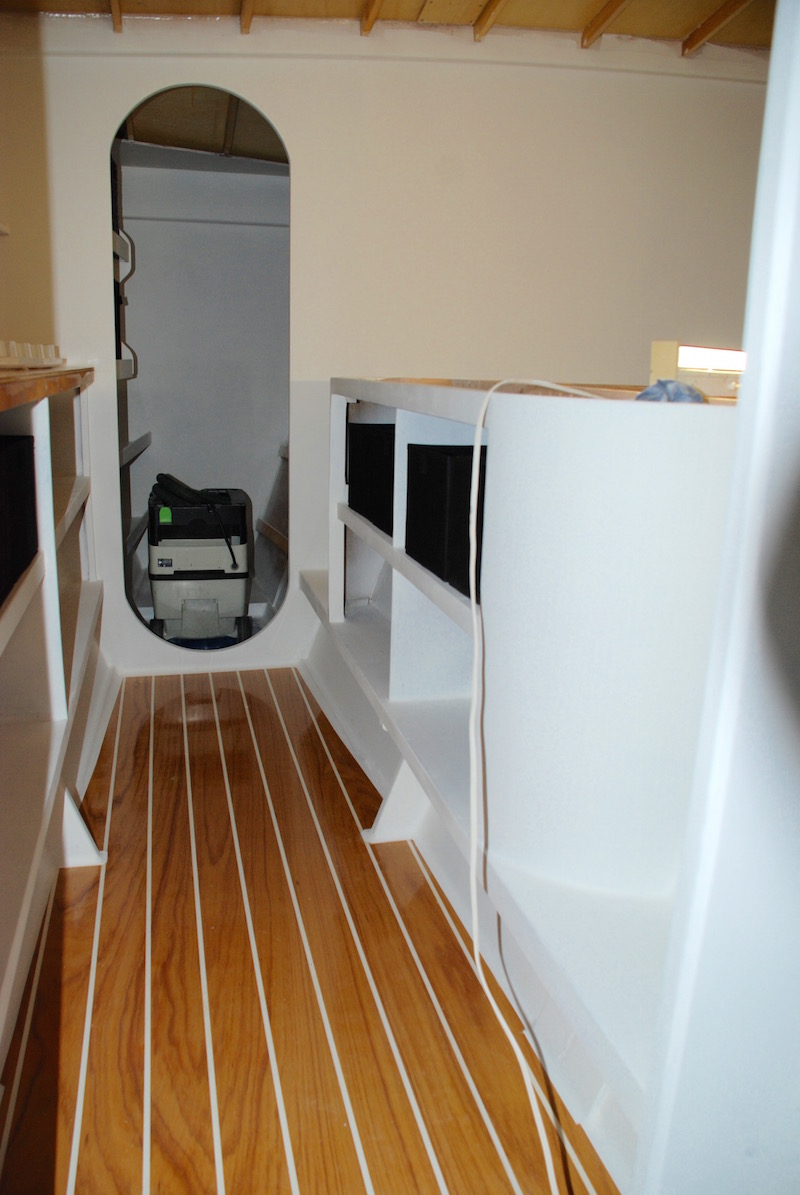
All internal paintwork is completed, windows fitted and all hatches and side portlights are installed. She has even withstood a couple of days of soaking rain without leaks, which was a relief.
Now that we can start installing expensive hardware, we will be sleeping aboard from time to time, mainly for security reasons. Open build sites in industrial precincts are difficult to secure, and I am not willing to leave her unattended.
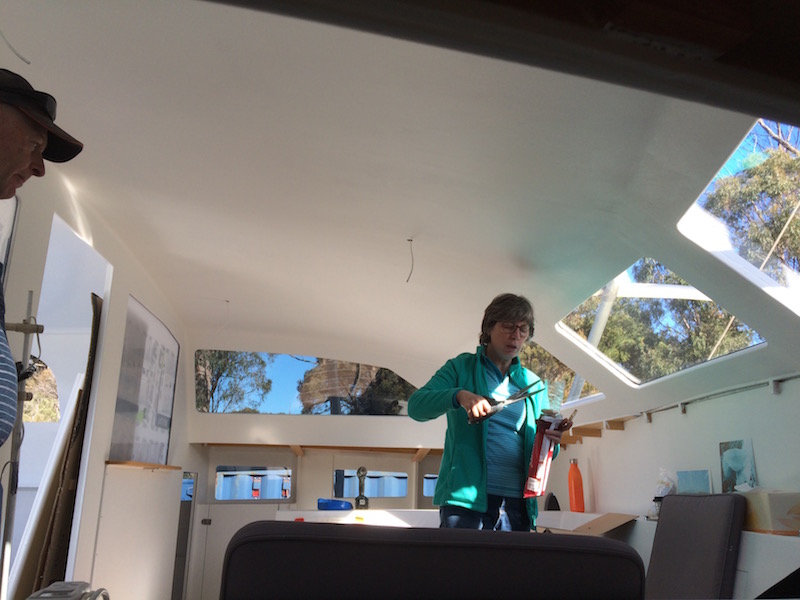
Its been so long since our last post, I’m struggling to recall all the jobs that have been completed. Too many for a blog post! It’s a thoroughly enjoyable stage of the build. Instead of focusing on a single major job, our days can head in several directions, as we dig out long-forgotten bits of hardware from storage for installation.
I’ll start with the window installation.
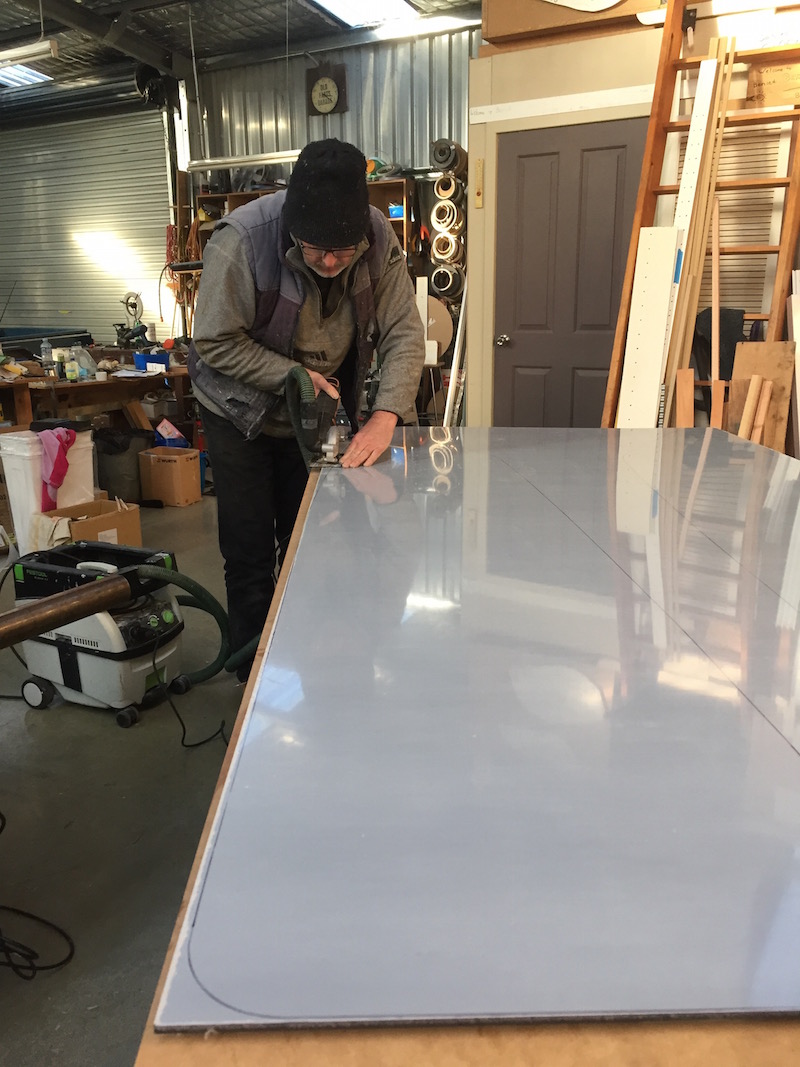
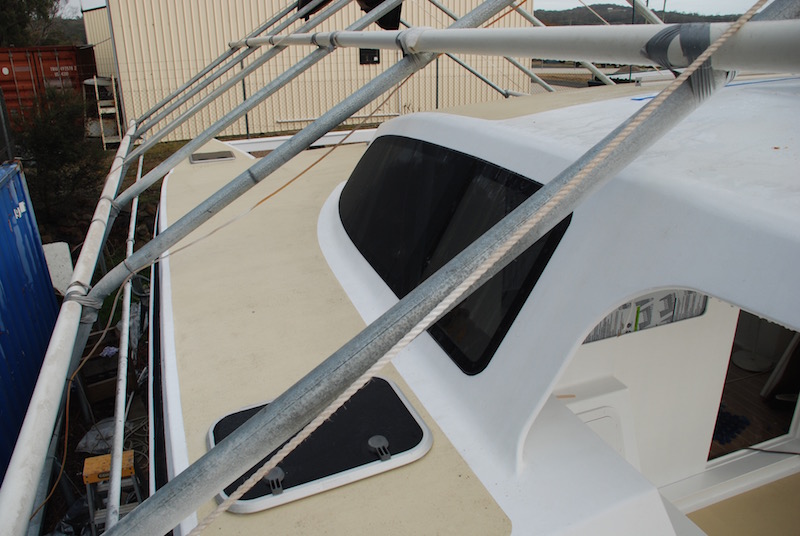
Cutting the windows was somewhat nervewracking. The big sheets of polycarbonate and perspex were very expensive. There was no room for error, so I did what I always do when in doubt, I cut templates from scrap and dry-fitted to double-check for fit. I then cut the window panels slightly oversize and used a router fitted with a 45 degree bit to trim to size, using the template as a guide.
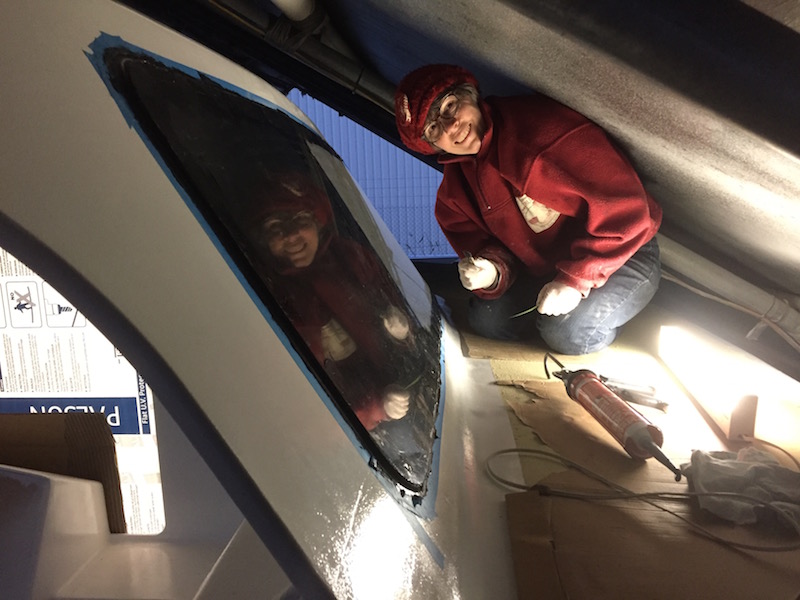
We are very happy that the windows are now in, its been valuable however to have gained experience with (yet another) sticky, messy goop – namely black window silicone. We have gone through 13 tubes of the stuff, and I have decided I am not good at it. I just end up making a huge mess. In fact, Deb has banned me from doing anymore Sikaflex or silicone work!
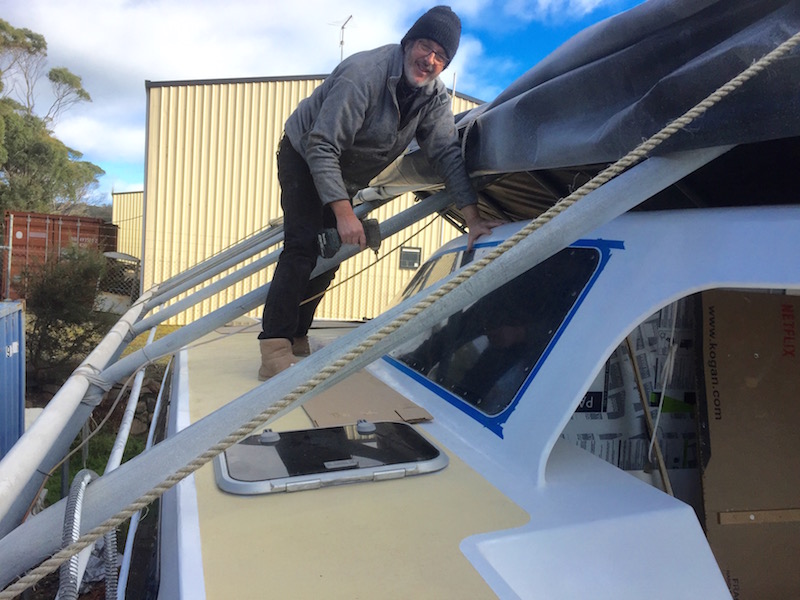
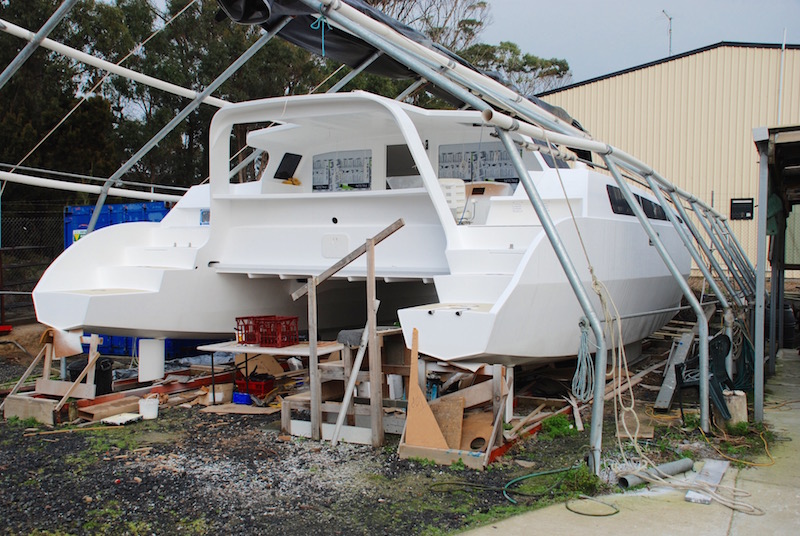
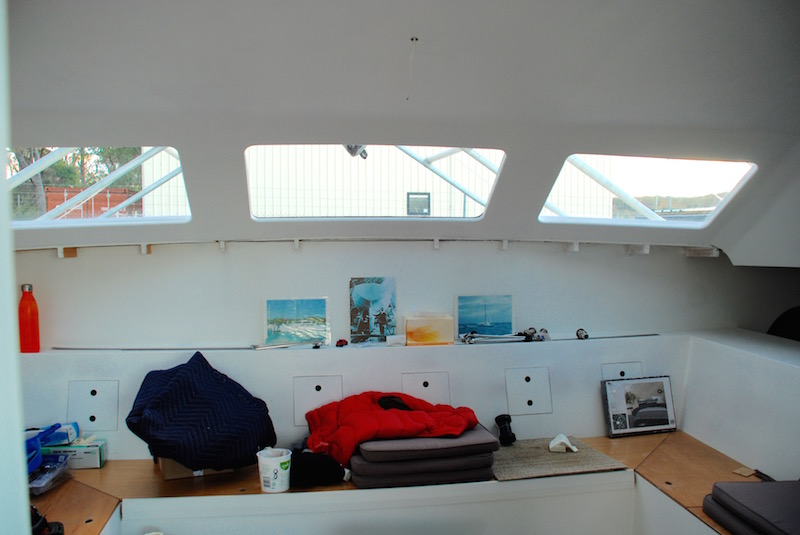
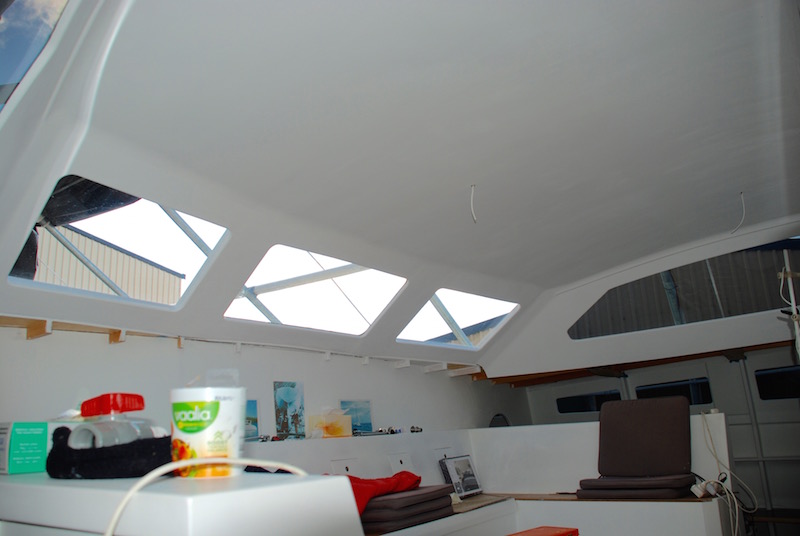
Peter Snell, our designer, was adamant we should use clear perspex (instead of tinted) for the forward turret windows. It was a difficult choice. Tinted is a more glamorous look and shades the sun, but Peter was insistent it was a safety issue, relating to visibility. I assume it’s a recent innovation, as most of the other builds I know of all used tinted. A quick phone poll of recently launched builders all agreed with Peter … so we ordered clear. As a compromise, we have purchased white industrial blind mesh to make external clip-on sunshades on all the turret windows, for heat control. They (reportedly) block 95% of UV and are see-through. We can remove them when navigating in low light conditions. Meanwhile, in chilly Tas, the morning sunlight streaming into the saloon is glorious.

- The two outer forward windows in the turret are opening .
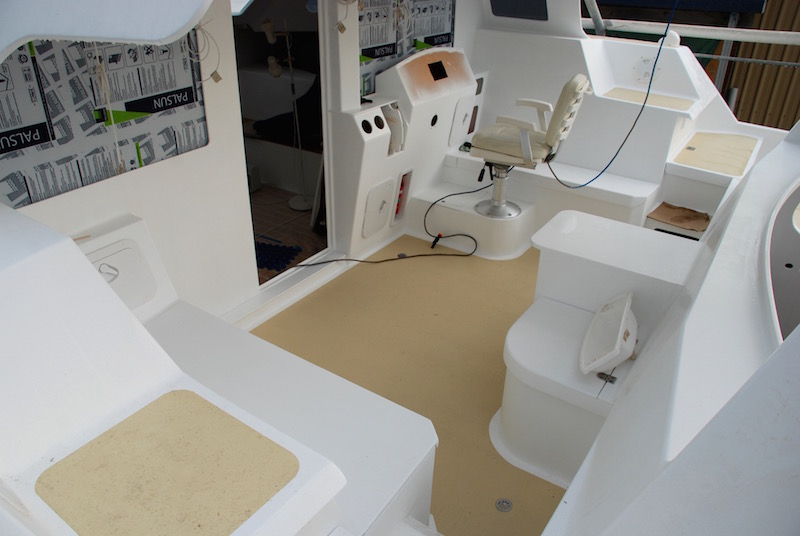
 Deb decided to do something about the cockpit and got busy with the roller to finish painting the cockpit floor with Treadgrip. We’ll see how it goes underfoot. Perhaps later we may install vinyl tube flooring.
Being a “Queensland Cat” one of Selah’s design features is her large drop down windows in the saloon. These are supprisingly easy to build. The frame (bulkhead) is double skinned so that a channel can be fabricated around the window openings. Baily profile, a rubber and felt extrusion used in car door frames is installed within the channel. The polycarbonate is inserted, cut to a width that allows the window to slide up and down. Combined with the forward opening windows in the turett, Sarah has excellent ventilation. Our next challenge is figuring out how to control mozzies. We are thinking about mosquito screen options.
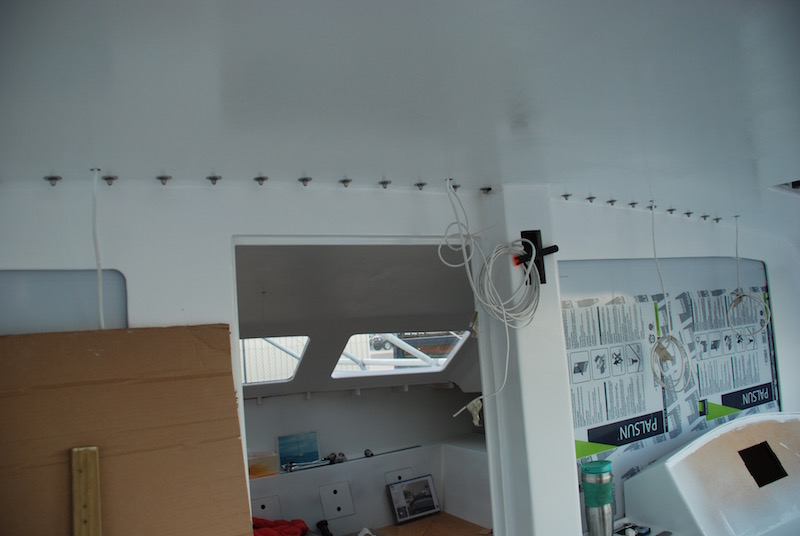
We decided to intsall the mainsheet traveler. It requires 26 holes to be drilled through the turett roof and I wanted to get the holes protected with epoxy resin, before we lifted the tent roof. The traveler is an aluminium extrusion used to control the mainsail, the large sail behind the mast.

Meanwhile, we have been busy sourcing materials and spending more of our rapidly diminishing building fund. The gloss ceiling liner panels have been purchased, as well as the fittings and materials for the saloon door. That’s Monday’s job!

Wow, great progress – nice to see some of the inside finish.
LikeLike
Thanks guys. It’s so nice to be working on elements we’ve been dreaming of for years now.
LikeLiked by 1 person
Very good pictures. It is constructed a lot.
LikeLike
Thank you William. Now that the construction and paint is done we can install all the shiny bits!
LikeLiked by 1 person
its looking awesome Deb and Pete. Amazing work..
LikeLiked by 1 person
Thanks Dot.
LikeLike
That’s brilliant Pete & Deb!! You guys are awesome!
LikeLiked by 1 person
Thanks Dave!
LikeLike
That’s looking amazing! Well done, guys!
LikeLiked by 1 person
Thanks Amanda!
LikeLike
Hey guys.
This looks fantastic. So proud of all the effort you have put in and working through some very hard situations.
LikeLike
Thank you Timothy.
LikeLike
Our dear Pete and Deb so wonderful to see how far you have progressed!! What an amazing job guys!! So so proud of you both!
LikeLike
Hey Jacob. Thanks old bean!
LikeLike
Very beautiful!! I especially love the look on Debs face and the huge smile.
LikeLike
Thanks Dean. Me too!
LikeLike
Looking good, Pete and Deb! Very inspiring. What are the size and make of the portlights on the hull sides?
LikeLike
Thanks Patrick. The Ports are Vetus PA 6317 (652x193mm).
https://www.vetus.com/en/boat-windows/portholes/port-light-apac-10999.html
LikeLike
Thanks!
LikeLike