
Well, I guess the big question readers may be wondering is, when is the big day?
Actually, as you can imagine, its been much on my mind in recent weeks.
So, as I sat down to write this update, I took a look at the tide tables taking into account the three factors I have to work around;
- must be a weekday.
- must be off public roads before 7am.
- idealy we would arrive at the boatramp about an hour before low tide.
I came up with Wednesday 27th November. Low tide of .94 at 7am and a nice high tide on a new moon of 3.34 at 12:23. Perfect.
I estimate we will be floating around 11:15am but I won’t push off until slack tide.
That’s it. I’ve said it. It’s in writing.
Can we make it? I think so, but … time will tell. That’s the thing about big projects. There are so many balls in the air, any of which could throw a spanner in the works!
Our status update is that I am currently batching aboard. No Deb has not come to her senses and left me. She’s in Alice Springs for the birth of our second grandchild! It’s all a bit surreal at the moment, but there is something magical about this season of our lives, the culmination of (nearly) four years work, the promise of summer and the joy of new birth, both here and in Alice.
The upside is, without Deb’s moderating influence, I am free to work seven days a week, on the last big push for splash-day.
So here’s where we are up to.
The galley is installed and the all-important gas certification is done. We were very lucky to have a local plumber who is licensed to certify gas installation and is willing to do boats. They are getting hard to find as not many are willing to assume the legal liability imposed on them by the regulators.
The fridge, cook-top and oven are all screwed in. Just the plumbing to go before we can fix down the sinks.


Actually, I’ve got something to say about the milk crates. They were thrown in as a temporary measure to stop the rusty bottles from staining the fresh paint while we sourced some brackets. Then I got to thinking. Why not fix them permanently?
They are light, strong, will not rust and easily fixed in place. With a bit of foam packing, the bottles would be wedged in tight. Yes, they are ugly and not very nautical looking, but practically speaking, they tick a lot of boxes. Hmmm … I’ll let that one percolate for a while. I’d be interested in any comments!

Before Deb left for Alice, she got stuck into the last bit of unfinished painting. The outboard pod and fuel storage area under the cockpit seats. Once done, we were able to mount the outboards. I made up some aluminum checker-plate mounts which slotted on over rubber backing, to protect the fiberglass and provide some degree of vibration and sound absorption.

After that, we able to fix the throttle controls for the outboards, and start configuring the outboard control cables.


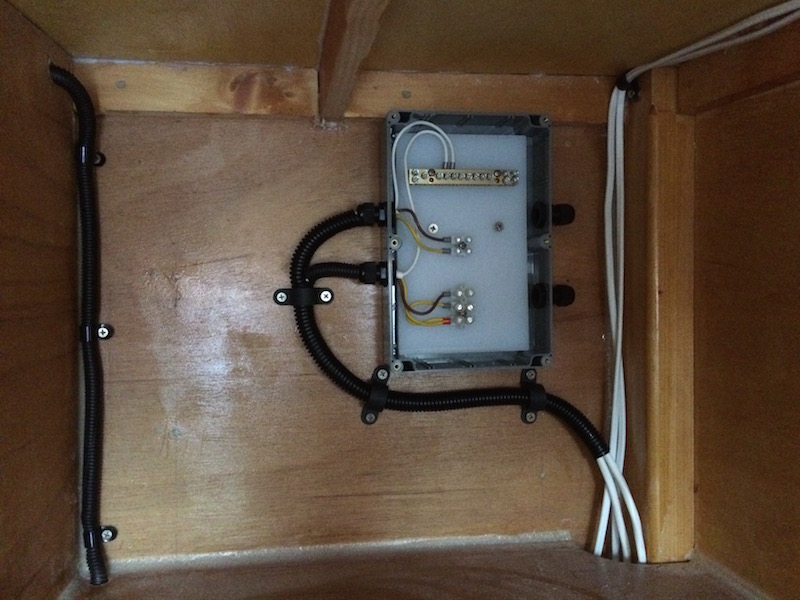
But by far the biggest job since our last post has been the electrical system. It’s a major decision, that, if not done properly could have a major impact on life aboard. For those interested in the details, here’s a summary of our experiences and decision-making process.
The first decision, after calculating our potential loads, was what type of battery. For a catamaran, it’s hard to go past Lithium Phosphate, due to their weight / amp-hour capacity. The problem is, they are unbelievably expensive. It is possible, however, to sort- of build your own batteries, for about half the price. You purchase the various components and configure your own power pack. The problem with this approach is you are basically on your own. Lithium batteries are reliant upon software to keep them safe and prevent them from over/undercharging. Get that bit wrong and it’s a very expensive and potentially dangerous mistake. It’s a steep learning curve for the uninitiated.
The second option is to purchase the “brand name” batteries and add-ons. These come with all the electronics, protection and software built-in; but you pay for it. Inside, it’s mostly the same components as the DIY batteries, (there are only a couple of factories making Lithium battery cells), but what you get for your money is plug-and-play engineering. I toyed with building my own, but in the end recognsed my limits. So, $8,000 later, we have installed a fully integrated Victon system. Once the cost shock passed, I was very happy with the decision.

Apart from the anchor winch cabling and navigation, the house system is ready to go. Tomorrow I’ll trace the 240-volt cables, and next week the Victron suppliers will come and check everything before going live. They will also wire and certify the 240V installation.


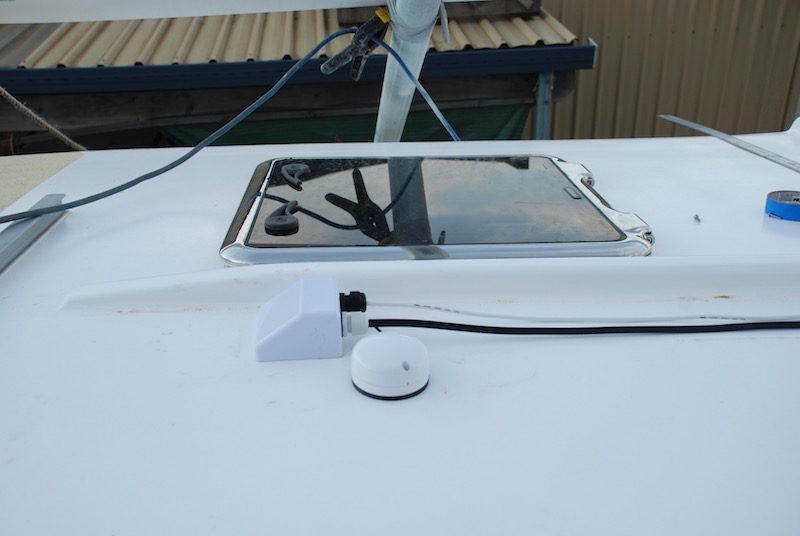
I had originally intended to install the speed/ water temperature and depth transducer in the shower sump, which is aft. My brother thought that was a mad idea and insisted we mount it forward of the keel, the usual position. This meant we had to build this fairing.

So what’s to be done before splash?
- Plumbing.
- Steering.
- Nav instruments.
- Mount winches and blocks.
- Metalwork
- Ceiling lining – second fix cabin lights.
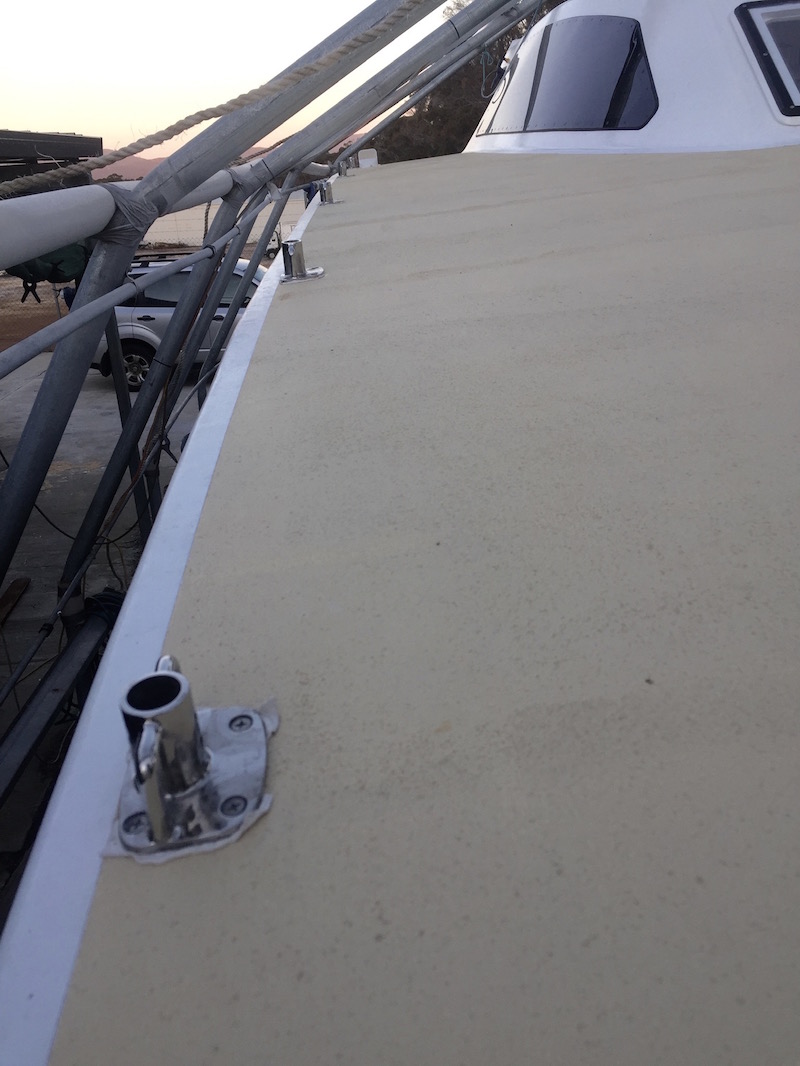
- Antifouling.
- Move boat ready for truck.
Two months to go.
Pressure’s on!

Hey Pete,
Thanks for yet another update that is just great to read and see the progress. You are a brave man putting the date in writing. We might be able to drop in at the end of October, and I’ll see if I could pull off a visit on 27/11.
Sorry for you missing the chance for grandpa duties and travelling with Deb to Alice but I’m sure you’ll be kept in the loop while you keep soldiering on there in Port Sorrel.
I say ‘go the milk crates’.
John
LikeLiked by 1 person
Hey John. Thanks for your comments. Yeah, it’s hard to not be up with the fam right now, but Facetime is a wonderful thing, and I get to talk every day. It would be great if you can make it for a visit. That’s one for the milk crates!
LikeLike
Exciting times, Pete! Only two months away… scary I bet! Great to hear of your progress.
LikeLiked by 1 person
Thanks Chris. It is scary to lock in a date, but for me it’s better to have a target to shoot for than just potter along. I’m really enjoying your reef series of posts. Very inspirational. Speaking of deadlines, do you have a date you need to be south of the cyclone zone?
LikeLiked by 1 person
Hi Pete, yes we need to be south of Bundy by 1/11. We are reef hopping to see as many spots offshore as we can while the wind is light. Once we drop off our guests, whether at Townsville or Airlie we will be pushing hard to get down but hopefully by then the northerlies will be with us. At the moment it is dead calm and we are motoring!
LikeLiked by 1 person
I’ve read this post for days and I still cannot imagine being this close to launch. You’ve done a fantastic job with the interior design and the woodwork is beautiful. I’m so so happy for you!!
LikeLike
Thanks Dean. Yep, it’s a great feeling to be working on the finishing touches. I’ve been admiring your boat barn. Luxury! I guess you are into winter now, so hopefully, the shed will allow you to keep the boat work ticking over. All the best mate.
LikeLiked by 1 person
When I work on either the shop or the boat a fable comes to mind. “The grasshopper and the ants”
And winter is coming.
LikeLike
Finances aside, like the grasshopper, the only “master” we boatbuilders are beholden too is time. Your loss of project time (to build the barn) will be recouped by the increased ability to control your build environment. Even in our more temperate climate here in Tas (our winter temps are around 50 degrees Fahrenheit), I estimate building outside added six months to our build, probably more. The designers estimated build time is just that – an estimate – in reality, I think a first time builder is closer to 5000 hrs. The only trap I could foresee with an inside build space is to become too comfortable. Don’t spend to much time on benches and non-essentials. That said …. I’d rather be inside! Perfectionism is the enemy of time. Built-to-plan she is plenty strong enough, and you stand a chance of getting her into the water in about three to four years. If you go for the production boat look … then ten years unless you have the finances to employ labour.
LikeLiked by 1 person
I was just wondering, did you purchase your saloon door and from whom? Second there are fiberglass propane tanks. Light weight and impervious to salt and translucent. Worth a look.
Cheers
LikeLike
Our door is based on an aluminum security screen door. We purchased the powder-coated profile and components from a local aluminum wholesaler and assembled it ourselves. The lower infill is a piece of kitchen splash-back Russ had in his leftovers bin, and the upper is clear polycarbonate, with an H section profile to bond the two. They were riveted in place (within the channel section of the door profile) with white blind rivets. It’s suitable for our intended use, but if you are planning to cross oceans, I’d consider a stronger set-up. The big advantage of screen door components is that they are slim enough to fit seamlessly into the 24mm wide door jamb. It’s hard to find door furniture for such a thin door. Let me know if you want more details, I can send you the link to specific profile, but I imagine you would have more options in the US.
LikeLike
Oh and thanks for the Fiberglass Gas Tank tip mate. Unfortunately not approved for use in Aus!
LikeLike