
Wild westerlies with intermitent rain squalls have persisted for almost three weeks now. Luckily we have had plenty to keep us occupied in the relative comfort of our corner of Russ’s joinery workshop. It’s been happy family times, with much laughter and banter. Russ’s advice and guidance has been invaluable. Soon we will have all the various hull components completed and we will transfer our operations to the shelter at the rear of the block to begin building the hulls. This week we concentrated on the keels. These are are critical components. Built as strongly as possible, but also very lightly.
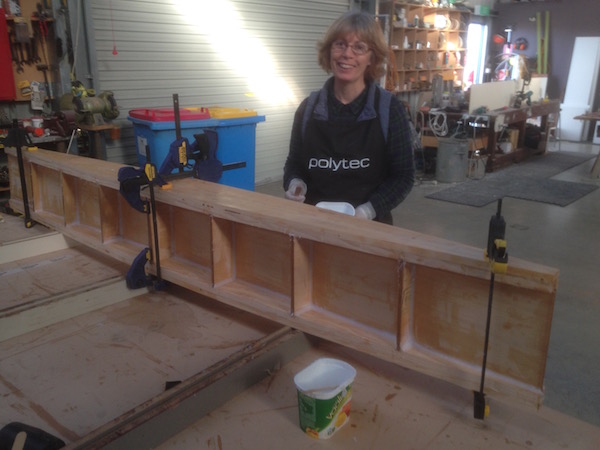

The keels serve a dual role. When sailing they provide lateral resistance, converting the wind energy harnessed by the sails into forward movement through the water, much like underwater wings. Without them Selah would just slip sideways. They will also support the weight of the hulls (around 4.5 tons), when on the hard. Because cats don’t heel, the two “low aspect” keels provide the same lateral resistance as one deep keel. Obviously there are manoeuvrability trade offs, but the arrangement gives her the huge advantage of a draft (depth) of just 750mm. This will enable us to shelter in shallow anchorages, unavailable to comparable monos that have a draft of around 2 metres. Also, unlike mono keels, they do not need to hold tons of lead ballast, making for relatively simple construction. The hollow watertight design makes them buoyancy neutral, so they will add nothing to her floating weight.
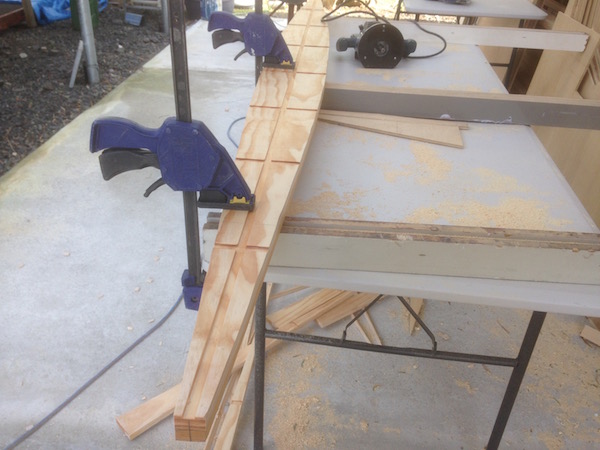
When we left Alice, my nephew-in-law Steve gave me a Bosch plunge router. I was able to put this into good use, routing guide slots for the plywood webbing. Although not a hugly complex build, it was none the less time consuming. The location on the hulls means they will be permantly under water, so great care was taken. After lofting, cutting and planing the various pieces all the sufaces were pre-coated with two coats of epoxy resin and joins bonded with 2 part epoxy glue, a process called coving. This gives maximum protection from water ingress and astounding strength. On paper, these structures can support the weight of a small truck. I estimate their weight to be around 16 kilos each. It took the two of us the best part of four days to complete. Tomorrow Deb will give them another coat of epoxy.


Wow, you two are certainly learning new skills – especially you, Deb.
LikeLike
Surely am Meredith! And loving it! Deb.
LikeLike