Work continues at a steady pace, interspersed with family events and celebrations. We are close to completing planking, and on rainy days continue to prepare frames for the port hull, fabricate rudders and mini keels, and pre-coat the inside faces of the hull sheets, prior to gluing in place. We also completed a job we had been putting off for some time. Setting up the 200 kilo drum of epoxy we had delivered a couple of months ago, to extract the contents. Buying the epoxy in bulk seemed like a good idea, until the 44 gallon sized drum arrived, and I realised how heavy they are to maneuver, without the appropriate lifting equipment!
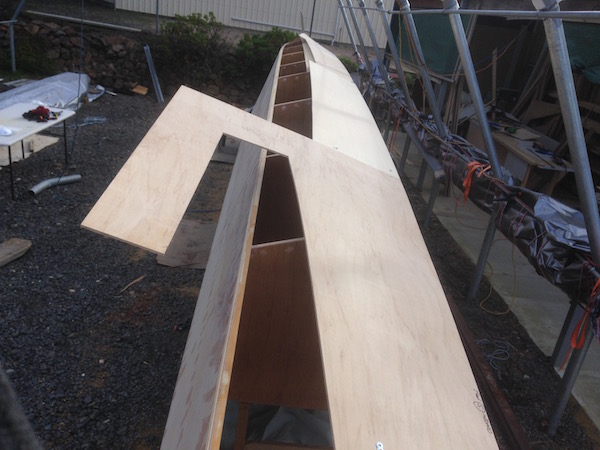
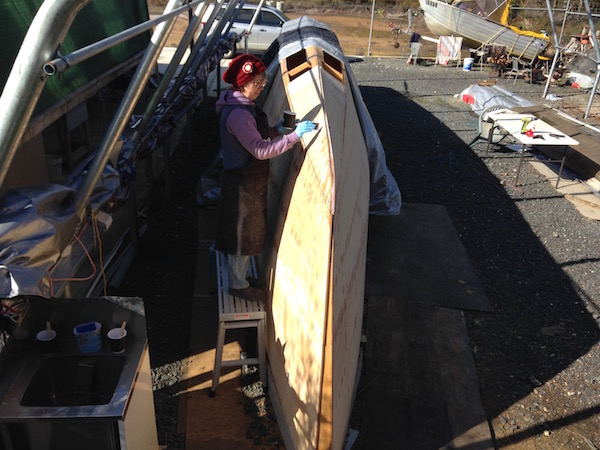
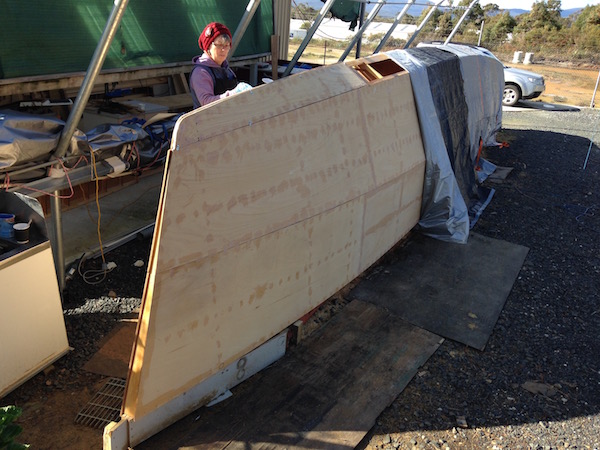
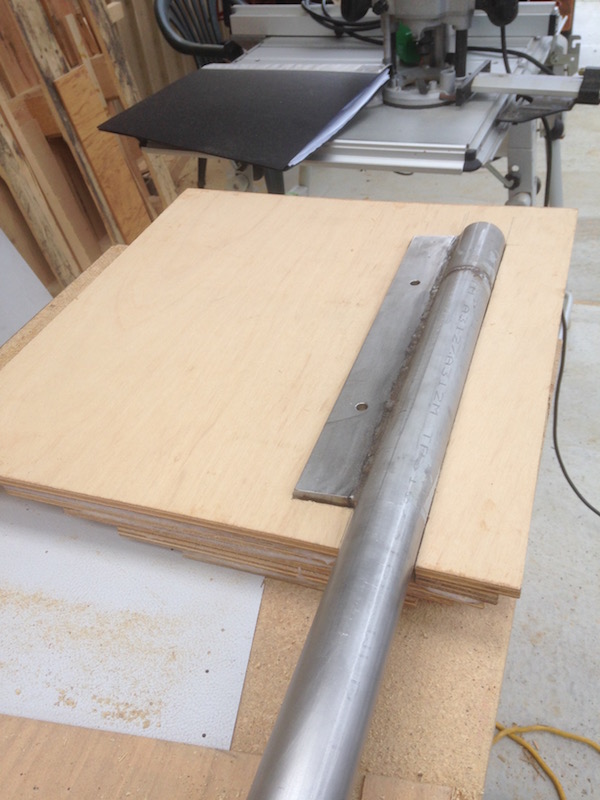
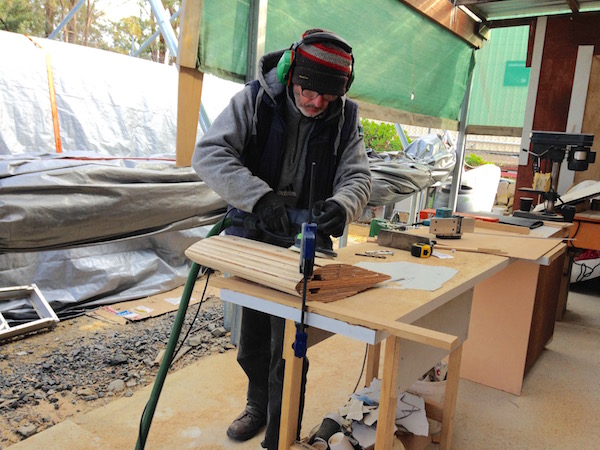
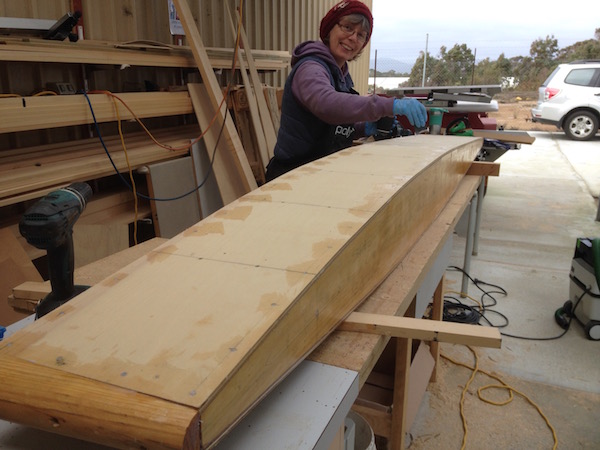
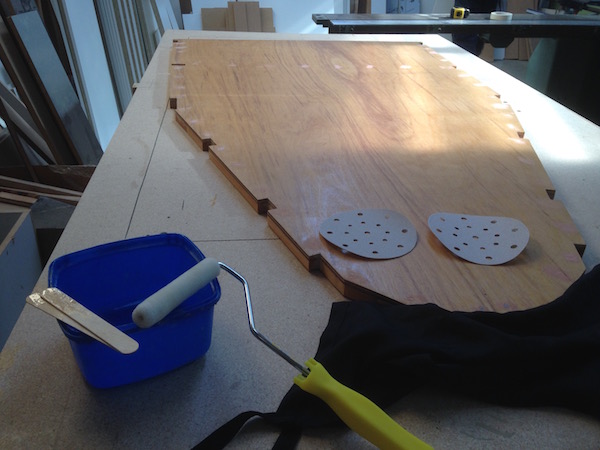
Dry fitting bottom hull plates using off-cuts from side panels.We chose to butt the chine joint on the first lower forward sheet. The subsequent sheets are overlapped & planned true. This photo shows how this sheet makes the transition from vertical to about 45 degrees. This is called “twist” and is somewhat dreaded by boatbuilders, as it involves struggling with stubborn plywood. Fortunately for us, Selah’s designer has been able to keep her twist to the minimum. We were relieved when they went on without drama. We also had to figure out how to match the sister sheet, to reduce the 10mm gap you can see.Nothing happens by coincidence. Just the night before I watched a Utube clip showing a furniture maker using a scribe to match complex curves. I realised I could do the same with a piece of plywood and a couple of screws. Worked a treat. After scribing the sheet was removed and cut to fit, prior to gluing. Nothing is straight in a boat!Forward lower sheets done. The not so twisy ones. Deb cleaning up, and filling the screw holes, enjoying a rare moment of sunshine.The forward sections of the Sarah hulls are immensely strong. Underneath those sheets is a webbing of crash bulkheads, stems and stringers designed to withstand potential collision loads. Behind all that a watertight void, to keep water out of the main accomodation if the worse ever happens. Hopefully it never does!Glue lay-up ready for the next sheet. If you look closely you can see the transition from butted to overlapping sheets.Dry fitting the rudder shaft. The rudder is made up of 12 x 9mm laminations. They are a load-bearing component, supporting the weight of the aft section of the hulls when on the hard, so need to be built accordingly. The SS rudder post is made from schedule 40 pipe.Shaping the starboard rudder.Starboard mini keel completed ready for fibreglass and dynel.We used excess epoxy glue from the planking process to fill the screw holes. Epoxy is notoriously difficult to sand after 48 hours, so the hulls have to be sanded as we go. There is an unthinkable amount of sanding on this build. One day I’ll work out the square meterage, inside and out, that has to be sanded multipull times. Here Deb is mastering the heavy duty industrial sander we purchased for the project. I’m supervising.We chose to purchase our epoxy in bulk as it is considerably cheaper than buying in smaller quantities when needed. Epoxy is expensive, and is a big-ticket item financially. The only problem: a 200 kilo drum! I took this photo, as I was trying to figure out how to lift it onto the cradle we built.It took two goes, but with Russell’s help the job got done. The epoxy is decanted into 20L containers as needed.Rain day jobs: Hull sheets internal face pre-coated with two coats of epoxy resin.Pre-coating the frames for the port hull.


Thanks again Pete, really appreciate following your progress.
PS. Don’t forget to stop for the wedding
LikeLiked by 1 person