
Some days are diamond …
Some days the work just seems to flow, and we go home feeling as if we have accomplished a lot. We were able to tick off quite a few jobs from the to-do list this week.
We have switched our priorities a little, as it turns out Deb will be back in Alice for an extended period while our youngest daughter has our first grandchild. So our plan is to do the big two-person jobs before she goes, leaving the fiddly detailed jobs for when Pete is on his own. Pete will travel up for the birth, but will not stay as long.
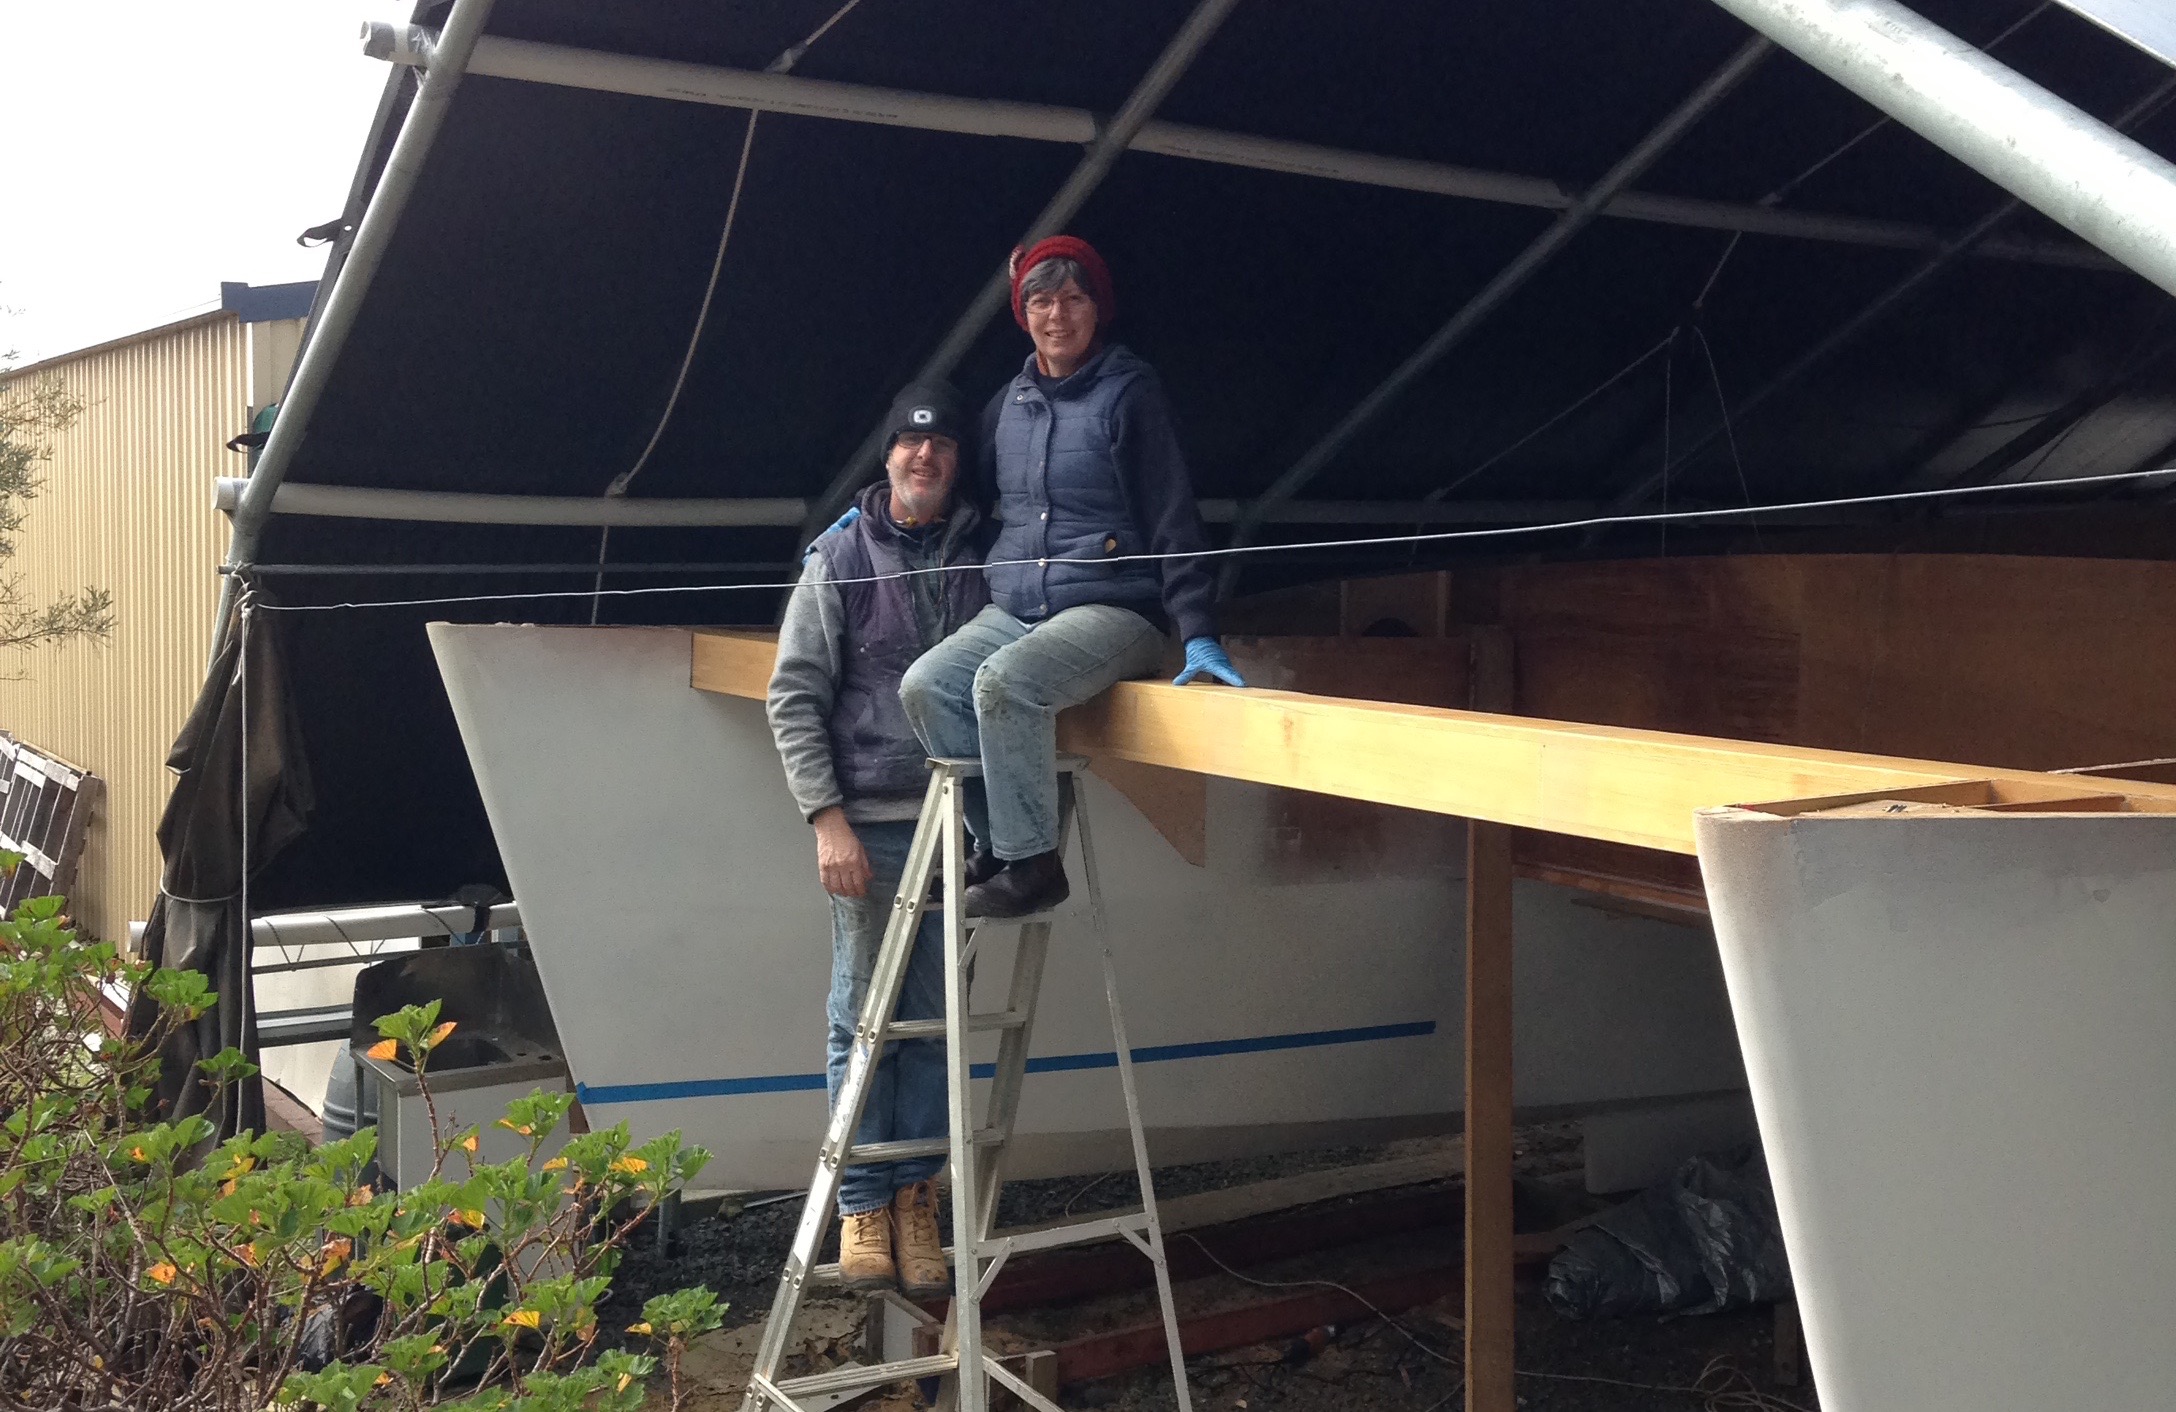
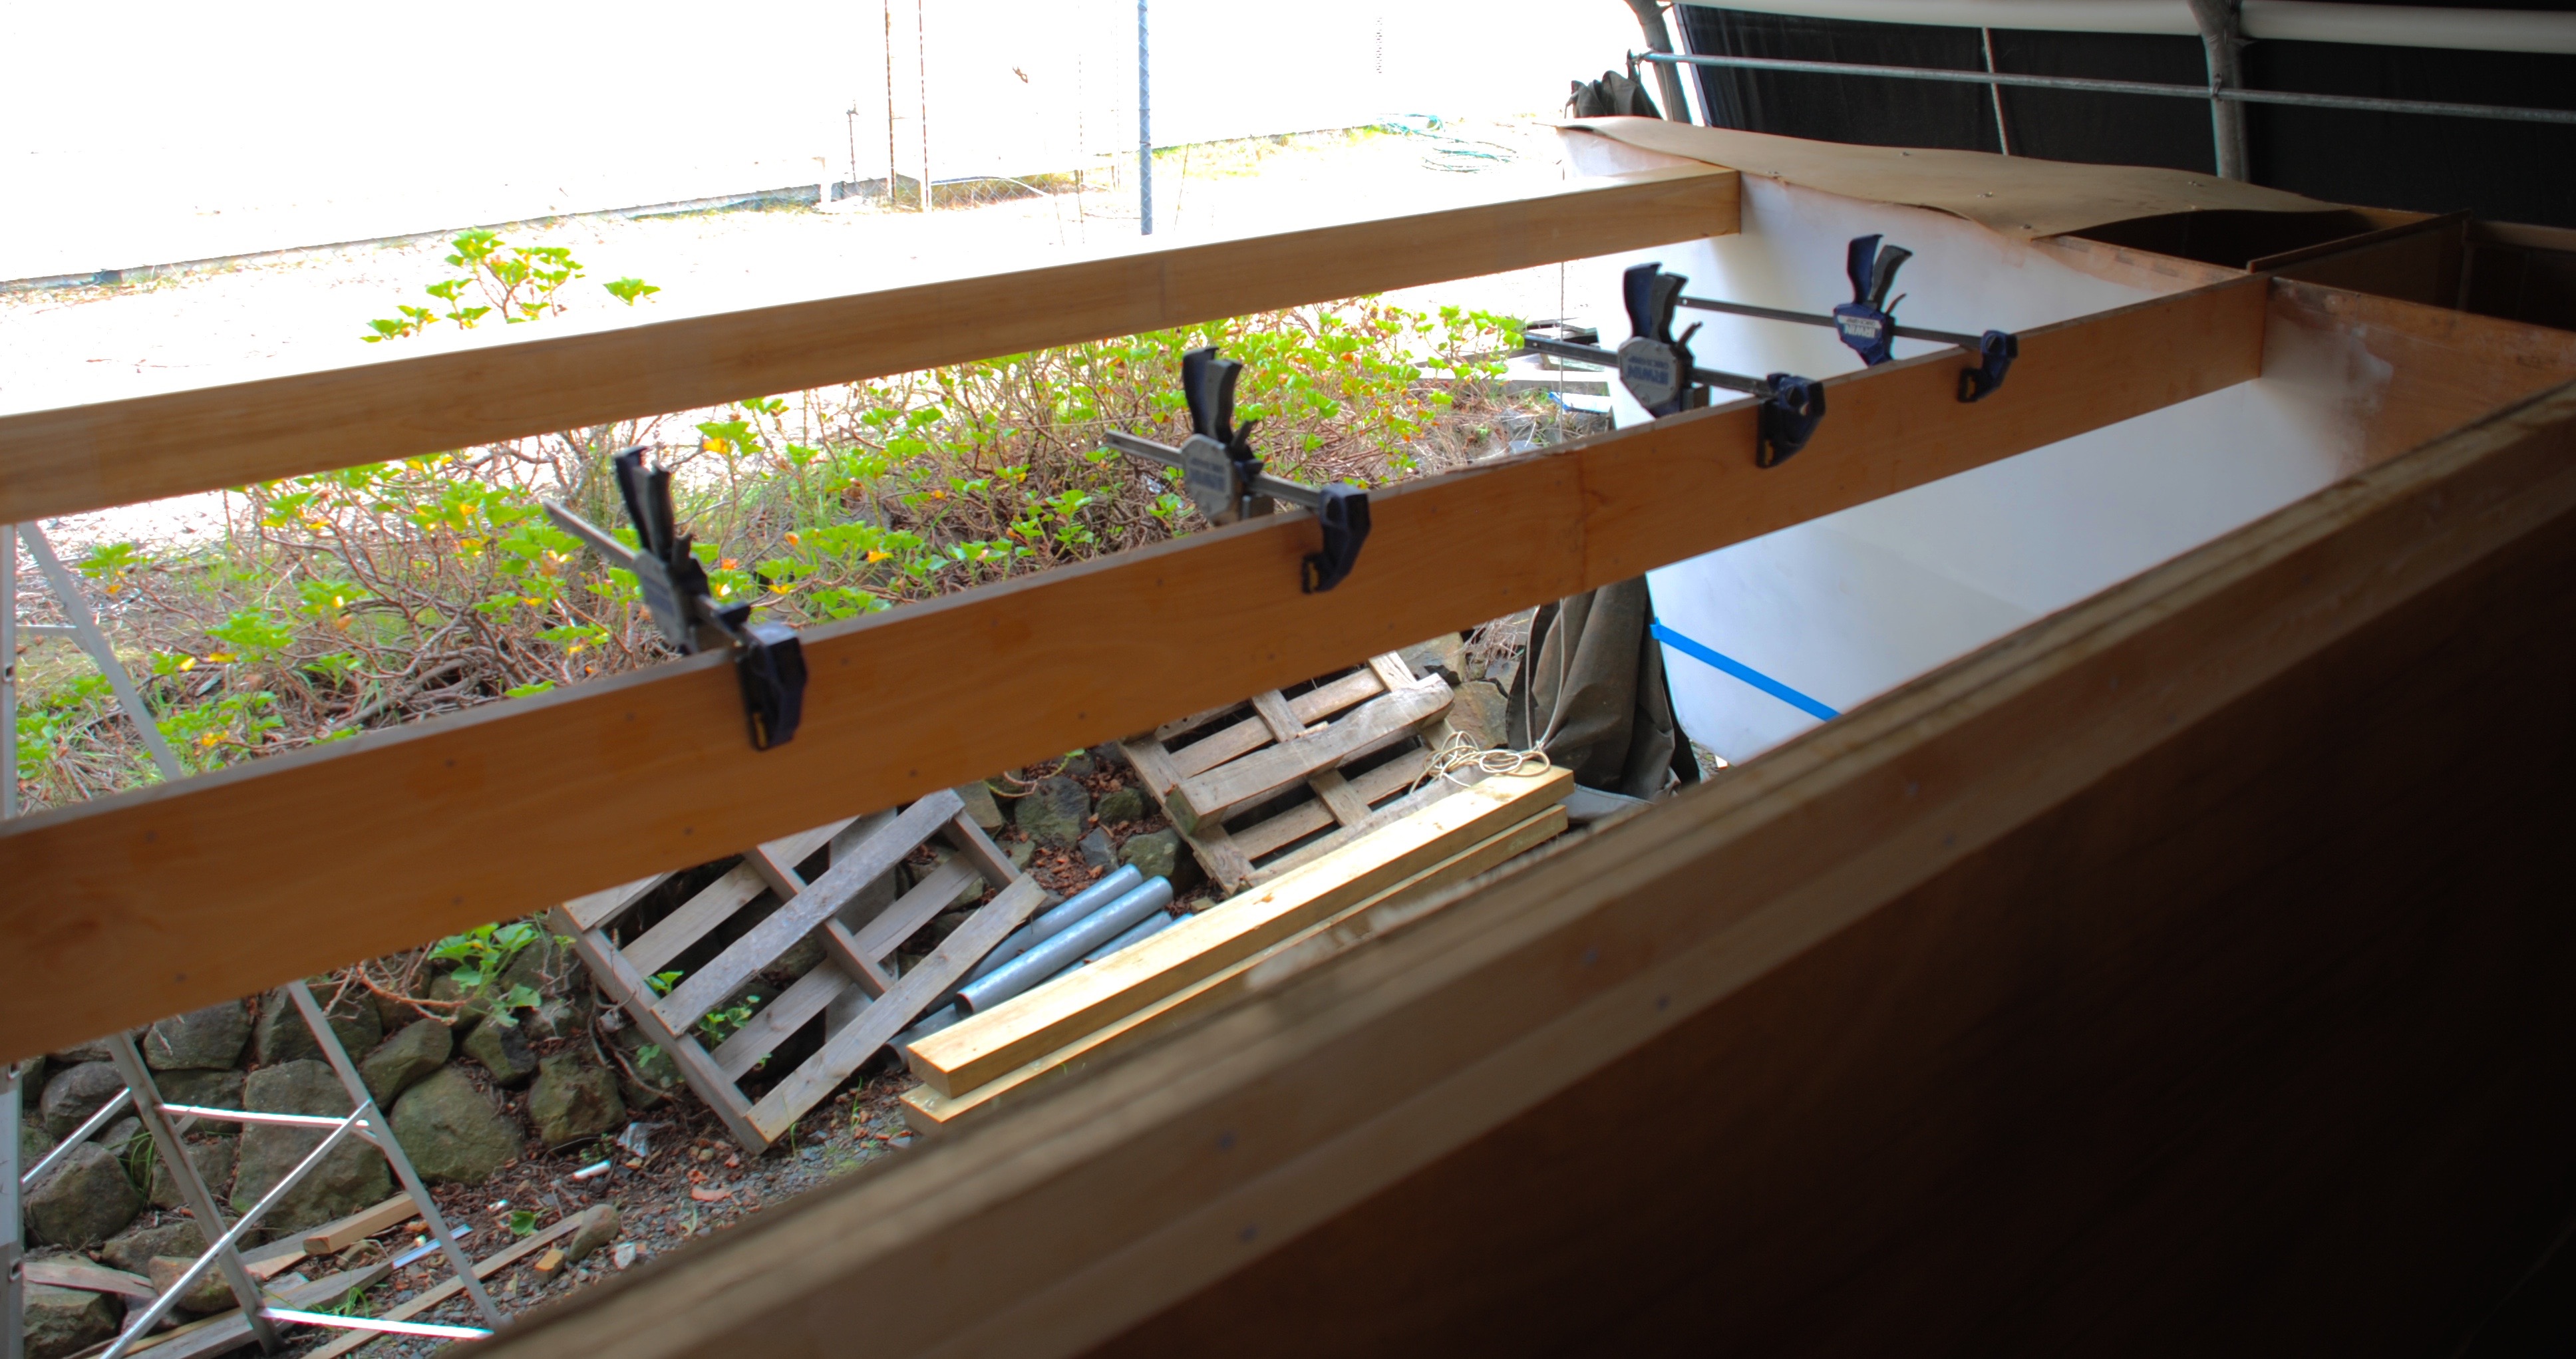
So we headed outside again and set up for installing the forebeam.
We had previously built and fiberglassed the beam, so it was ready to go. The forbeam is an immensely strong component, as it takes the full tension of the forestay. A wobbly beam would make it impossible to tension the forestay, which would adversely impact on windward performance. A weak forebeam could threaten the whole rig.
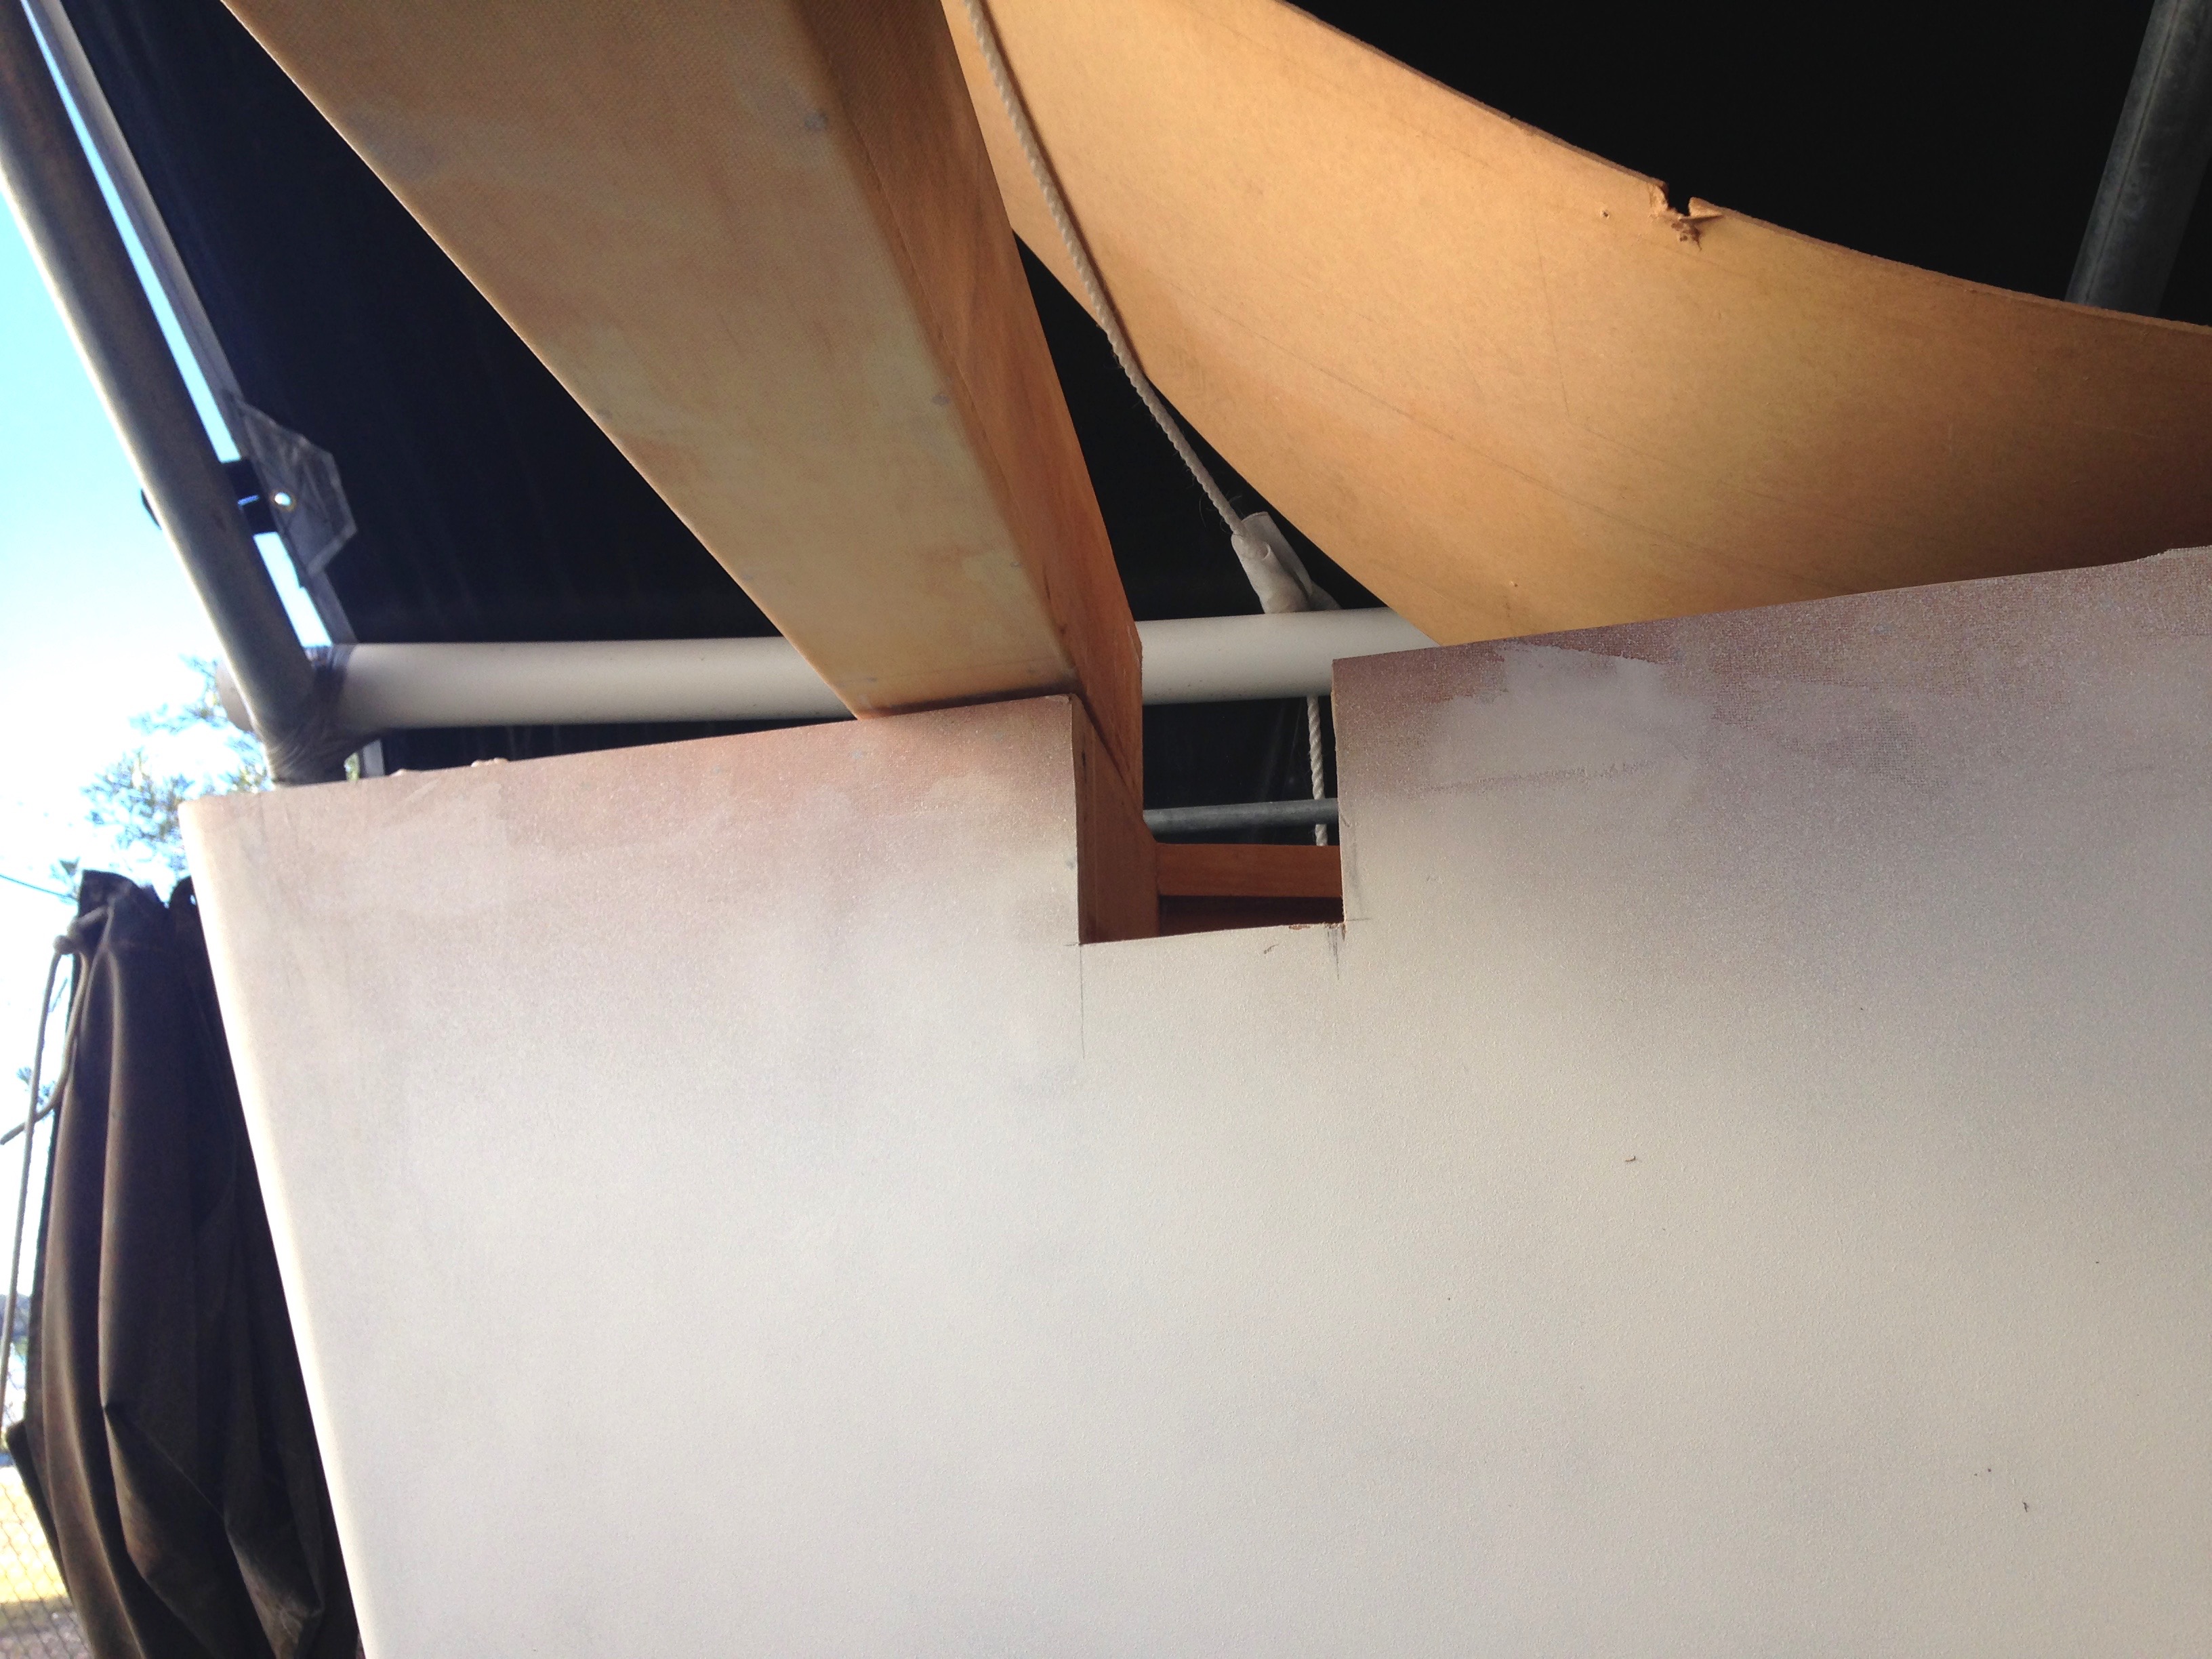
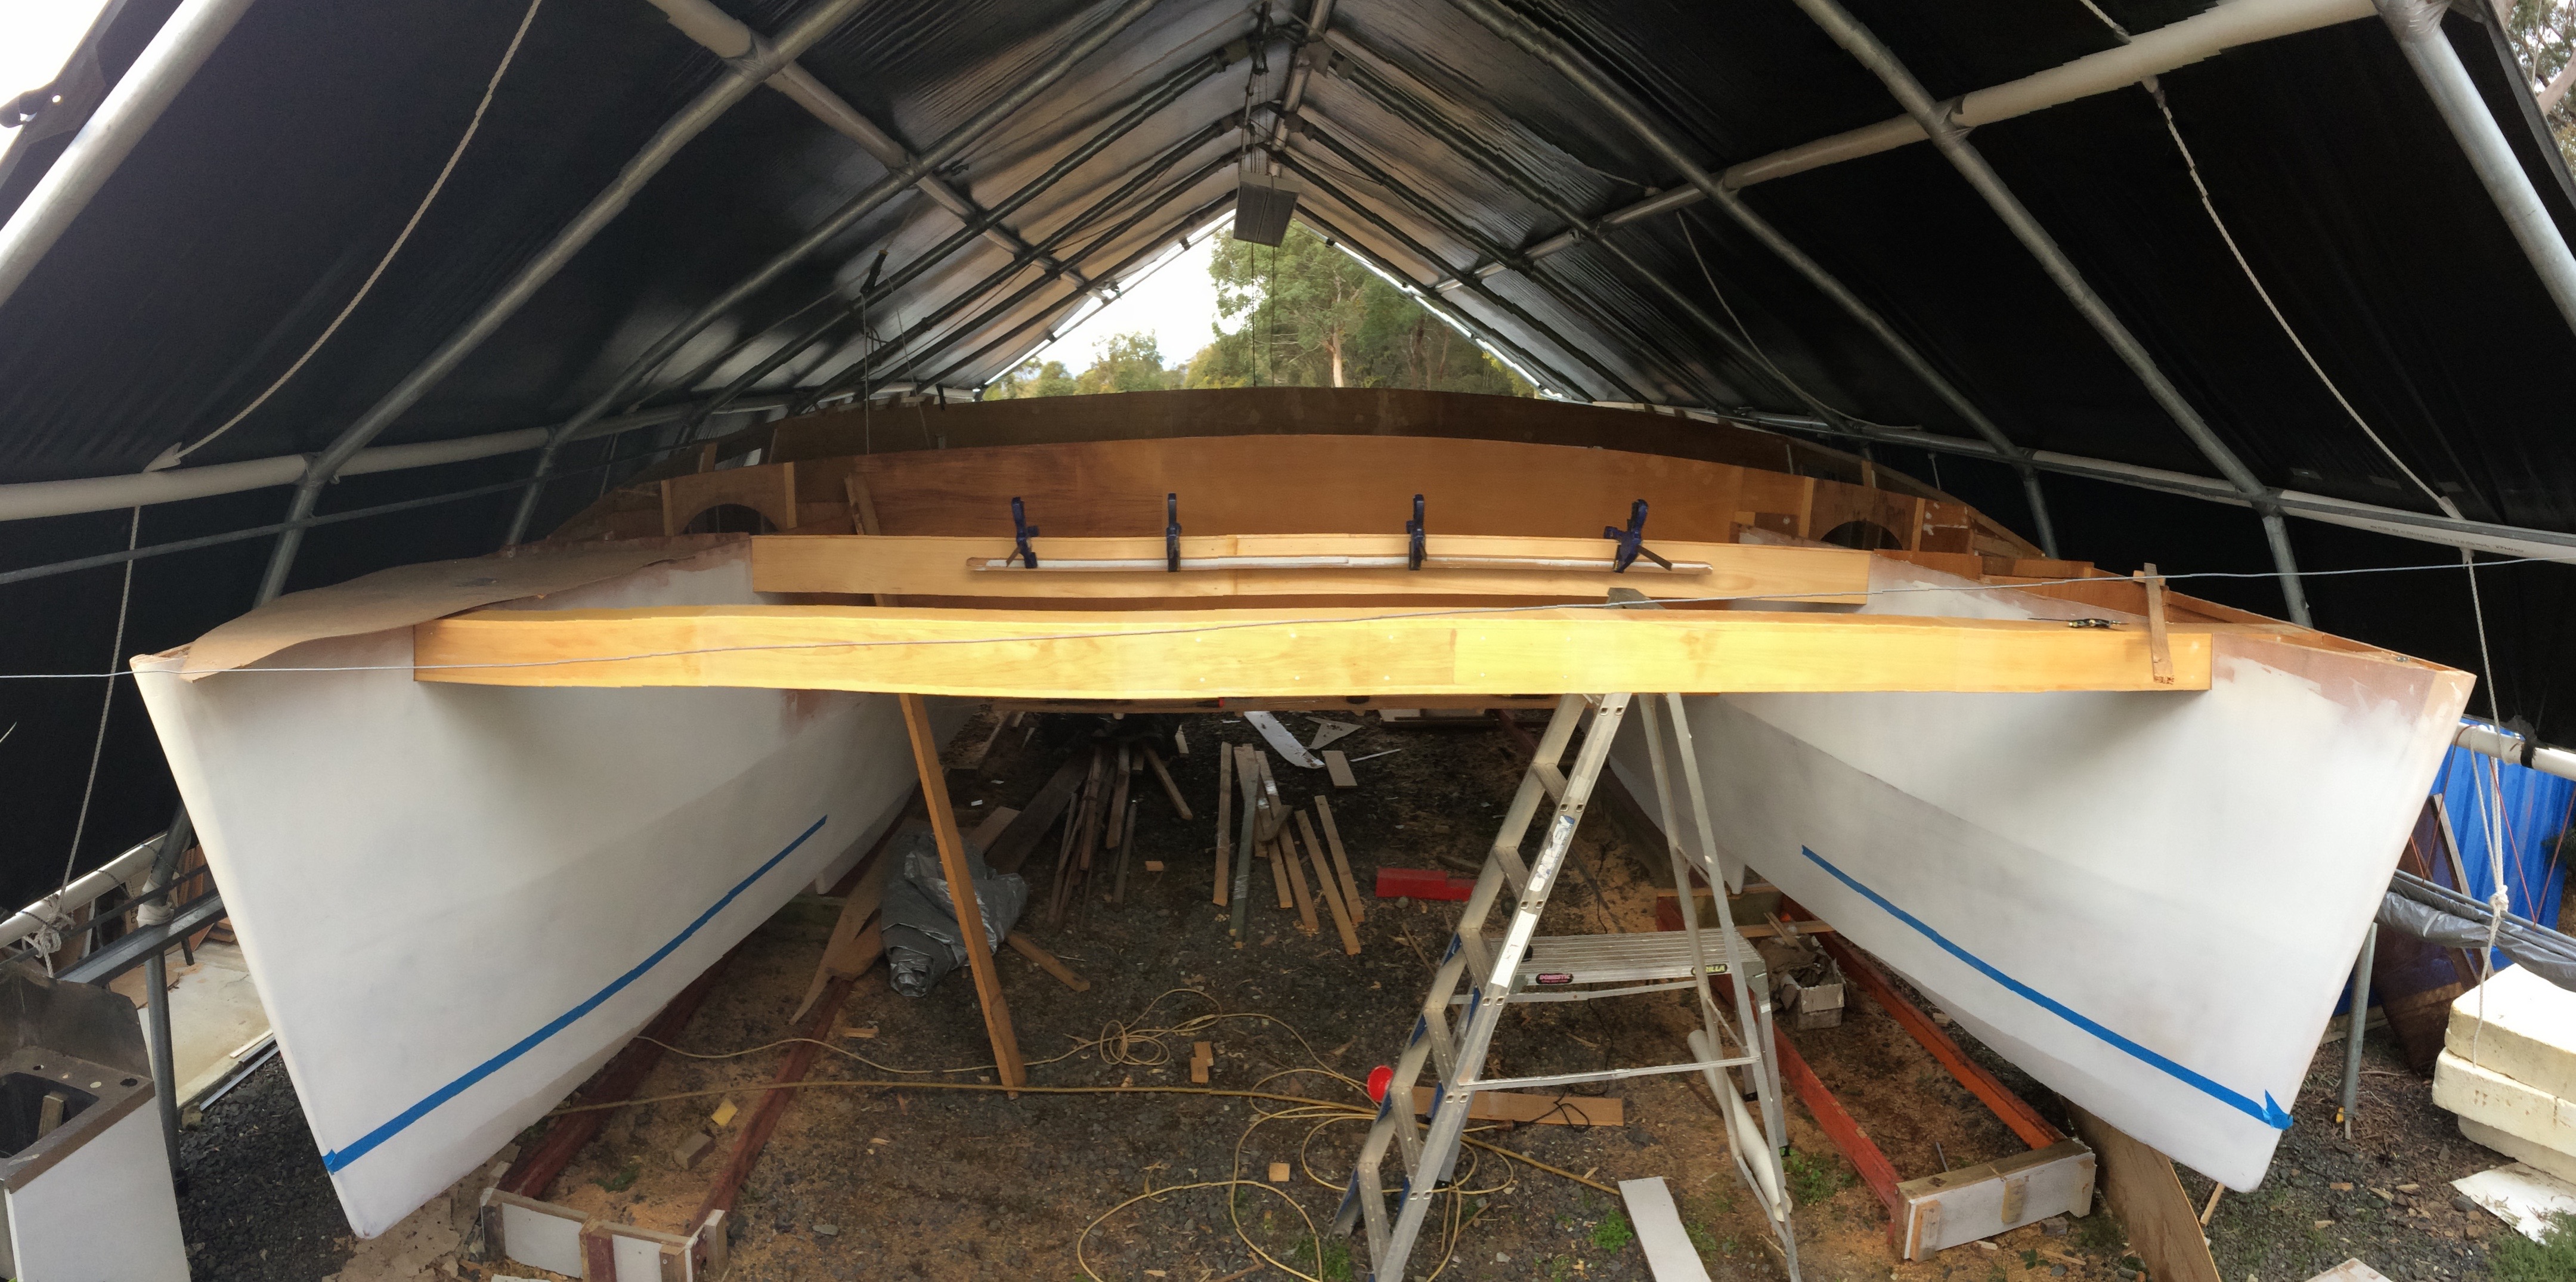
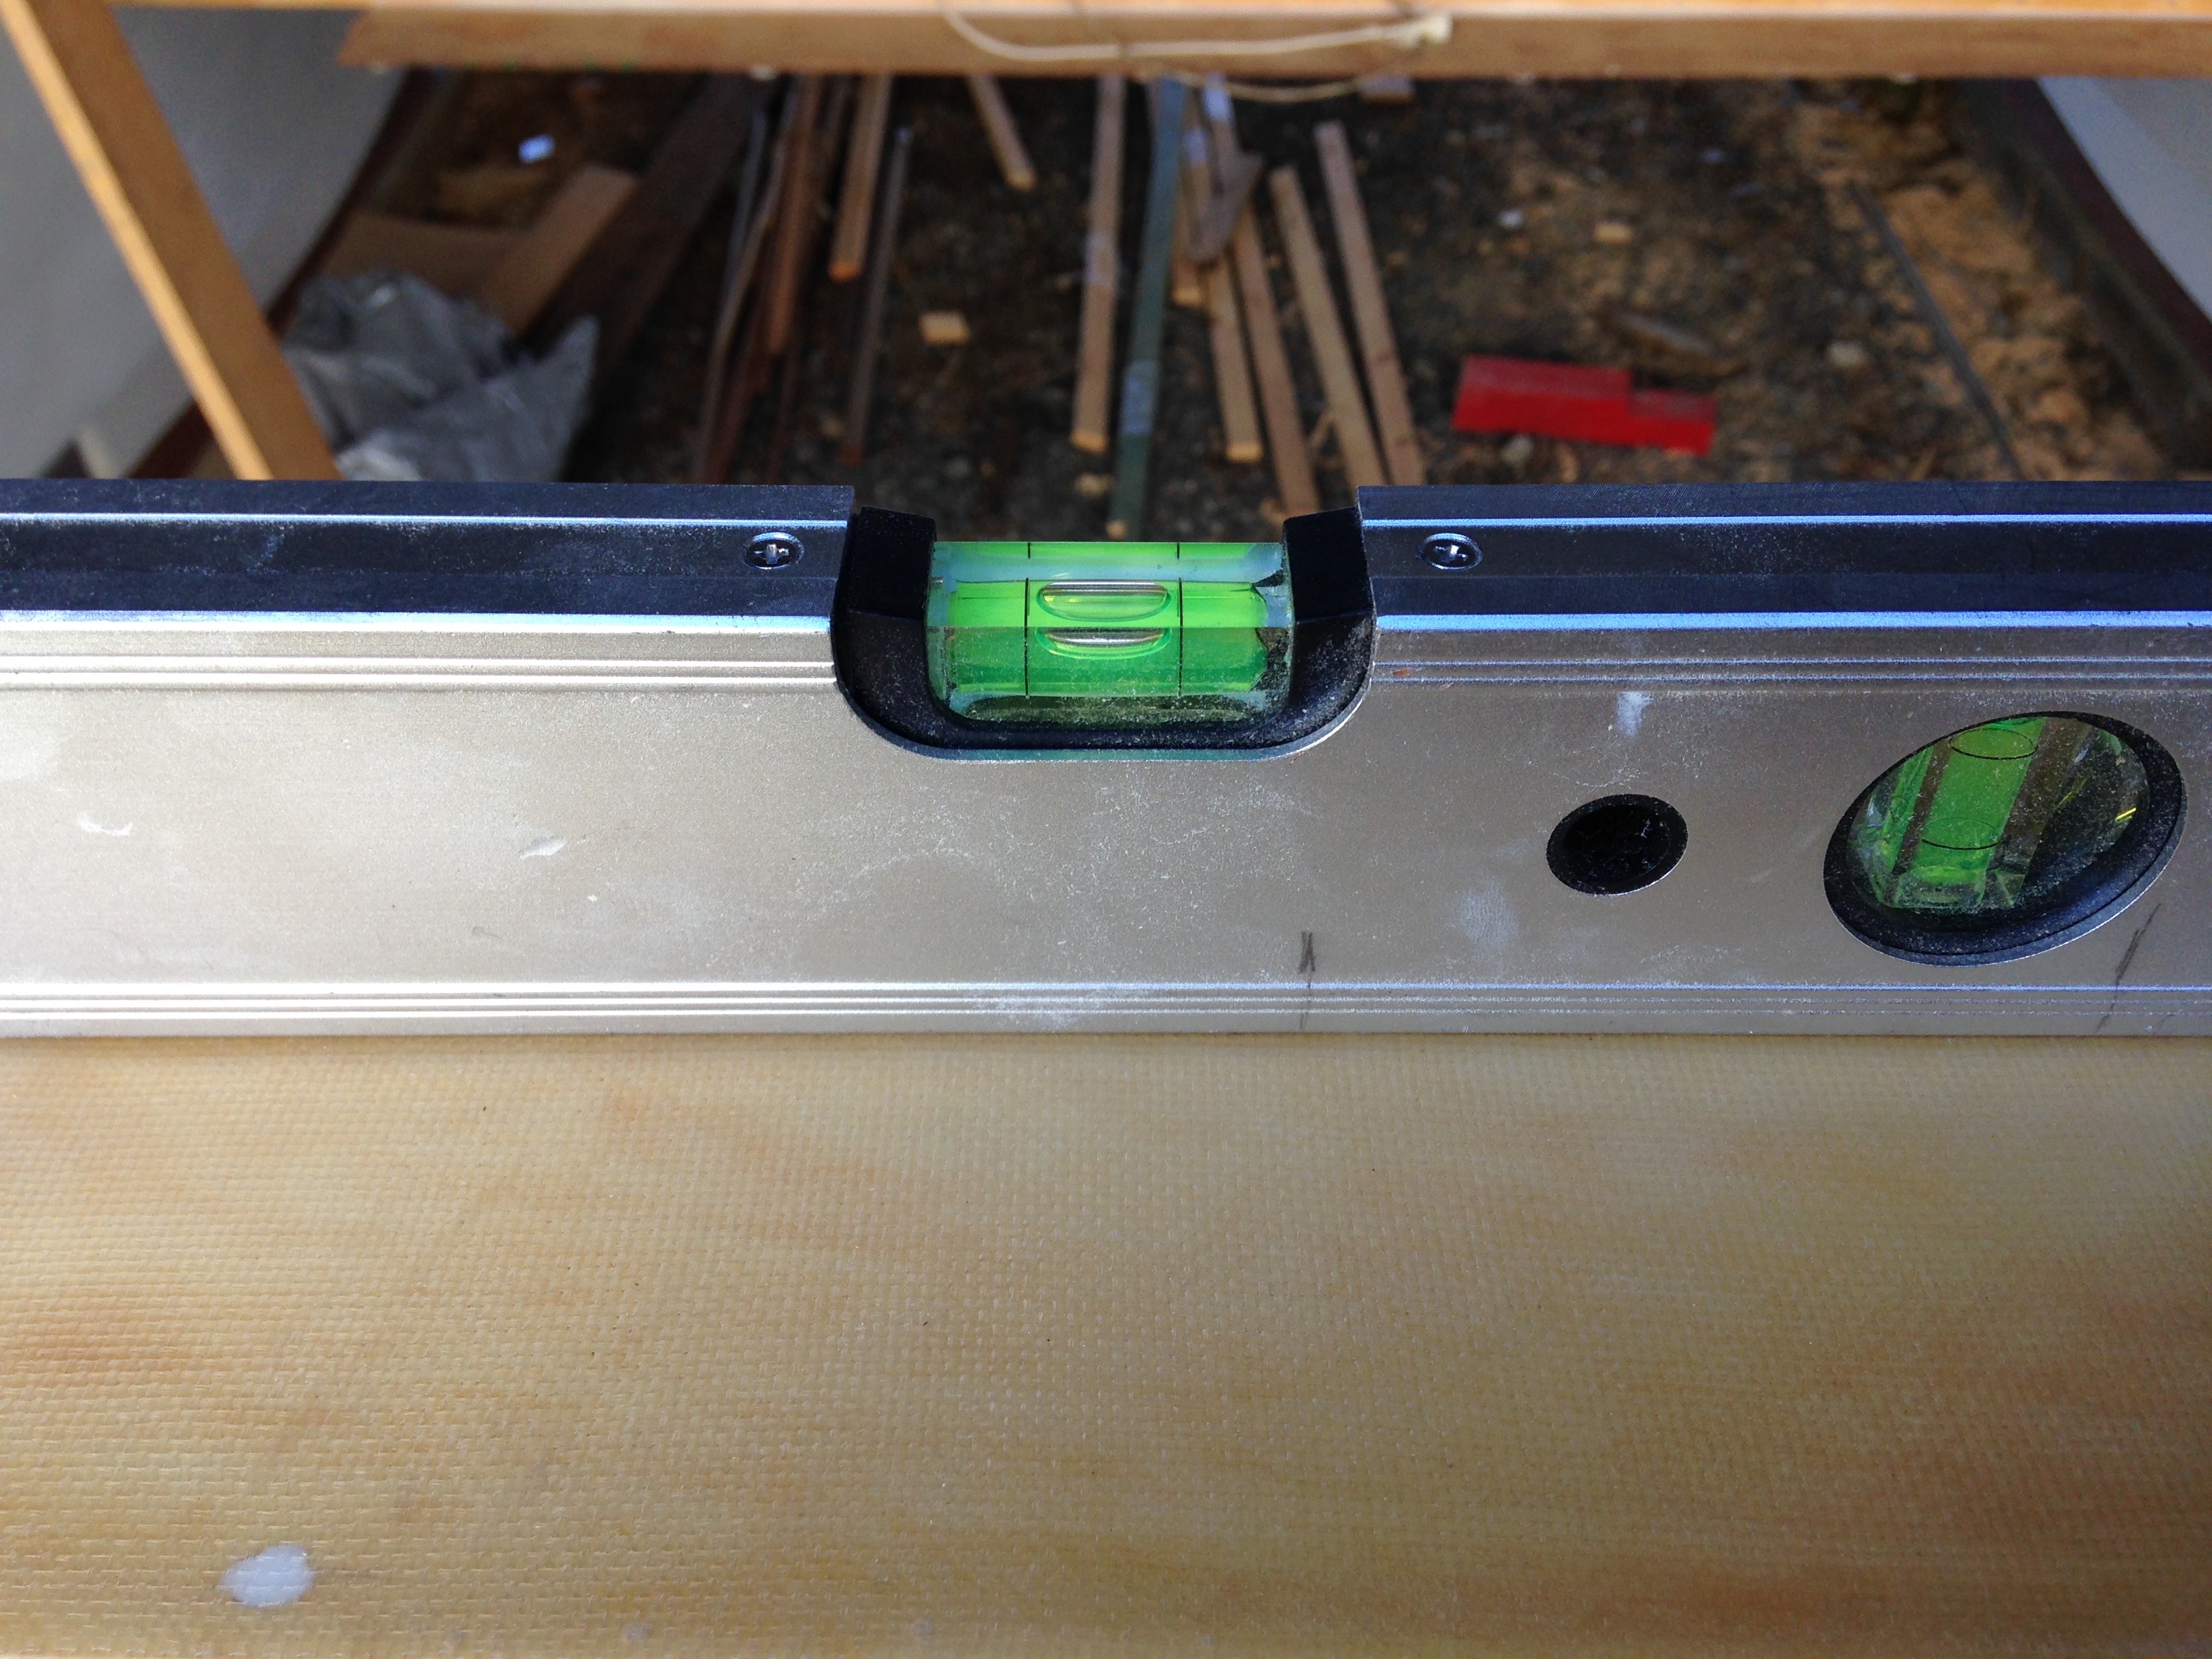
Following the design instructions, we cut holes in the hulls to receive the beam and laminated two stout sub-bulkheads directly behind the beam location. We then dry fitted the beam and checked for level. It was a hold-your-breath moment. A slight discrepancy in the fore-aft level of the hulls would reveal itself now. The beam is on the extreme end of the boat, and there are a lot of variables in the building process. We were chuffed, and it must be admitted, somewhat surprised that it was dead level on the first try. The beam is sandwiched between the two bulkheads and later we will glue/bolt it in place with four 5/8 inch bolts. First, we have to manufacture some metal components that need to be in place prior to fixing the beam down.
Next, we fitted another beam lamination that spans the hulls behind the forebeam, at frame two. This is the fixing point for the web lockers, a semi circular assembly sort of like a bullnose roof, but upside down. In total, the hulls are connected with six beams.
Another job we completed was adding a second layer of fiberglass to the aft steps, and rendering on a coat of Qcell. After sanding we will give it a coat of undercoat.
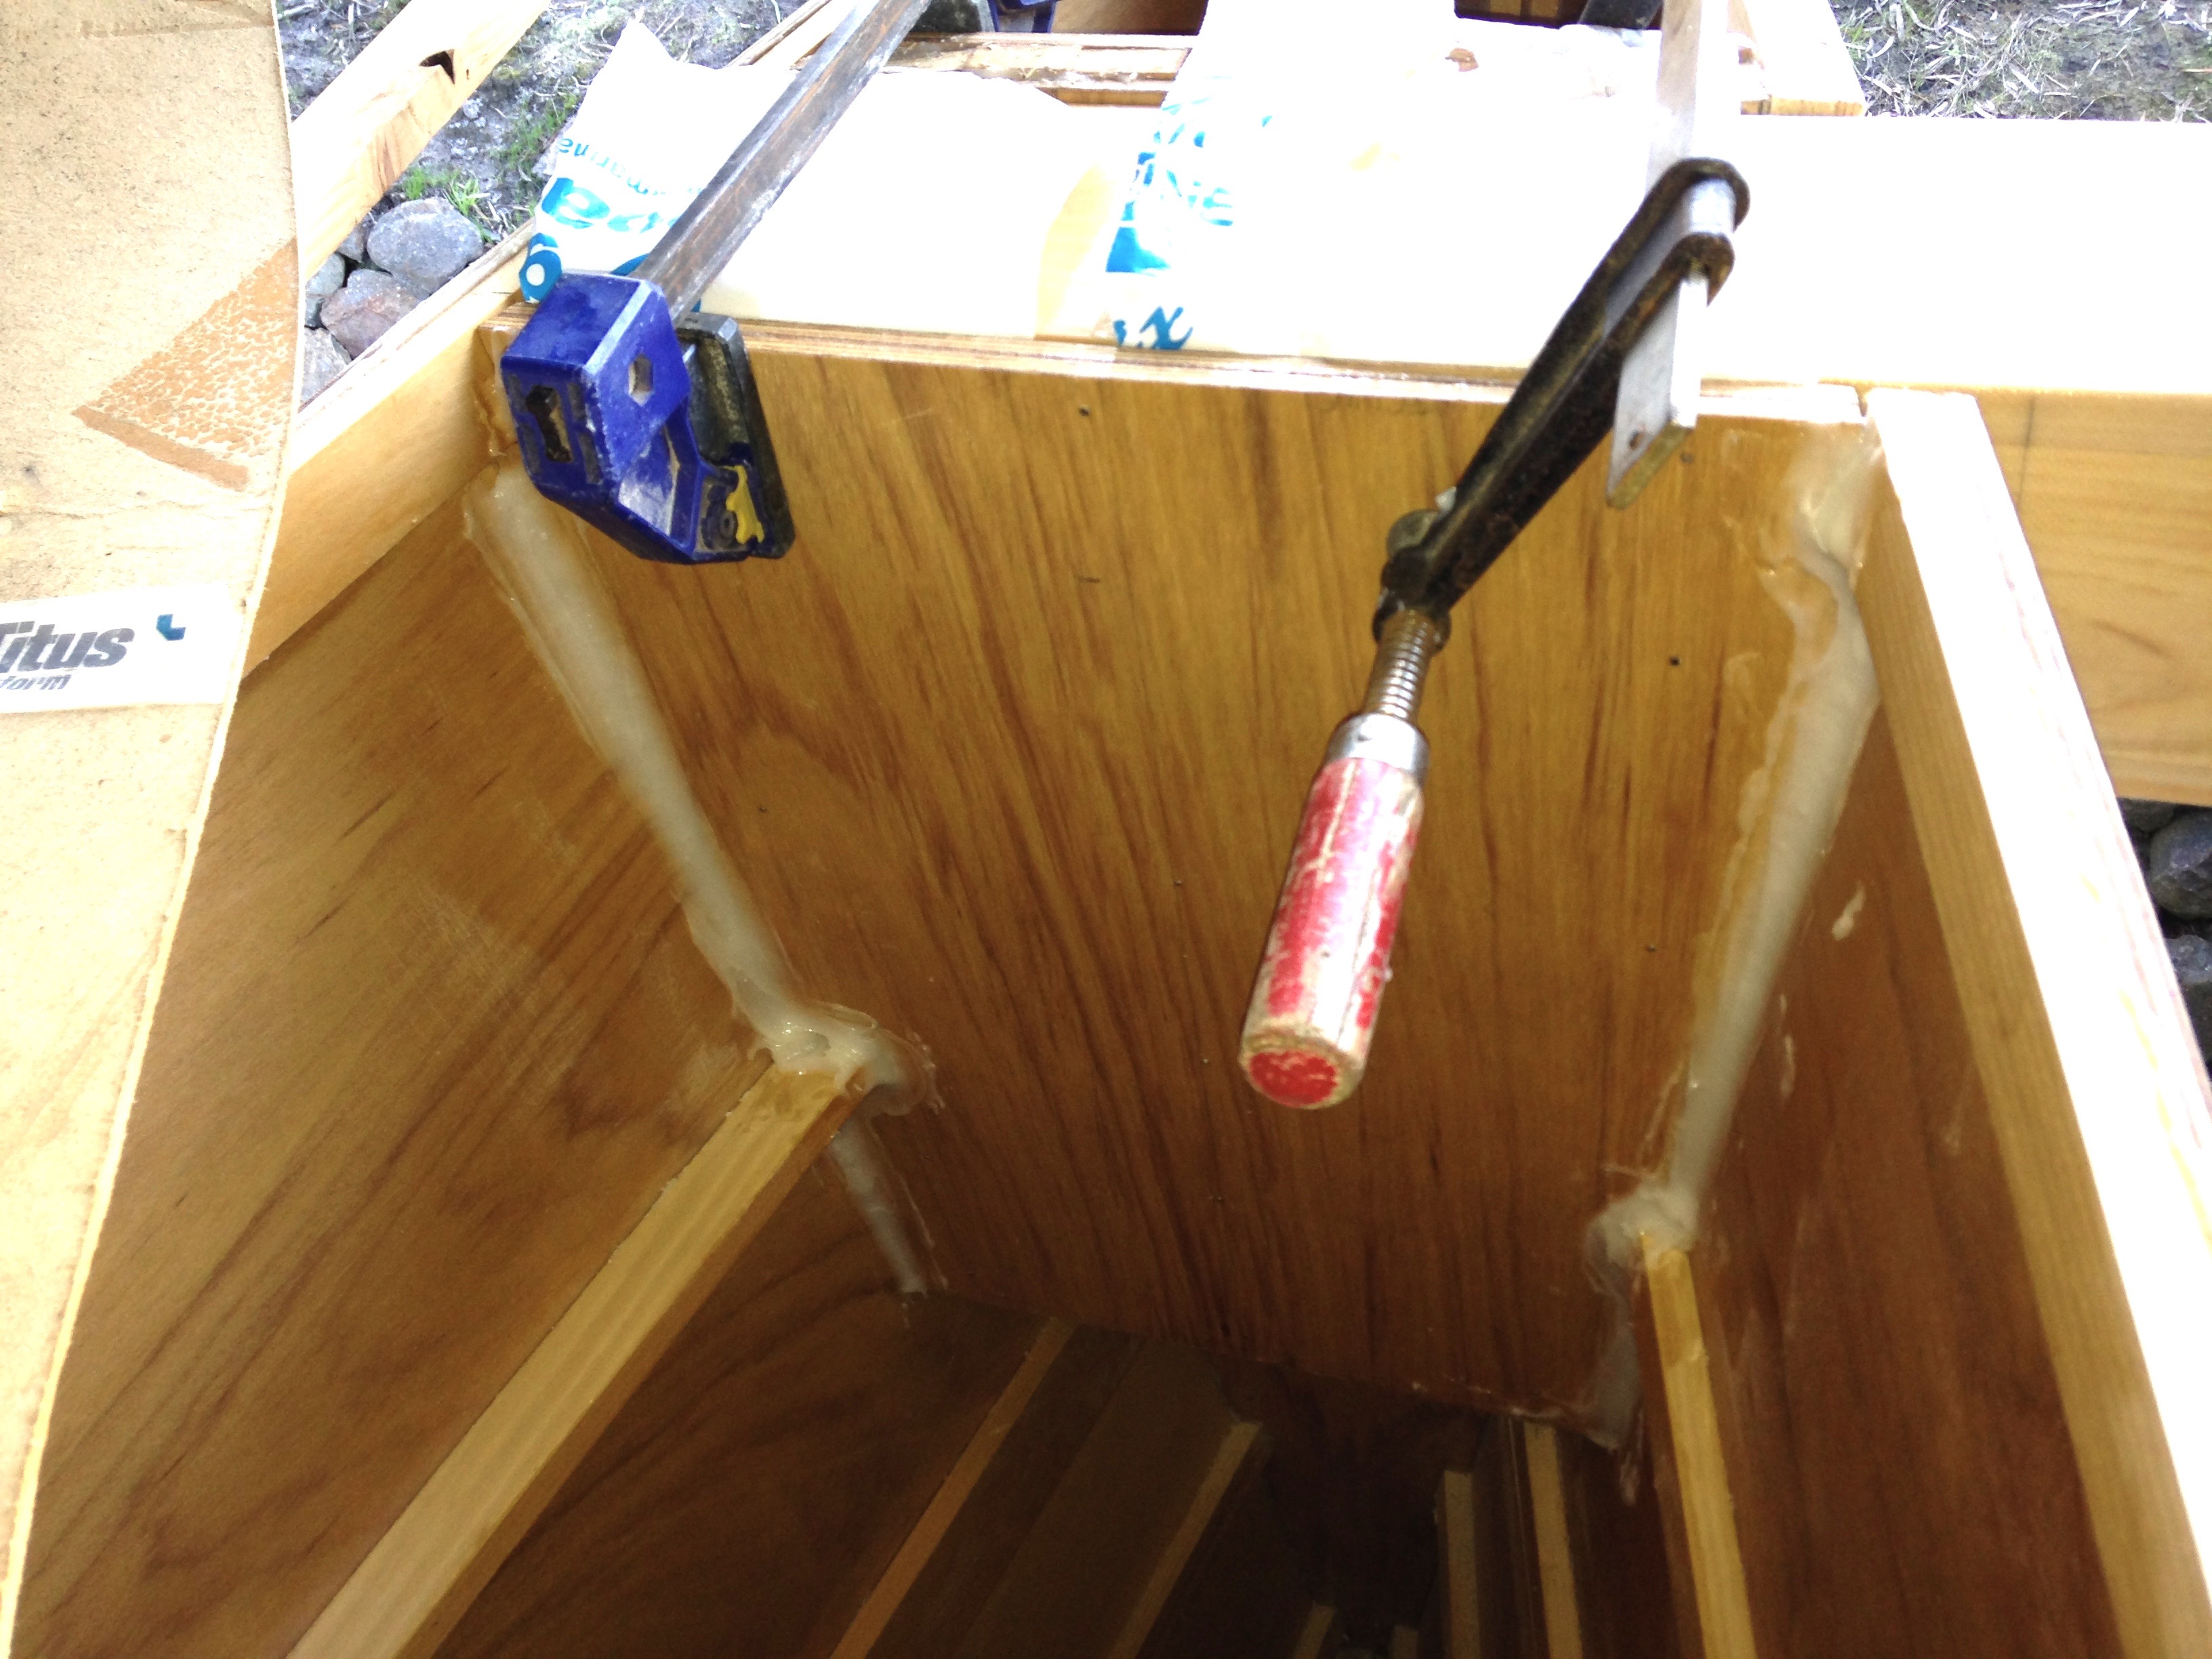
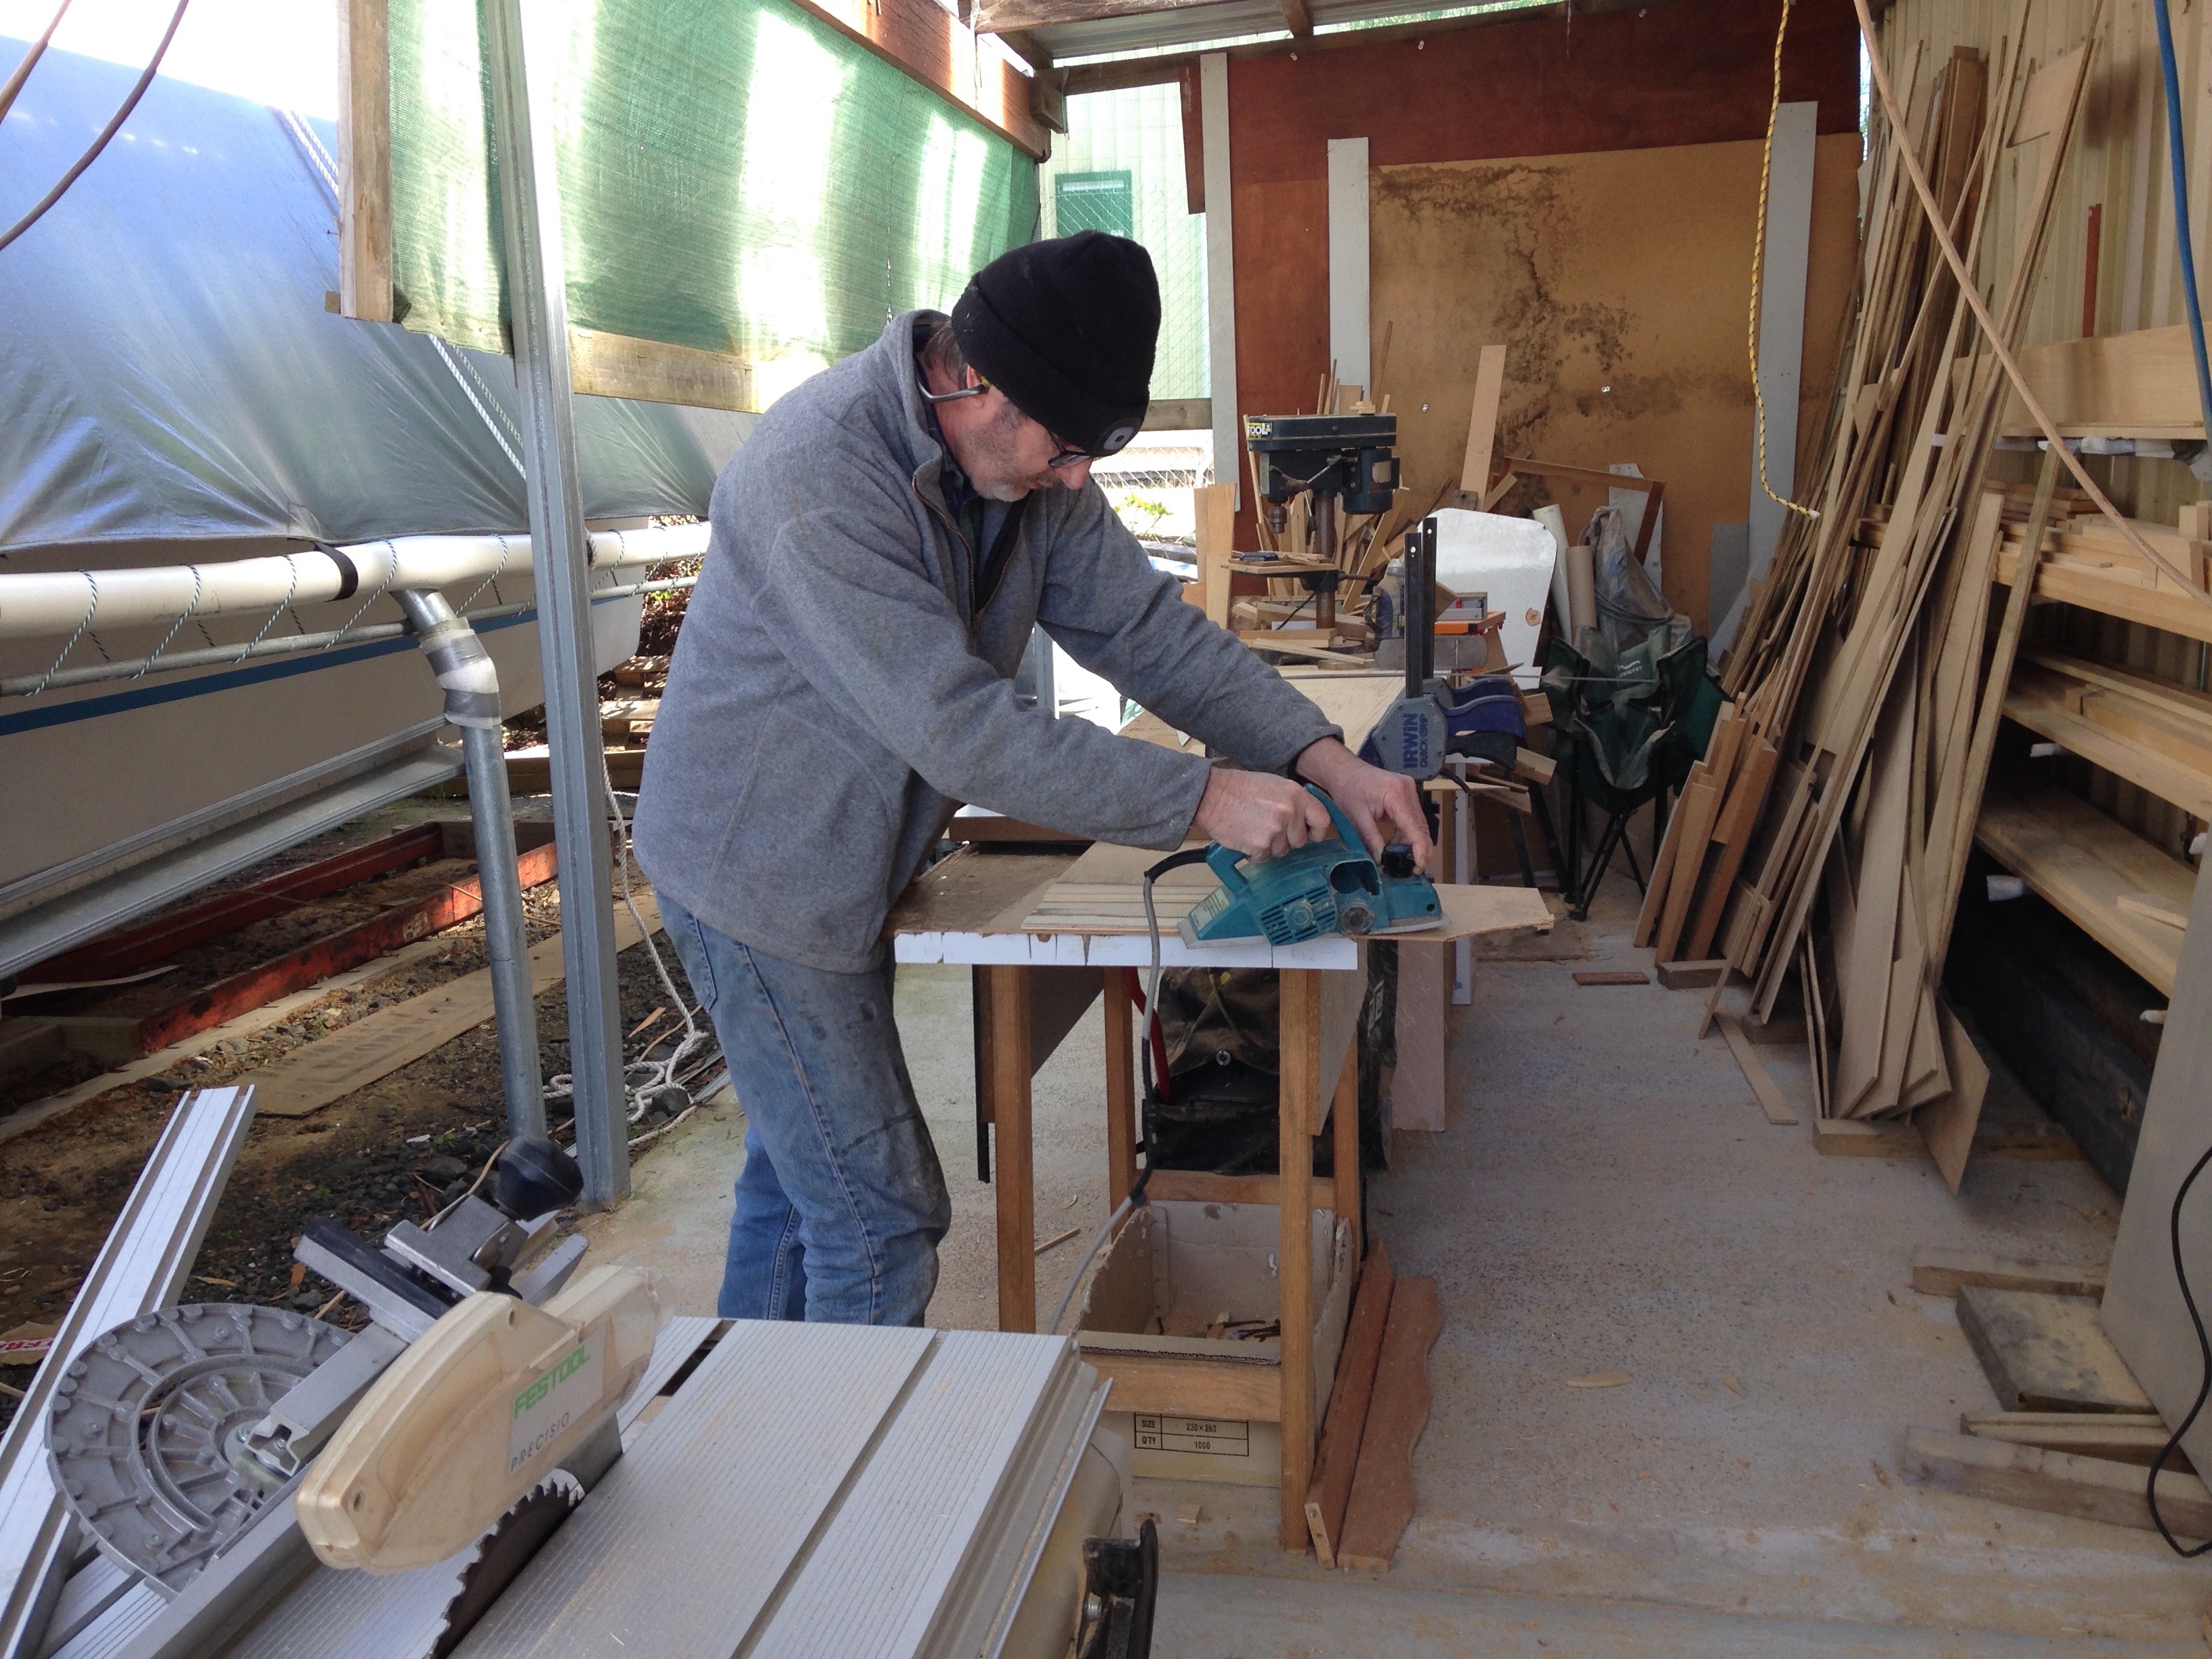
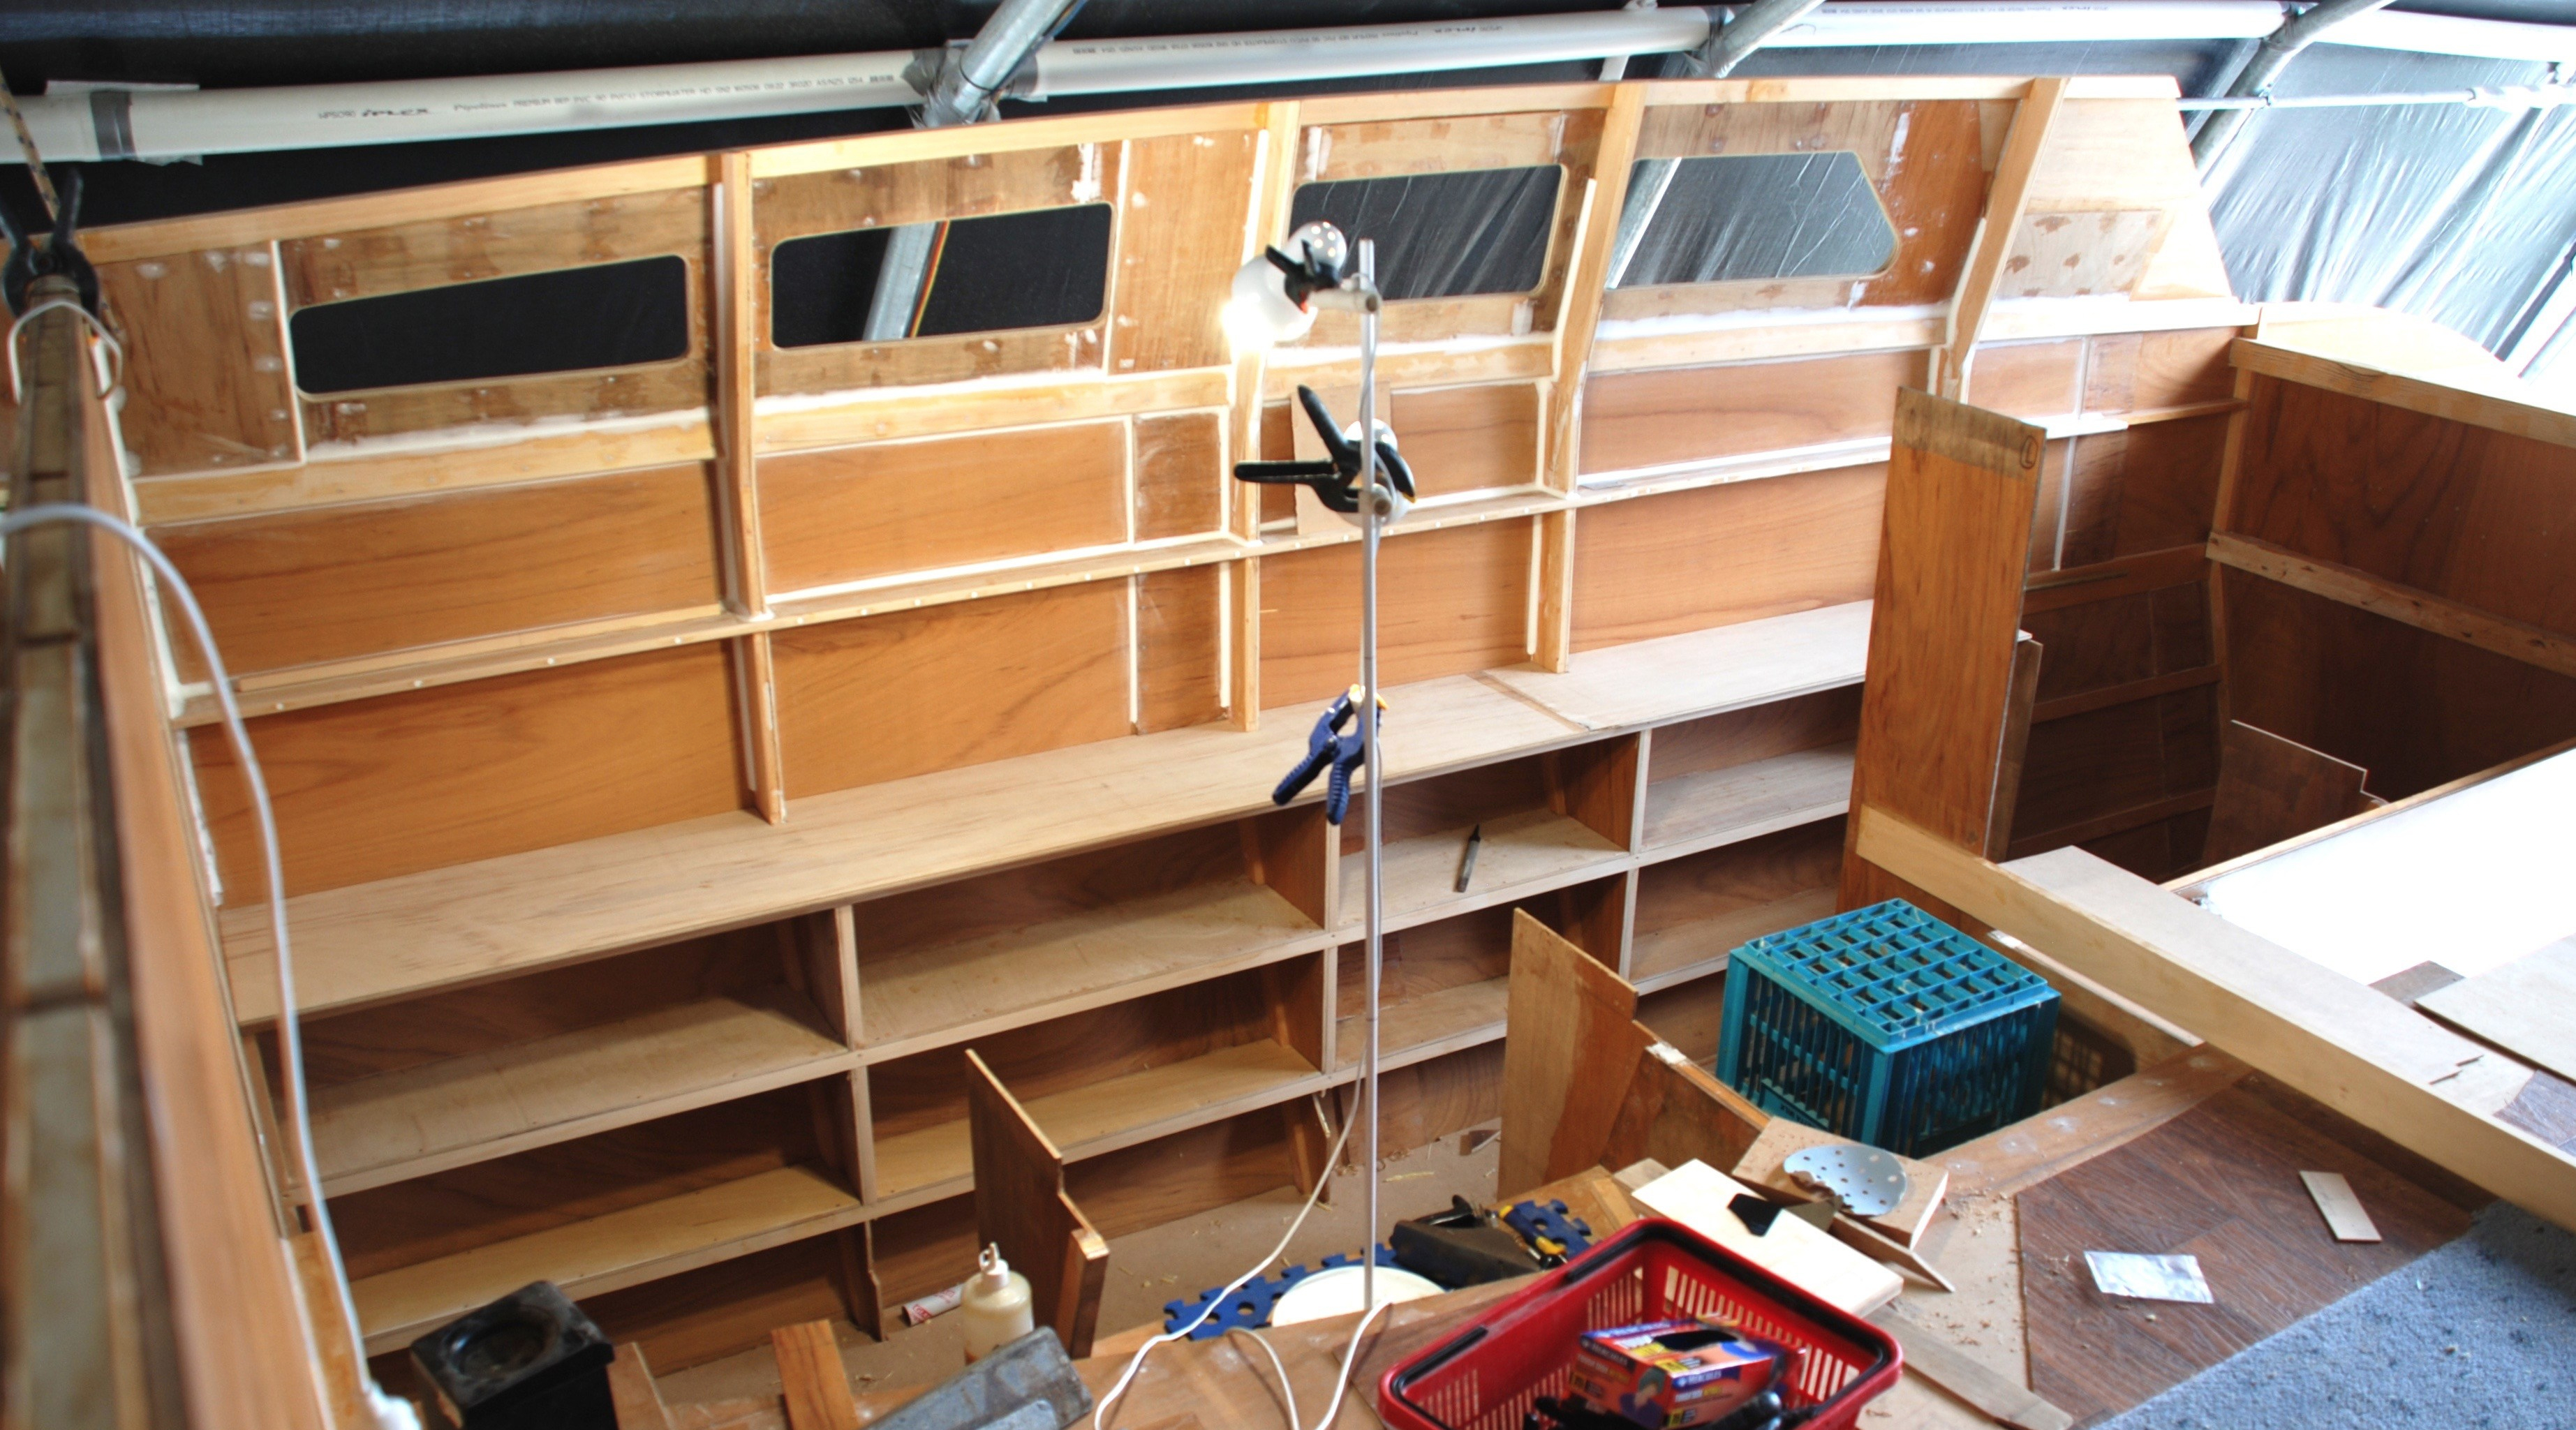
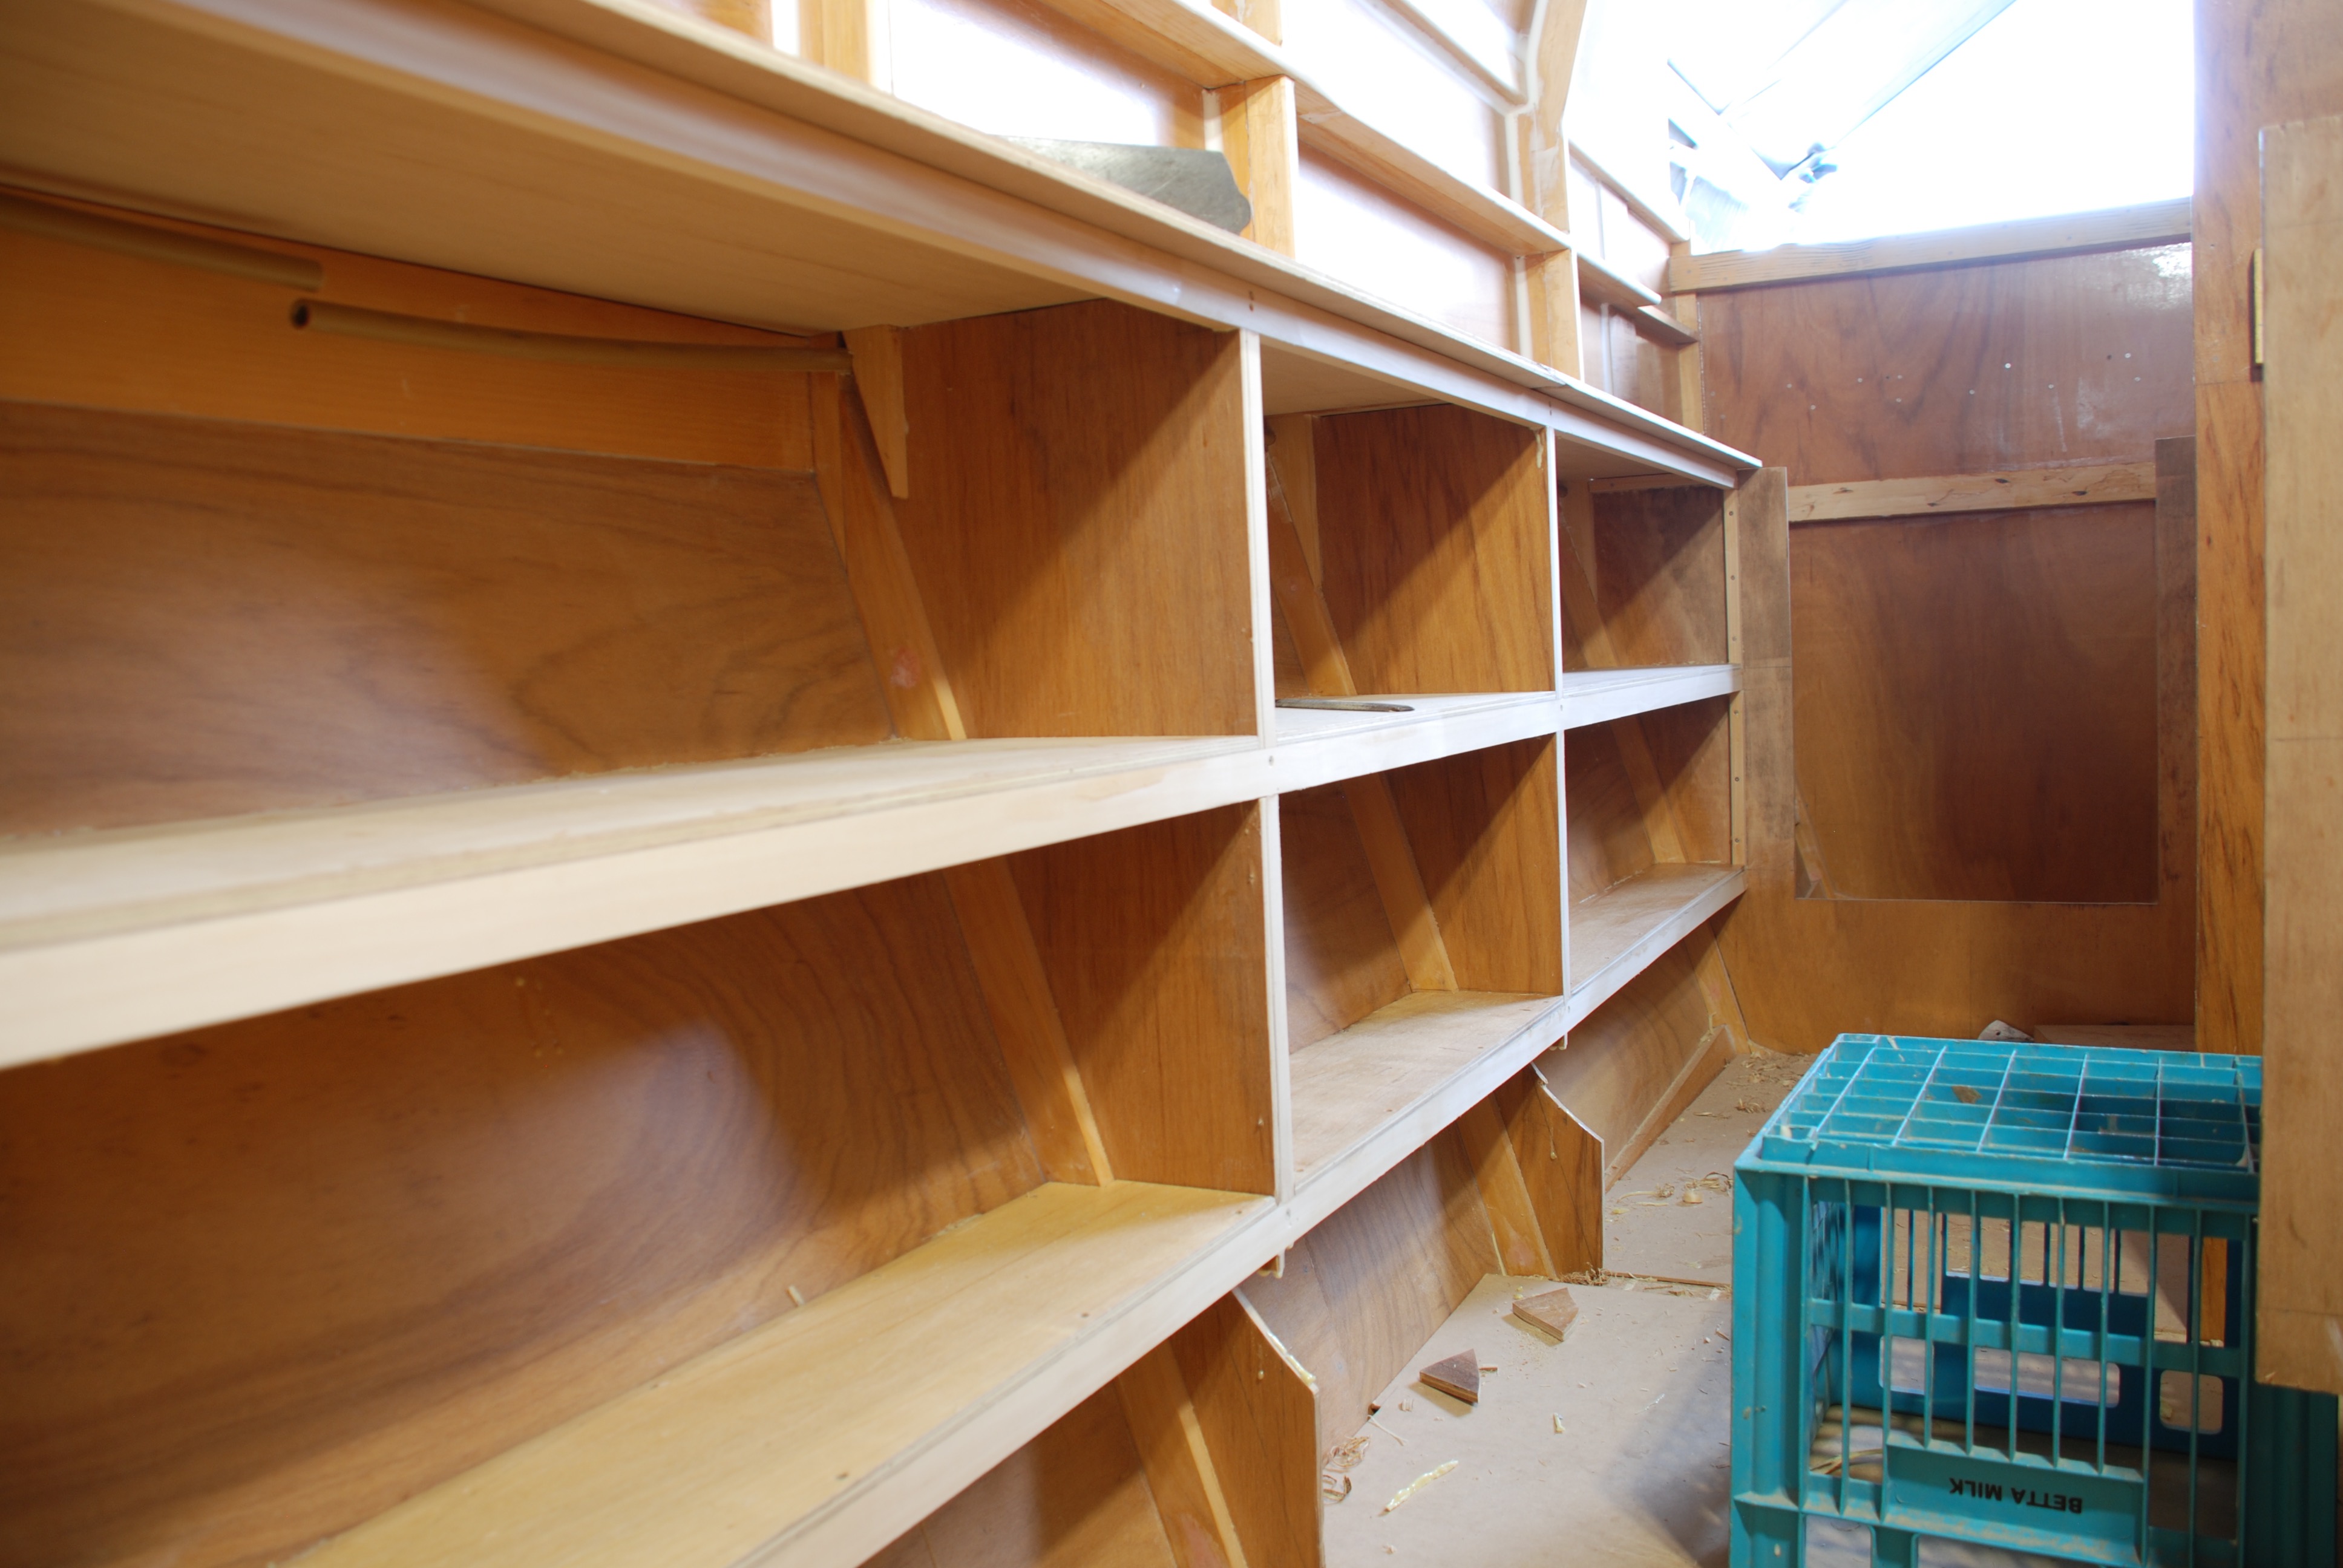
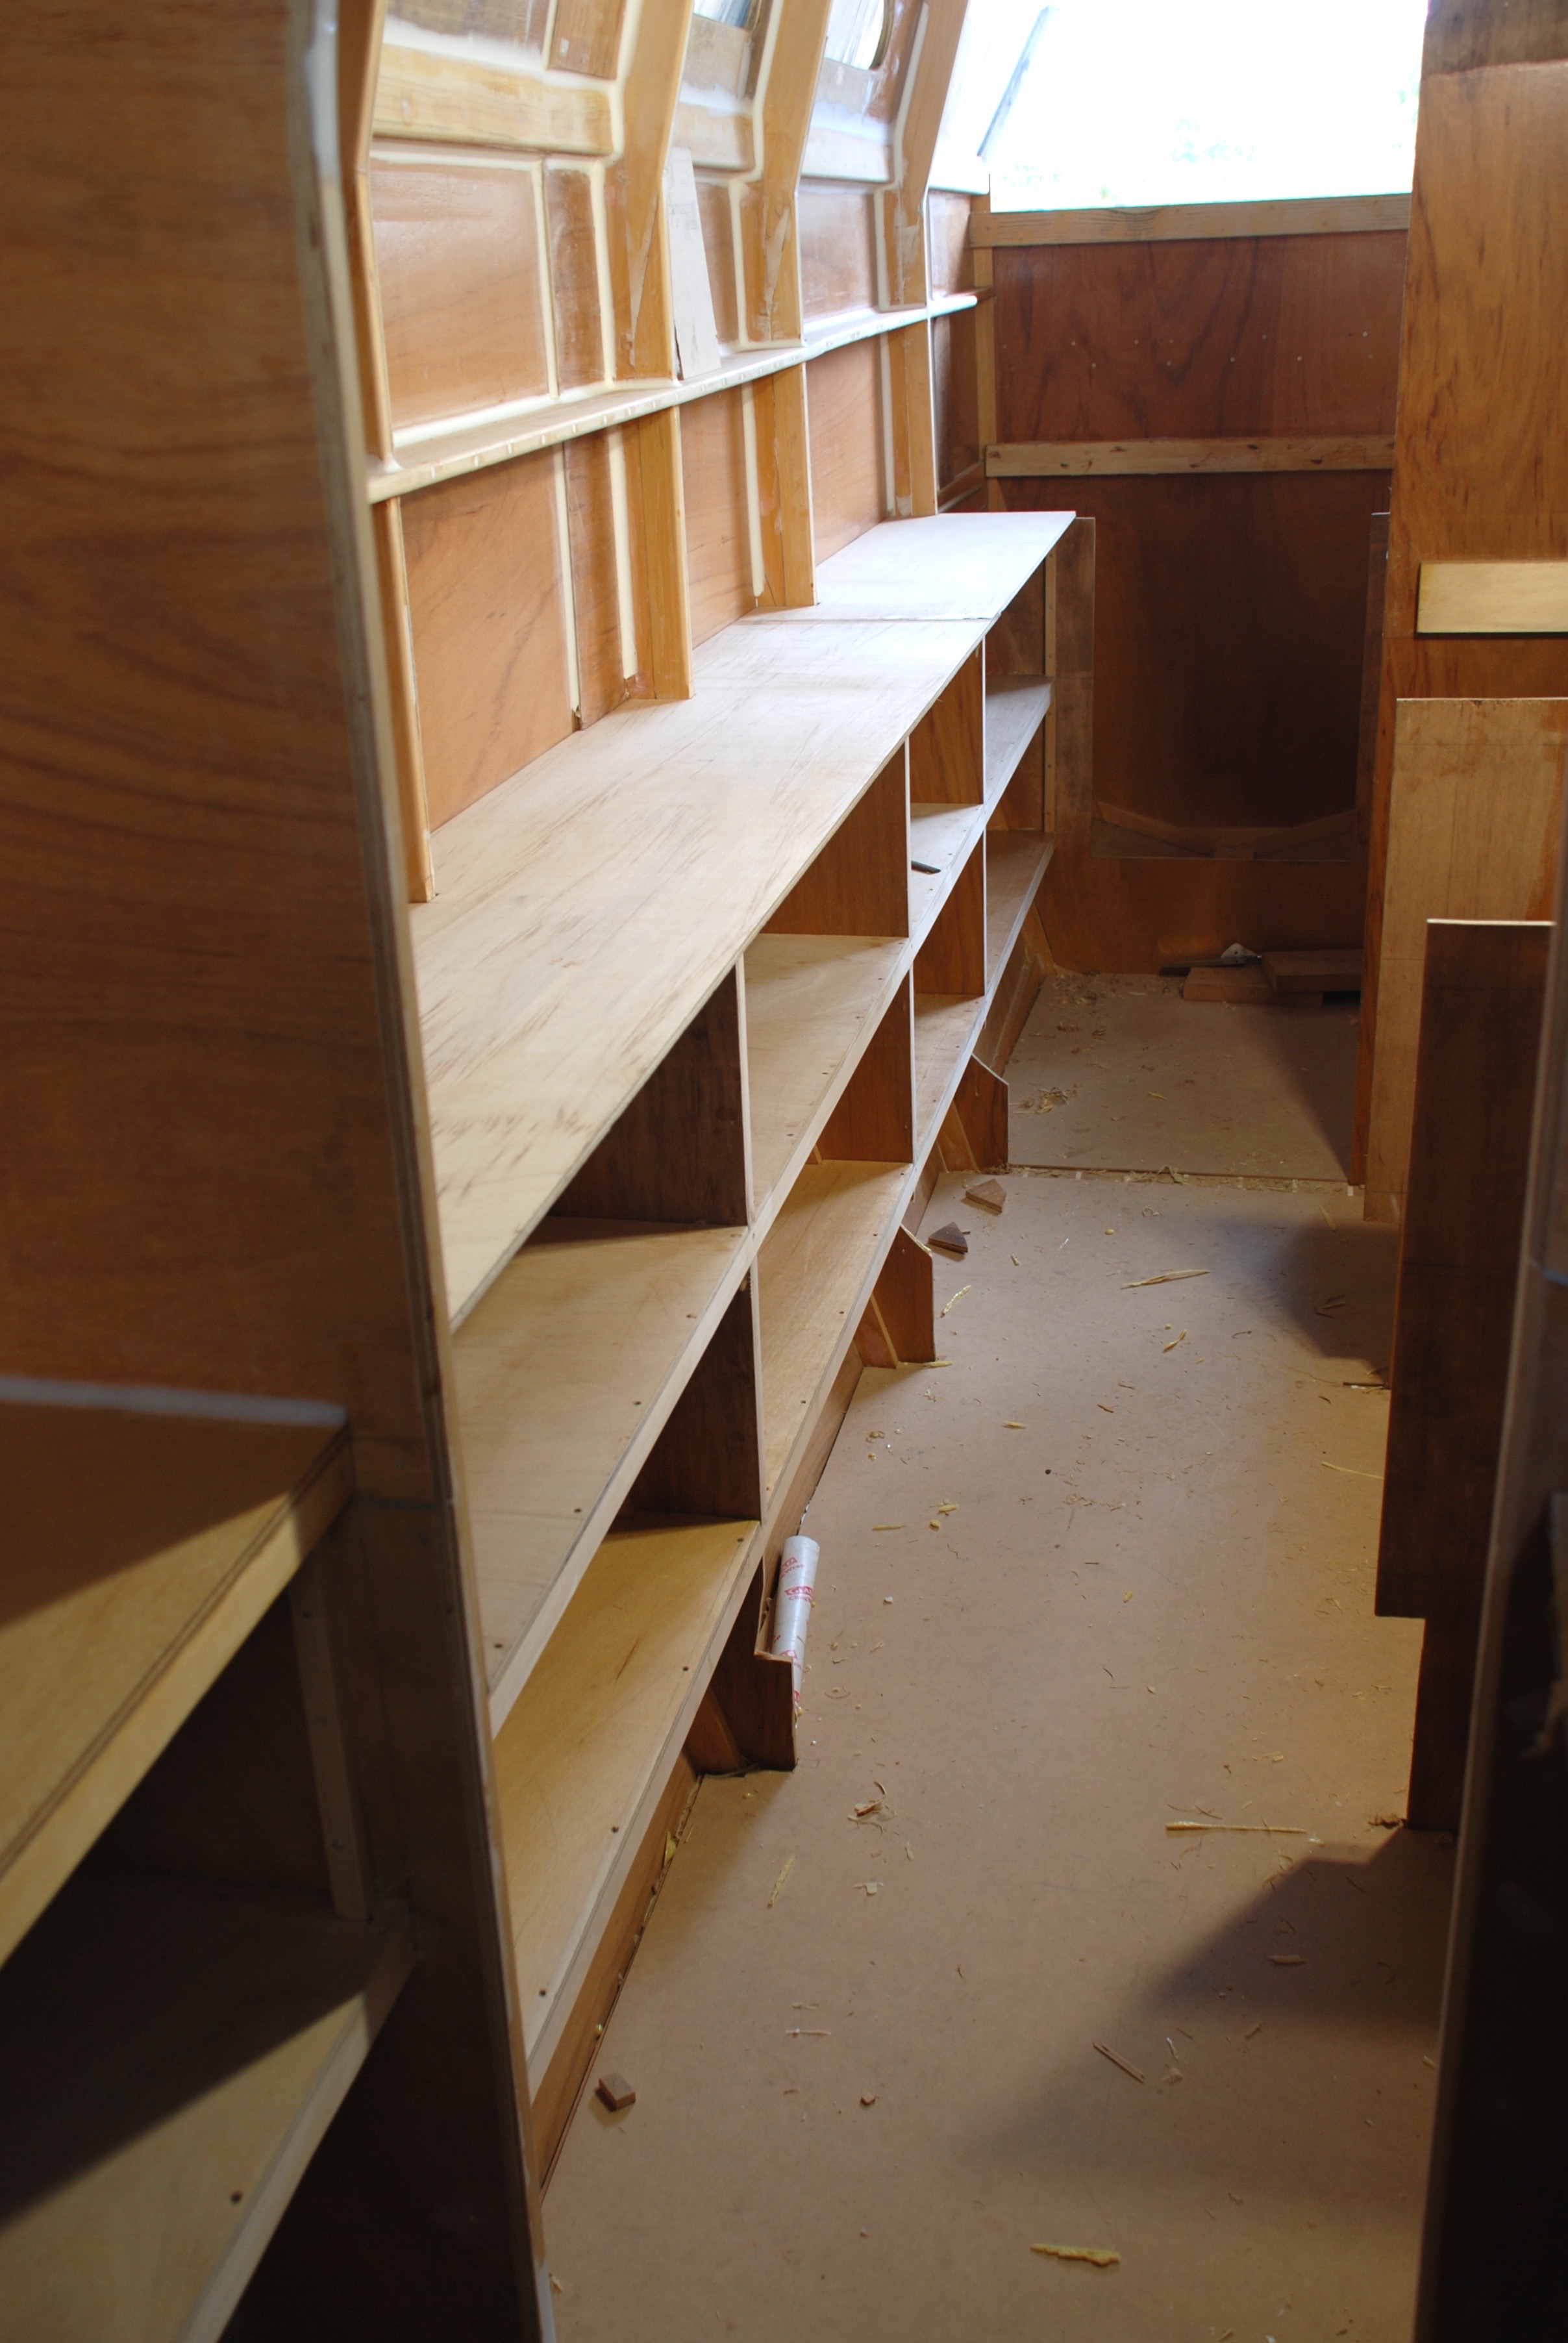
While Deb was working on the aft steps, Pete completed the galley joinery and storage area on the outboard side. This is a big assembly, 3.55 metres long, and as I have said in a previous post, is a structural component of the hull.
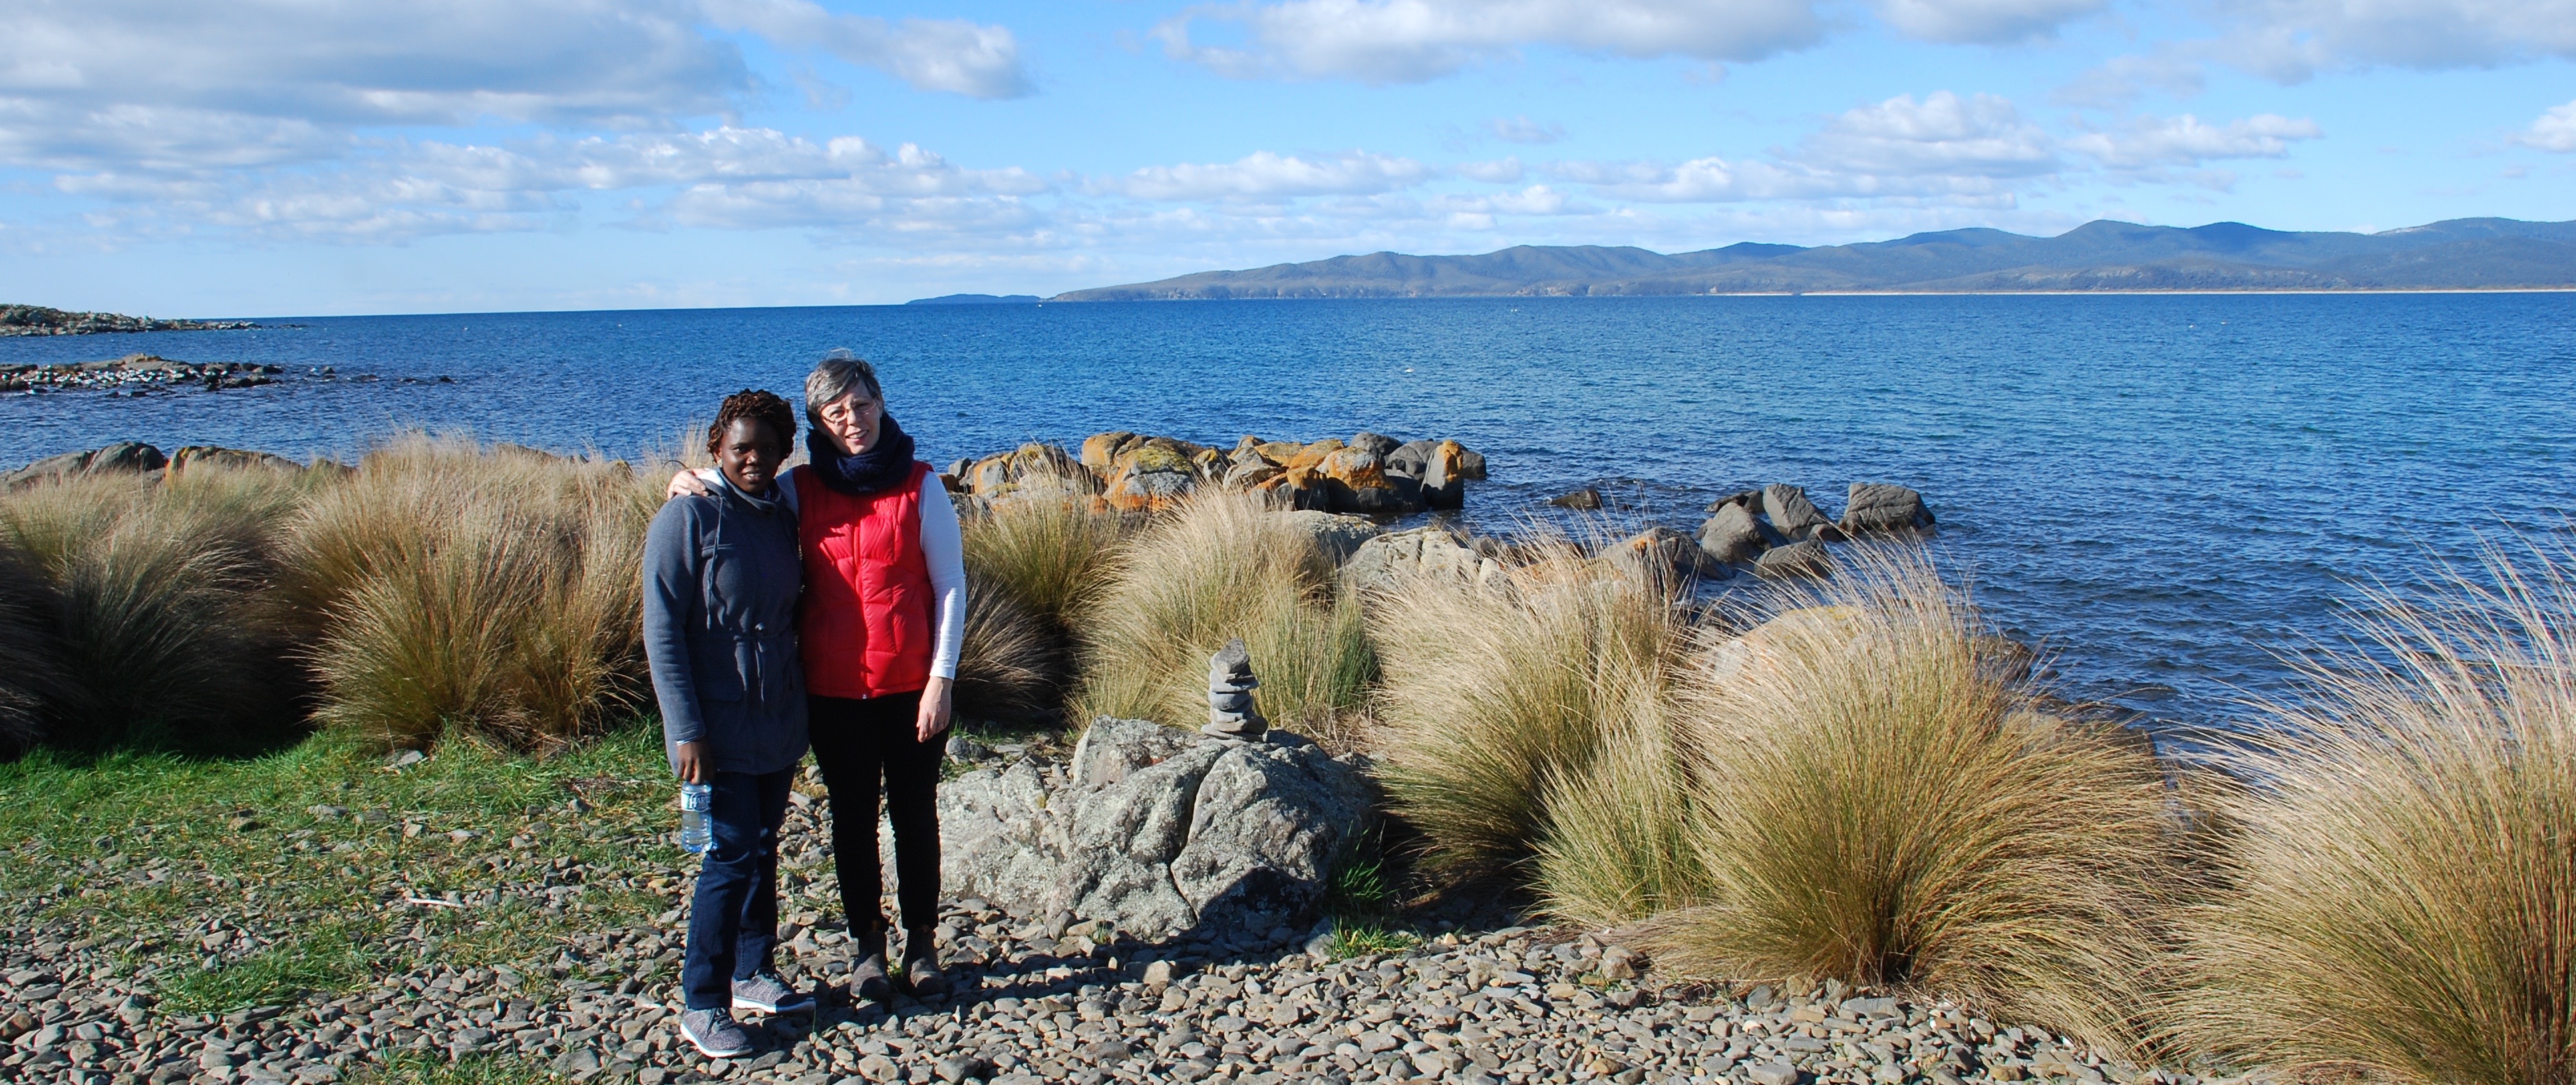
We are also thrilled to now have the company of our dear friend Mayo occasionally visit the site to help out with a few jobs. We first met Mayo in Alice, where she volunteered in Debs children’s ministry for a few years before returning to Nigeria. She has now relocated back to Aus and elected to join us at Port Sorell. With our daughters being so far away, she has added much joy to our lives, with her infectious laughter, and courageous spirit. Plus we are getting such a buzz showing her around, and helping her settle into Tassy life.


HI Peter and Deb ,was great to see the update on selah .sorry that l didn’t get to see you in August as l was traveling with other family members to Ulverstone .l am looking forward to see the peace of Oregon pine in the boat .l think it was 1970 when the tree was cut down and dried from our backyard at kingston beach .Cheers Colin
LikeLike
Hiya Colin. I was going to call to thank you for the timber. Rusell thinks it should machine up well. We will dowel it and use it either for the main table, or if not enough- for the navigation top. Either way it will be beautiful to have some traditional bright finished timber amongst all the two-pack that will cover most of the surfaces. I also took some of the small spar timbers. Fancy I can make a small rig for the tender. They will be perfect for a little spit-sail set up.
LikeLike
Nice to see the joinery work along the hulls. Interesting that it is structural. Sounds like you have a few exciting non boat things happening too with your friend and family! All the best.
LikeLike
Thanks Chris and Wade. We have been following your Northbound adventures with great interest. Amazing! Yes it’s nice to have Mao around to remind us we had a life before boatbuilding.
LikeLiked by 1 person
Hi guys,
You both are doing a great job with the build and the blog, I too am building a Sarah, just finishing the fitout ready for painting. Just a thought, I noticed in one of the earlier photos for the main sleeping cabin there was no transverse butt block across the bridge deck sheets that fits between the longitudinal butt blocks as per the plans?
LikeLike
Hi John. Thanks for your comments. We actually ended up doing a full width (between the stringers) butt-block on the underside of the bridge deck…may end up adding the traverse one as well. Where are you based? Are you making plans for launch?
LikeLike
Based in Parkridge south of Brisbane, Launch is still a way off, to much sanding to be done.
Just a thought if I was to do this again, (is your helm side the same side as your battery bank under the saloon?) if so I would make a waterproof tray between the bridgedeck stringers underneath your helm station under frame 7 and exit under the saloon seats, this will save a fair amount of cabling and be easier to route your electrical wiring straight to your cuircut breaker panel. instead of going across into the bathroom down and under the steps and then up and around the outboard pods up under the saloon seats. Just a thought.
John
LikeLiked by 1 person
Hey thanks for that John. The electrics are still a whole lot of ??? for me. I don’t know what I don’t know! So just to clarify; you are talking about a nacelle type housing under the b deck?
LikeLike
Yes but it only needs to be shallow since it would be as wide as the stringers. But only if your helm station is on the same side as your batteries etc.
Keep up the good work, John
LikeLiked by 1 person
Sounds like a good idea. I’ll look at the battery dimensions and do the sums.
Thanks, John.
LikeLike