
Well we are getting closer to completing the fabrication aspect of our ship. We are down to our last few sheets of plywood, and our stock of timber is almost exhausted. Every piece is accounted for. Looks like we will be able to compete the project without purchasing additional timber, which is a good thing, as its hideously expensive down here. Even after the expense of shipping down from Queensland, good, clear lightweight pine was half the cost of sourcing locally. Apart from the mega expensive species timbers, the only pine in Tas is radiata, which is not suitable for boatbuilding.
I can’t help feeling a little sad though. Soon, all the woodworking tools that have been a part of everyday life for the last two and a half years will be put away. I’ve enjoyed every minute of the build. Of course there’s been frustrations … but they are quickly forgotten.
There is still a heck of long way to go though. Fiberglassing, fairing, painting, electrical, plumbing, steering, engine installation, and I havent even begun organising the metalwork. I think we are on track to meet our self-imposed deadline of completing the construction and fiberglassing by Christmas, but I don’t think we will get her painted by then. But you never know; we are in uncharted territory time-wise, and are just taking each day as it comes.
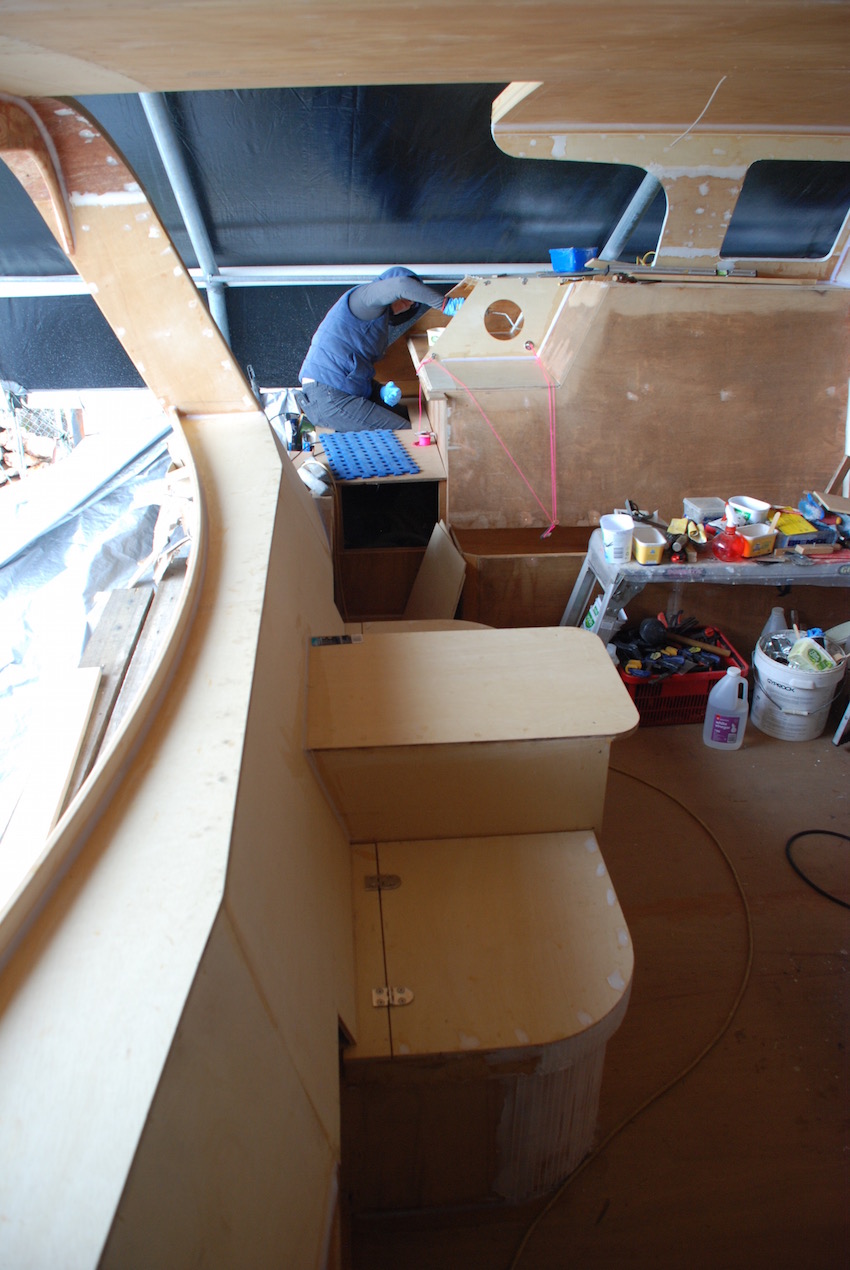
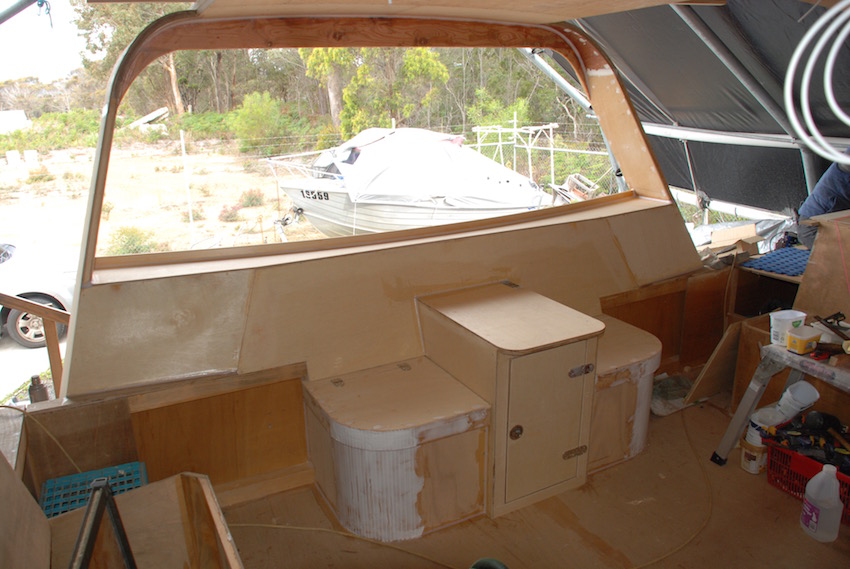
The cockpit area is loosely divided into three main parts. Generator box /stern seats/shelf, cockpit seats/ fuel tank storage assembly and then the helm station, which incorporates the helm seat.
We started with the stern assembly.

The generator cabinet incorporates a pull-out shelf for access to the genset. I raided Russel’s supply of shelf runners for two 30 kilo rated runners.
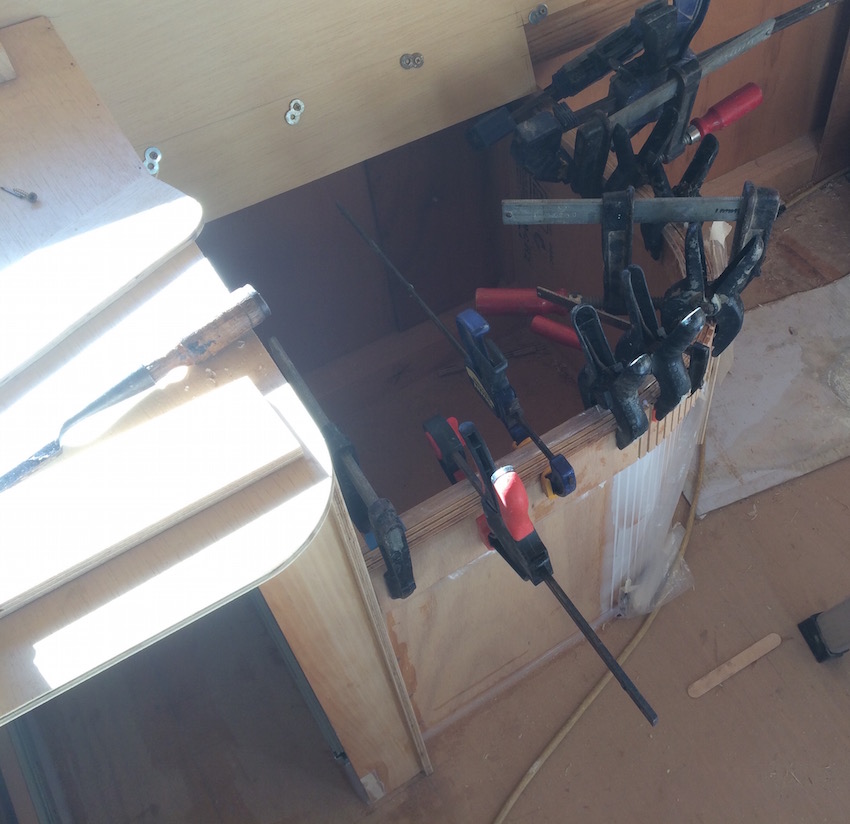
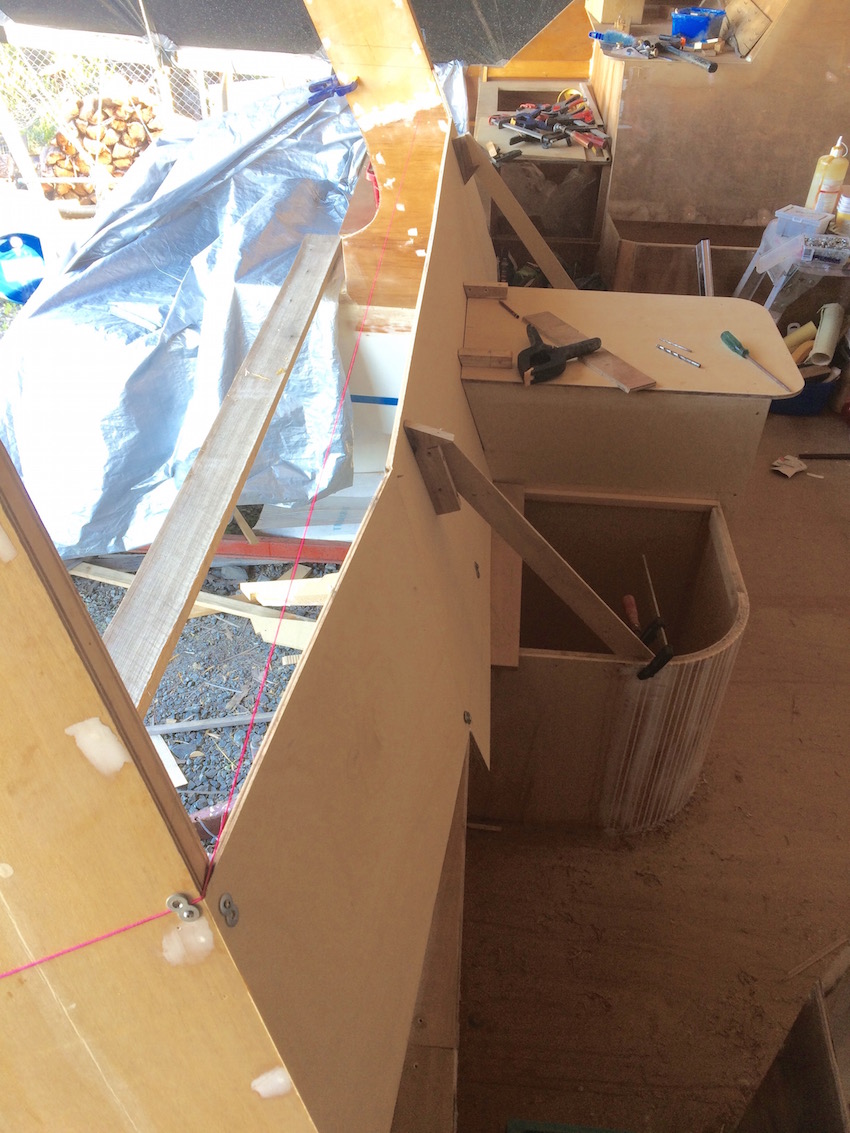
After the stern assembly was done, we ran out plywood. So while we waited for a couple more sheets, we used off-cuts to construct the deck lockers that complete the stern step area. These are fitted with inspection ports, and are used primarily as rope lockers and light storage. The starboard locker is directly atop the refrigerator compartment, so we fitted a ventilation tube through the locker. We will mount a forward facing dorade vent on the deck above, which will force air into the locker and down the tube. The tube extends 1.5 metres into the cabinet. Hot air from the compressor will be vented up and out through lovre vents.

We welcome visitors but they never know what they will be roped into. Peter Newman, a local who has built a Simpson 11 Cat was unlucky to pop in just when I needed a hand lifting the fridge into place. We had decided to get it aboard prior to building the cockpit furniture. It took a bit of jiggling, and the doors had to be removed, but we managed without damage to the fridge, or our paintwork. I had lost a few nights sleep, wondering if it would make it through the various obstacles on the way down. It’s good to know it can be removed if necessary.


You’ve done so much since we dropped in. It looks great. I really like the curve on the stern seats.
Greg & Bernie.
LikeLike
Thanks guys. We had the option of curving the seats because we are not installing the hot water service under there. We also made them a little smaller than the designed size, but they still have plenty of space under : 500W x 500D x 470H. High enough to fit a 4K gas bottle for the BBQ. Also, we made the tops flat, rather than the 5-degree slope Pete designs into all his seats. Incidentally FYI: with the main saloon seats, if doing them again I would probably make them flat. Much faster (no need to bevel all the cleats) and I really don’t think there is much advantage, as far as I can see.
LikeLike