
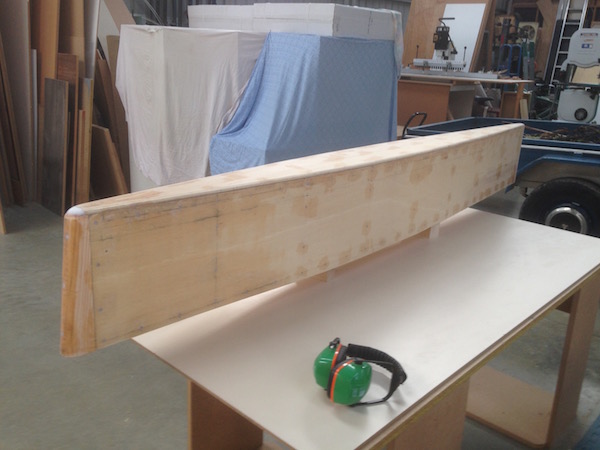
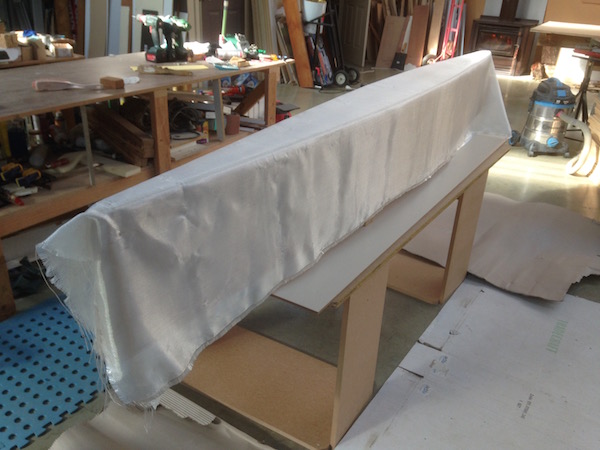
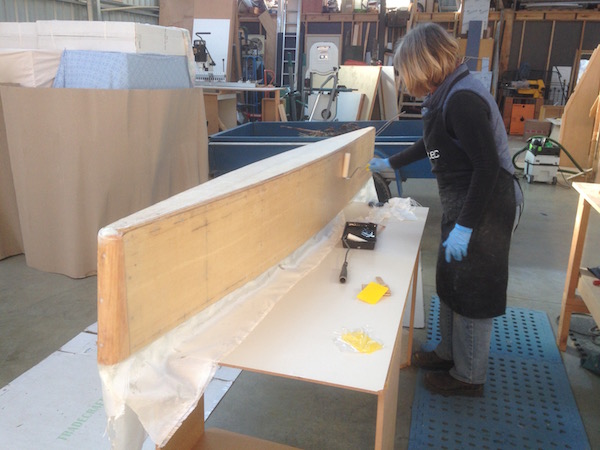
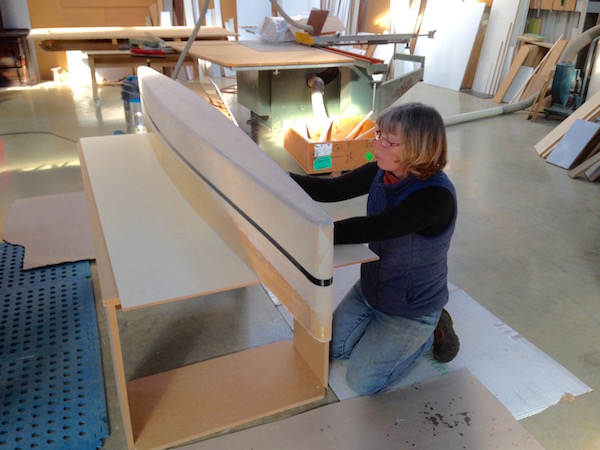
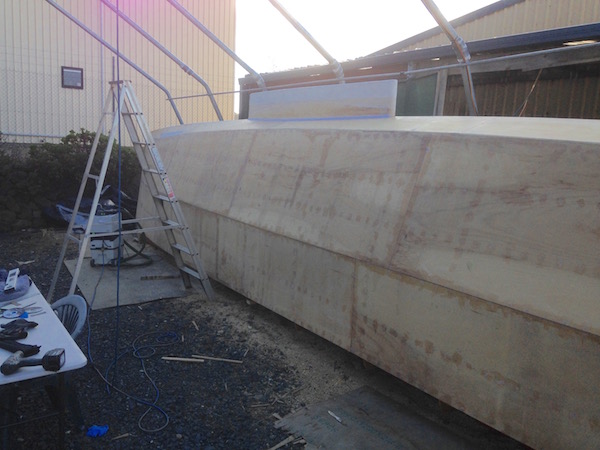
This week was about preparing the boat for fiberglass. We fiberglassed the keel with four layers of 300 gsm glass and a 450 gsm Dynell protective boot and fitted it to the hull. We also applied Q cell and faired it up, ready for painting. It was not necessary to do this at this stage of the build, but we wanted to get some experience with glass and Q cell before tackling the starboard hull. Q cell is a very fine micro-balloon substance that is added to epoxy resin and troweled over the fiberglass in a manner not dissimilar to rendering a house. Its primary function is to fill the weave of the cloth to provide a smooth base for the high build undercoat that is applied later. It also adds another layer of waterproofing to the hull. Like a lot of epoxy jobs, it’s as much of an art as science, and takes a little getting used to. The trick is to apply the correct depth. Not too thick, wasting expensive materials, but not too thin leaving a rough irregular surface. It’s applied with metal trowels by hand.
We are now heading into the business end of finishing the starboard hull. There are some big jobs looming, that cannot be done in dribs and drabs. With epoxy work, each step must be done within 48 hours of each other, before it cures too hard. These are:
- Applying fiberglass across the entire hull.
- Sanding the fiberglass and touching up any irregularities, if any.
- Applying Q cell fairing compound across the bottom and topsides.
- Sanding the Q cell with the 6″ orbital.
- Torture boarding. A process of finish sanding with long sandpaper boards to “fair” the hull. This is done by hand, hence the name!
- Applying at least one coat of high build primer-undercoat.
The starboard hull will then be weather proof, and we can leave it to begin assembling the port hull.
Before any of that however now that the winter storms seem to be over, we must re-hoist the big tarp over the shelter, to provide a measure of weather protection. That’s our main priority for next week.


Very informative post, guys!
LikeLike
Thanks Chris. Welcome home!
LikeLiked by 1 person