
Its been a few weeks since we have posted an update. We took a week off the build for a trip to Kettering to spend time with Pete’s mum and dad. Being around to help our parents was one of the reasons we chose to build in Tasmania. Both sets of parents are based here.Two days after celebrating his 90th birthday dad suffered a mild stroke while visiting family in Melbourne. Fortunately he has recovered well, but as his mobility was restricted we were able to help mum, getting him home and settled.


Back at the build site, we have been busy with a number of fiddly, but (mostly) enjoyable jobs.
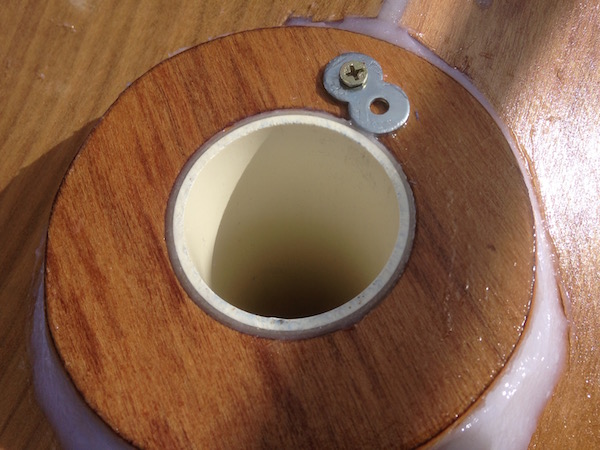
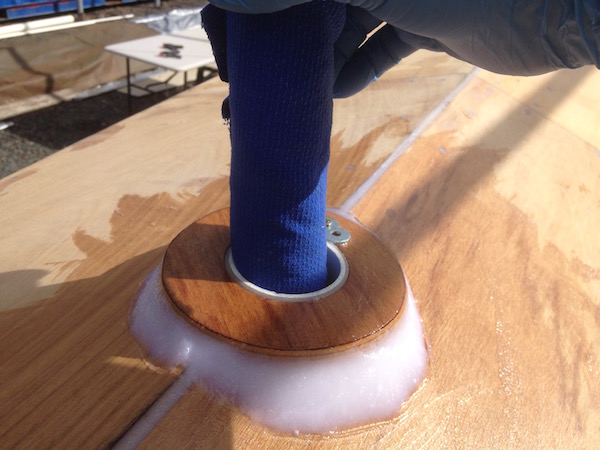
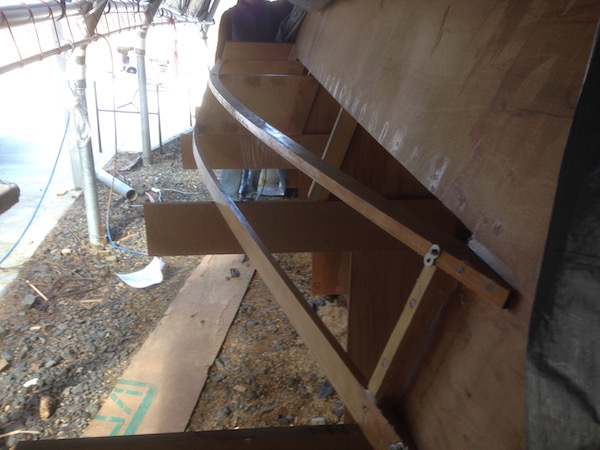
The rudder tube has been fitted and glued in place. This involved drilling a 63mm hole through the keelson and hull bottom. A rather nerve-racking job, as there is no easy recovery if a mistake is made. The tube had previously been fiberglassed with five layers of 200gsm biaxial cloth. It was braced from below: set plumb and glued into position with the donut shaped mounting plate specified in the plans. An acetone soaked cloth wrapped around a tube was used to clean up excess resin and glue. The tube must be clean toreceive the rudder bearing which is machined from high density plastic.


The plans call for a timber stem cap to be laminated onto the stem. This is then shaped and rounded with hand planes, a throughly enjoyable job.

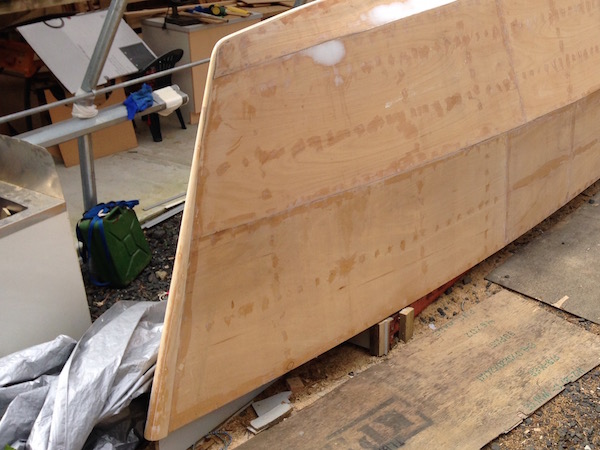
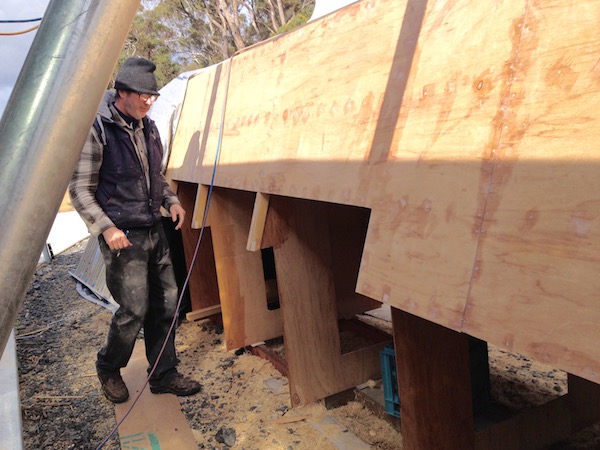
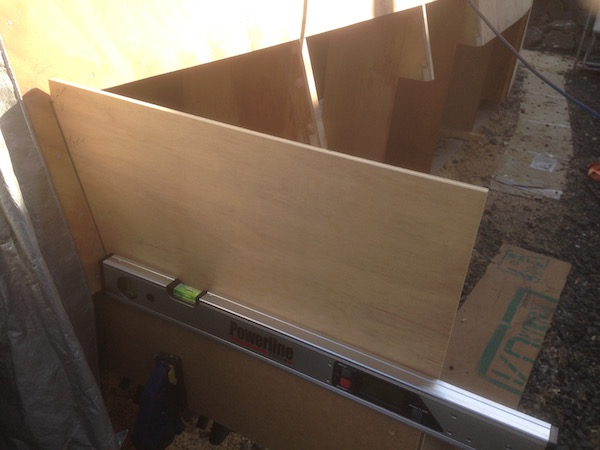
We then stared work on the motor mount step. This assembly has a dual purpose. It serves as a fairing for the outboard transom plus a step down into the hulls from the upper bridge-deck.


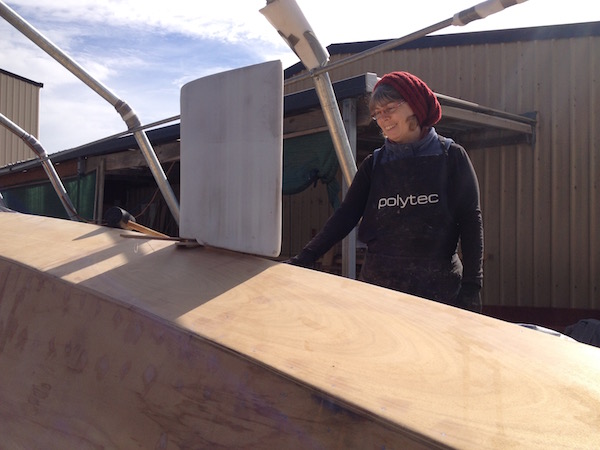
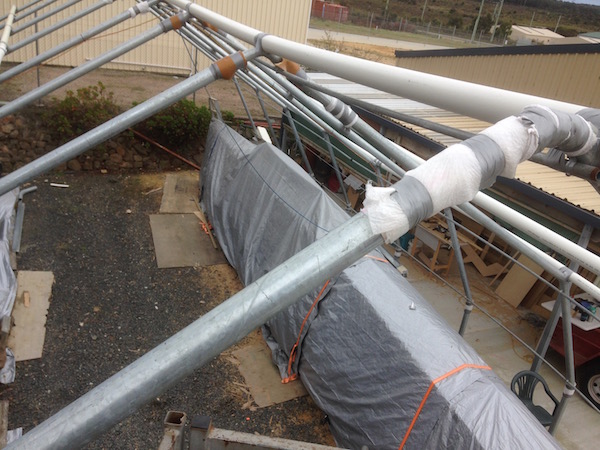
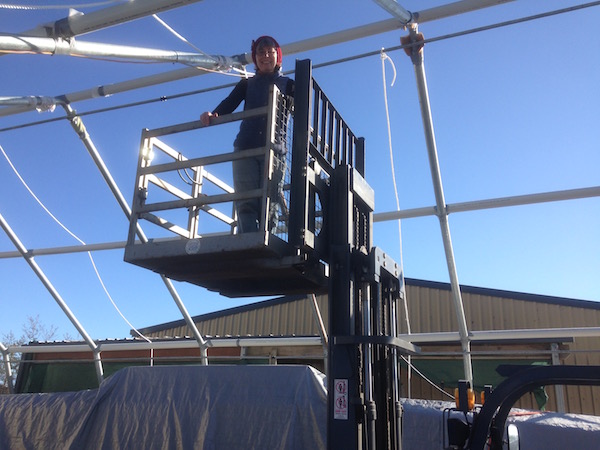
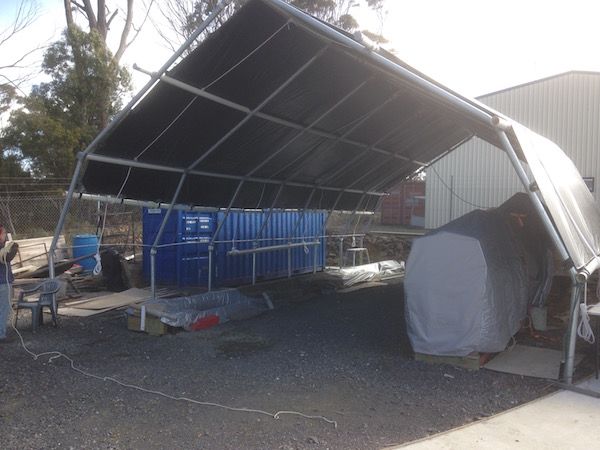
A job we had been putting off for a while was re-erecting the big tarp. This was taken down prior to a major storm, but needed to be replaced before the big fiberglassing job. Pete was never happy with how the tarp lay on the steel framework, and spent a lot of time thinking about the best way to improve the structure. We purchased a number of 6m lengths of 90mm PVC storm pipe, and secured them longitudinally along the framework with copious amounts of duct tape. Wonderful stuff. 220 meters of 12mm silver-rope was purchased and cut into 40m lengths. These were tied under and around the big tarp at four stations, effectively turning the whole affair into a giant “roman blind”. In the case of extreme winds, we can roll the two sides up to the top, a bit like roller reefing around a mainsail. After the build, the silver rope will go onto the boat as general purpose mooring rope. The new arrangement has also allowed us the sweat the sides down tight, so its now as tight as a drum. Pete is much happier now.


Pingback: Internal fitout continues – Building Selah