
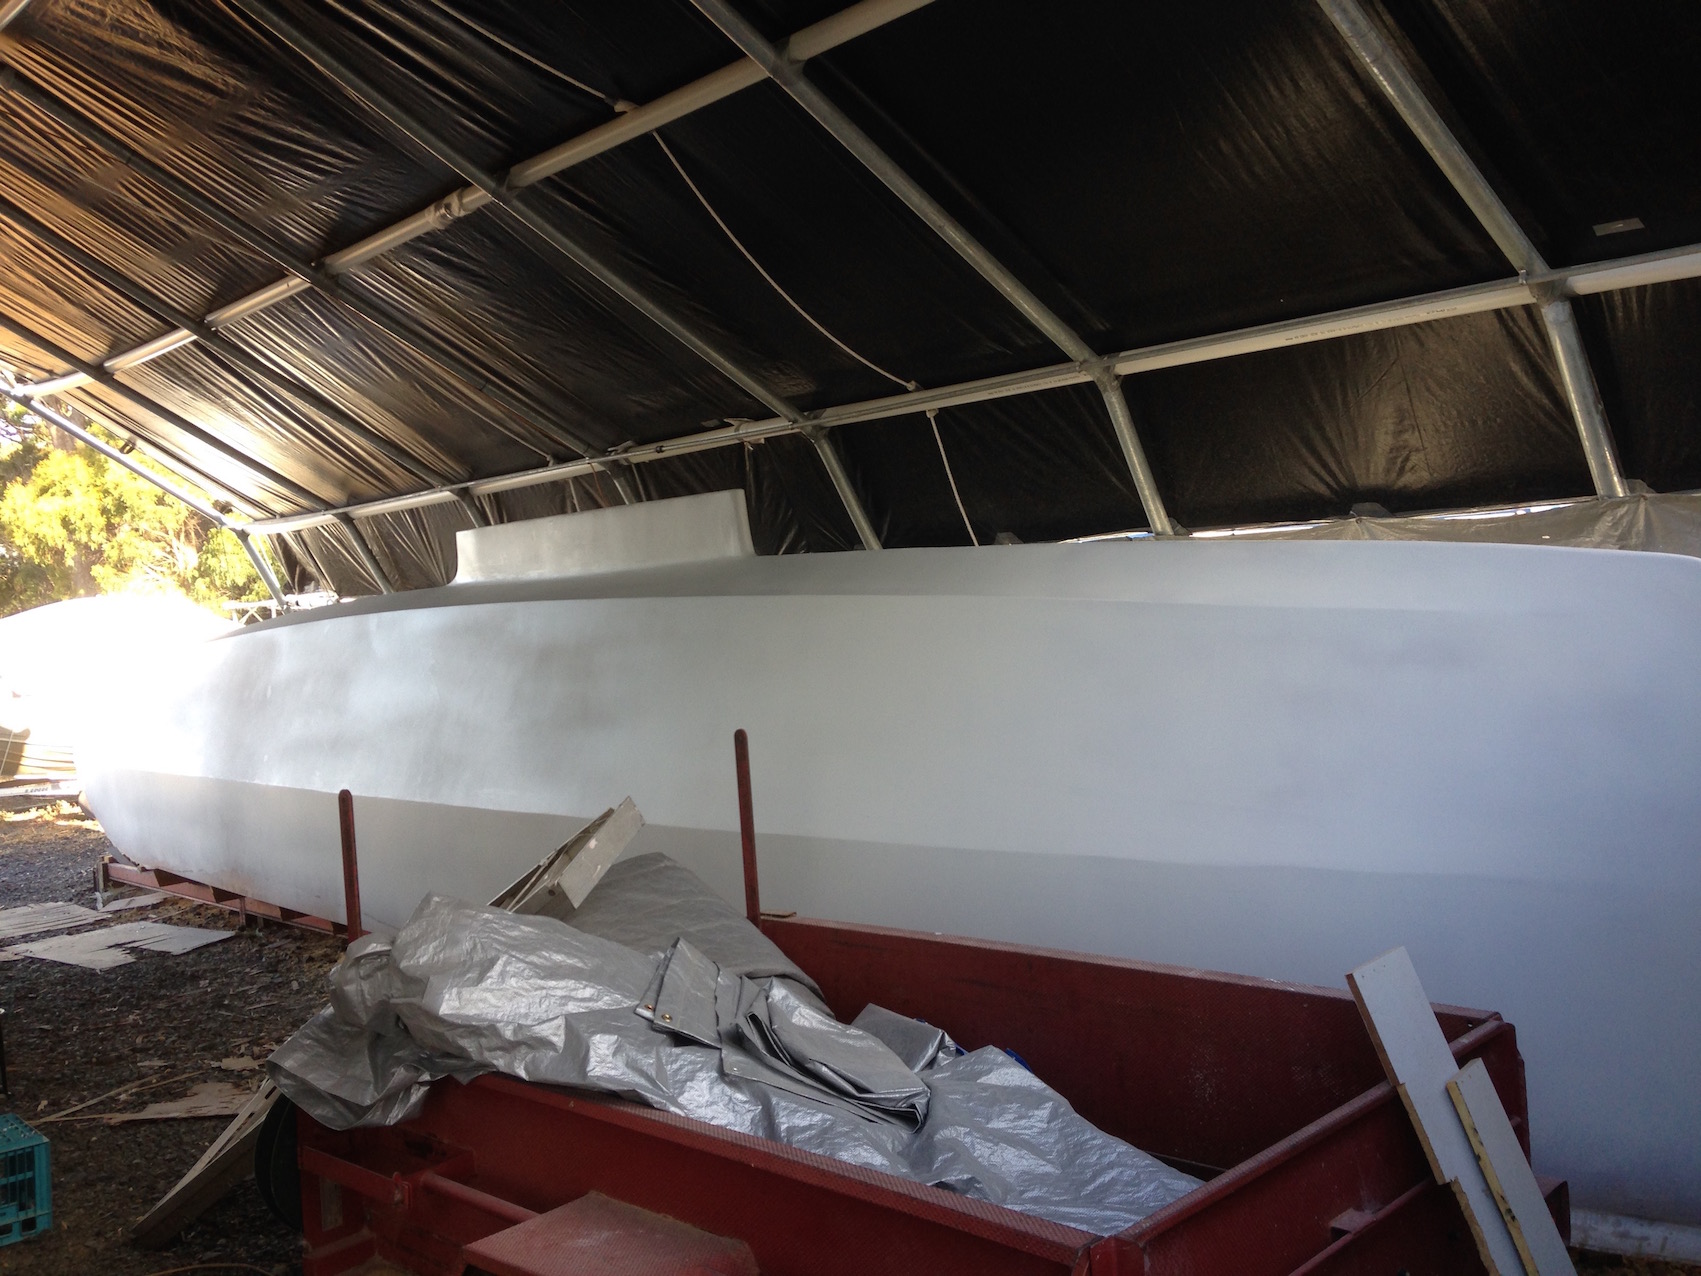
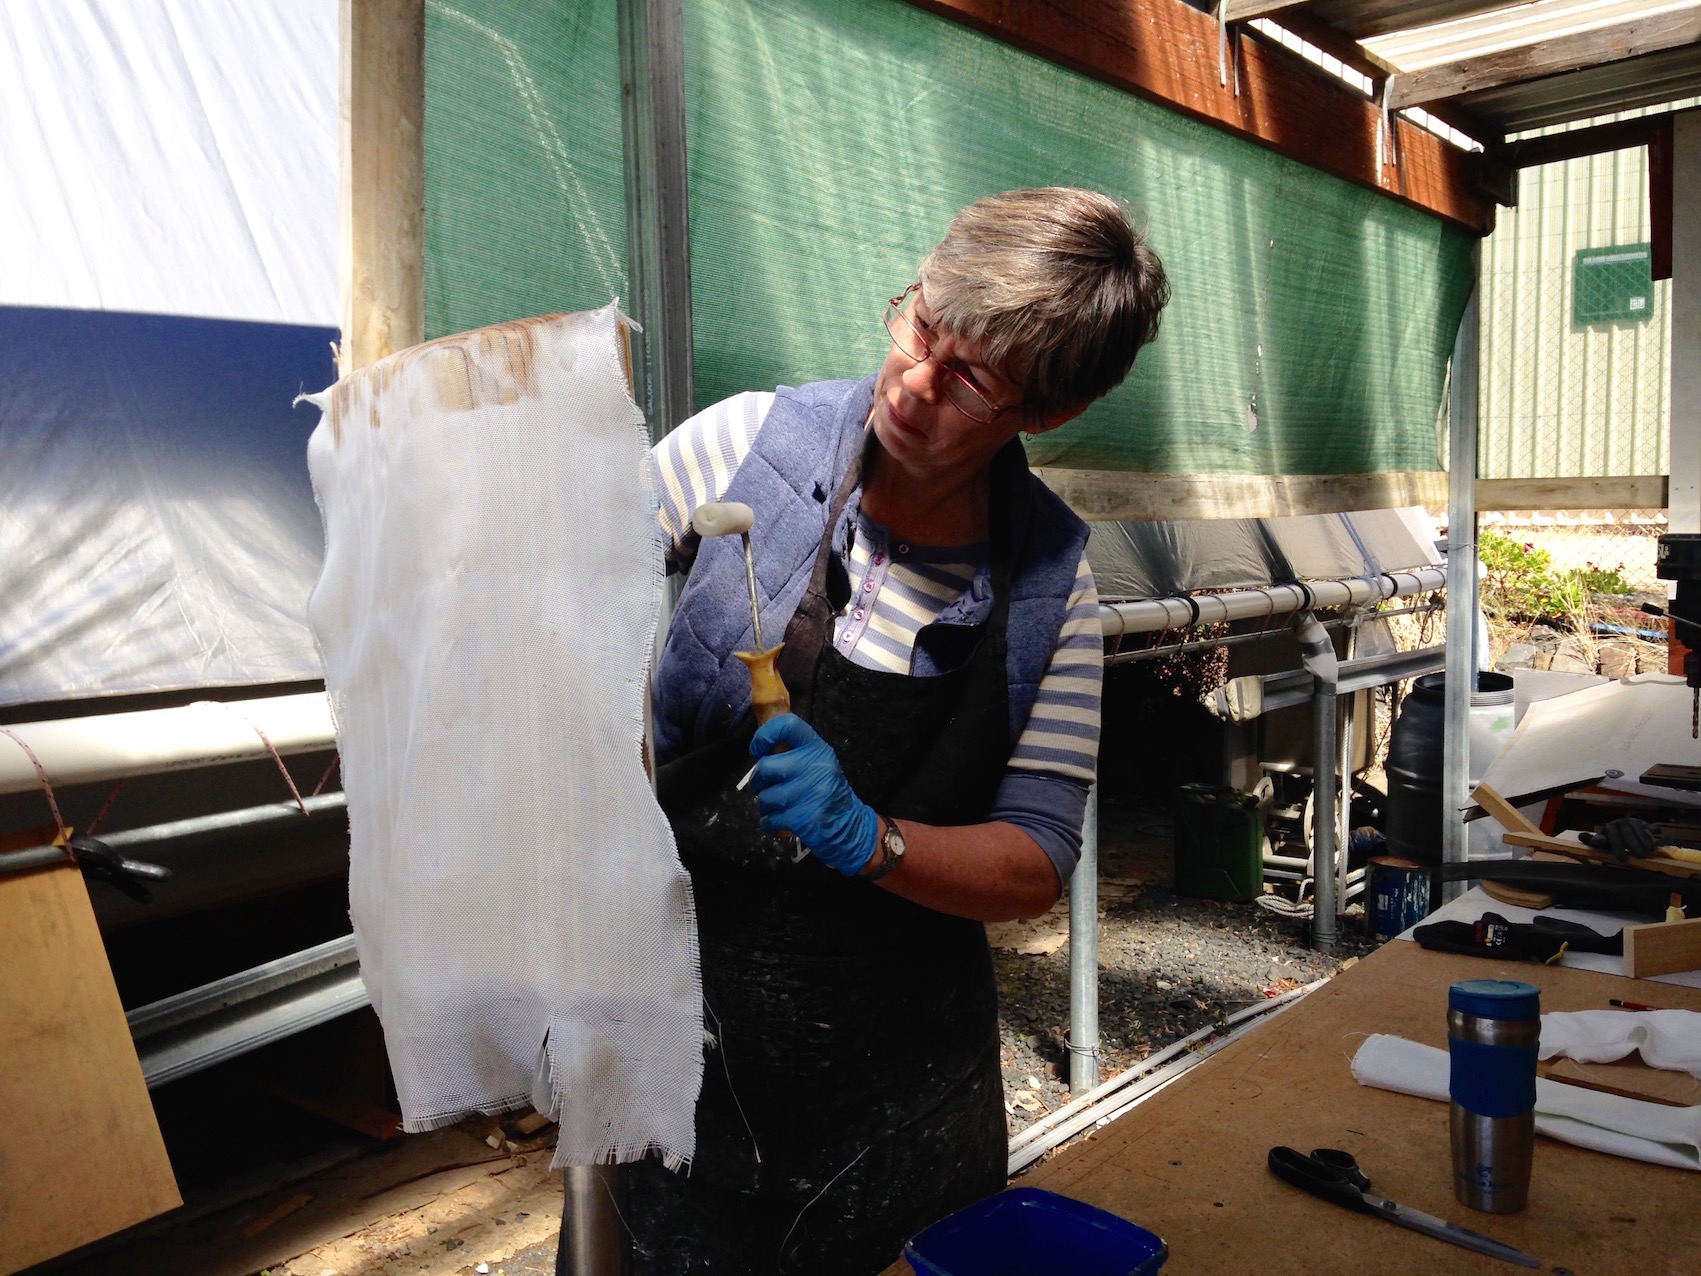
After our weekend in Hobart enjoying the wooden boat festival, we got straight into applying the Q cell micro-baloons onto the port hull. This involved Deb providing a constant supply of resin / Qcell mix to Pete, as he rendered the hull using a metal trowel. As with all epoxy resin processes, it was a balancing act. Each batch was mixed as big as we could manage to maintain a good working consistency without it “going off” and becoming to stiff to work. We found about 300ml of resin with around 500ml Qcell worked well for us. Two big days saw the whole hull coated in around 3mm of Qcell.
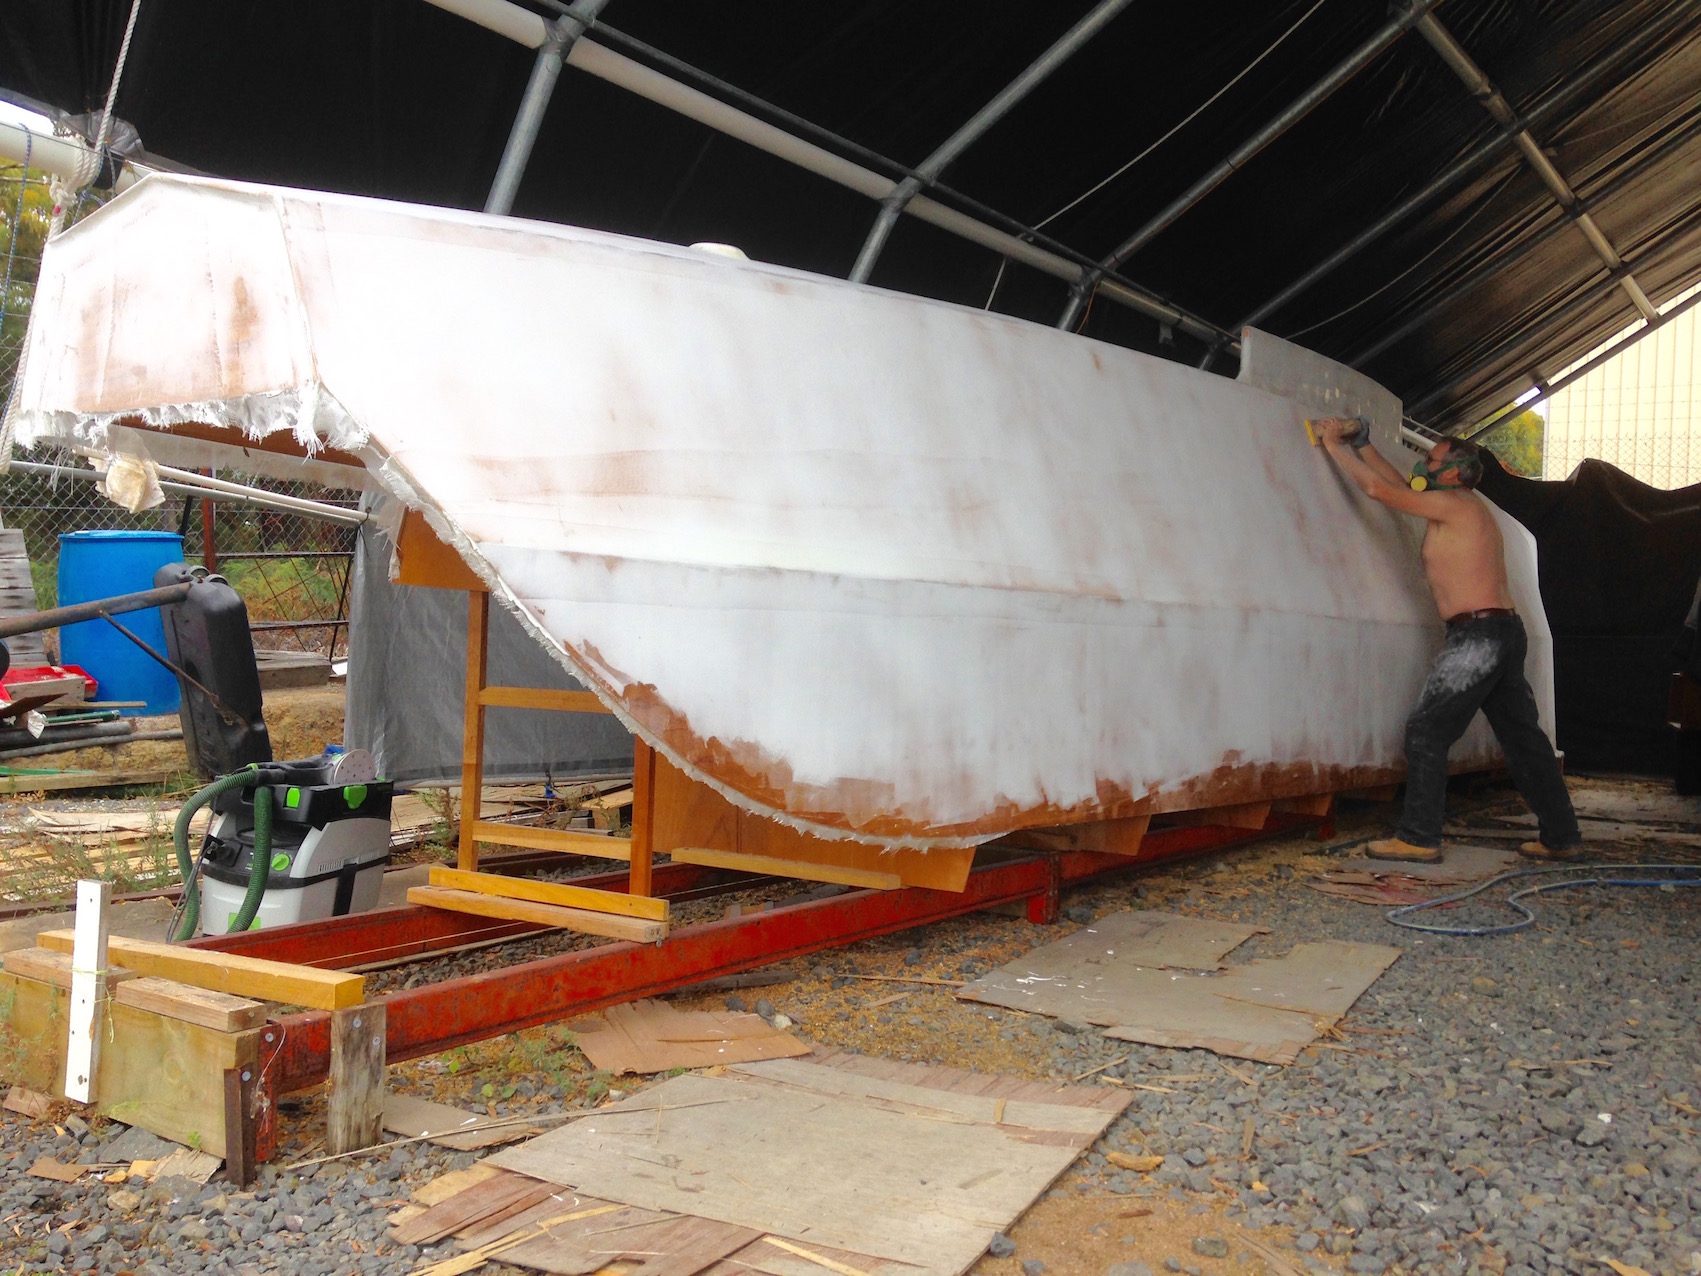
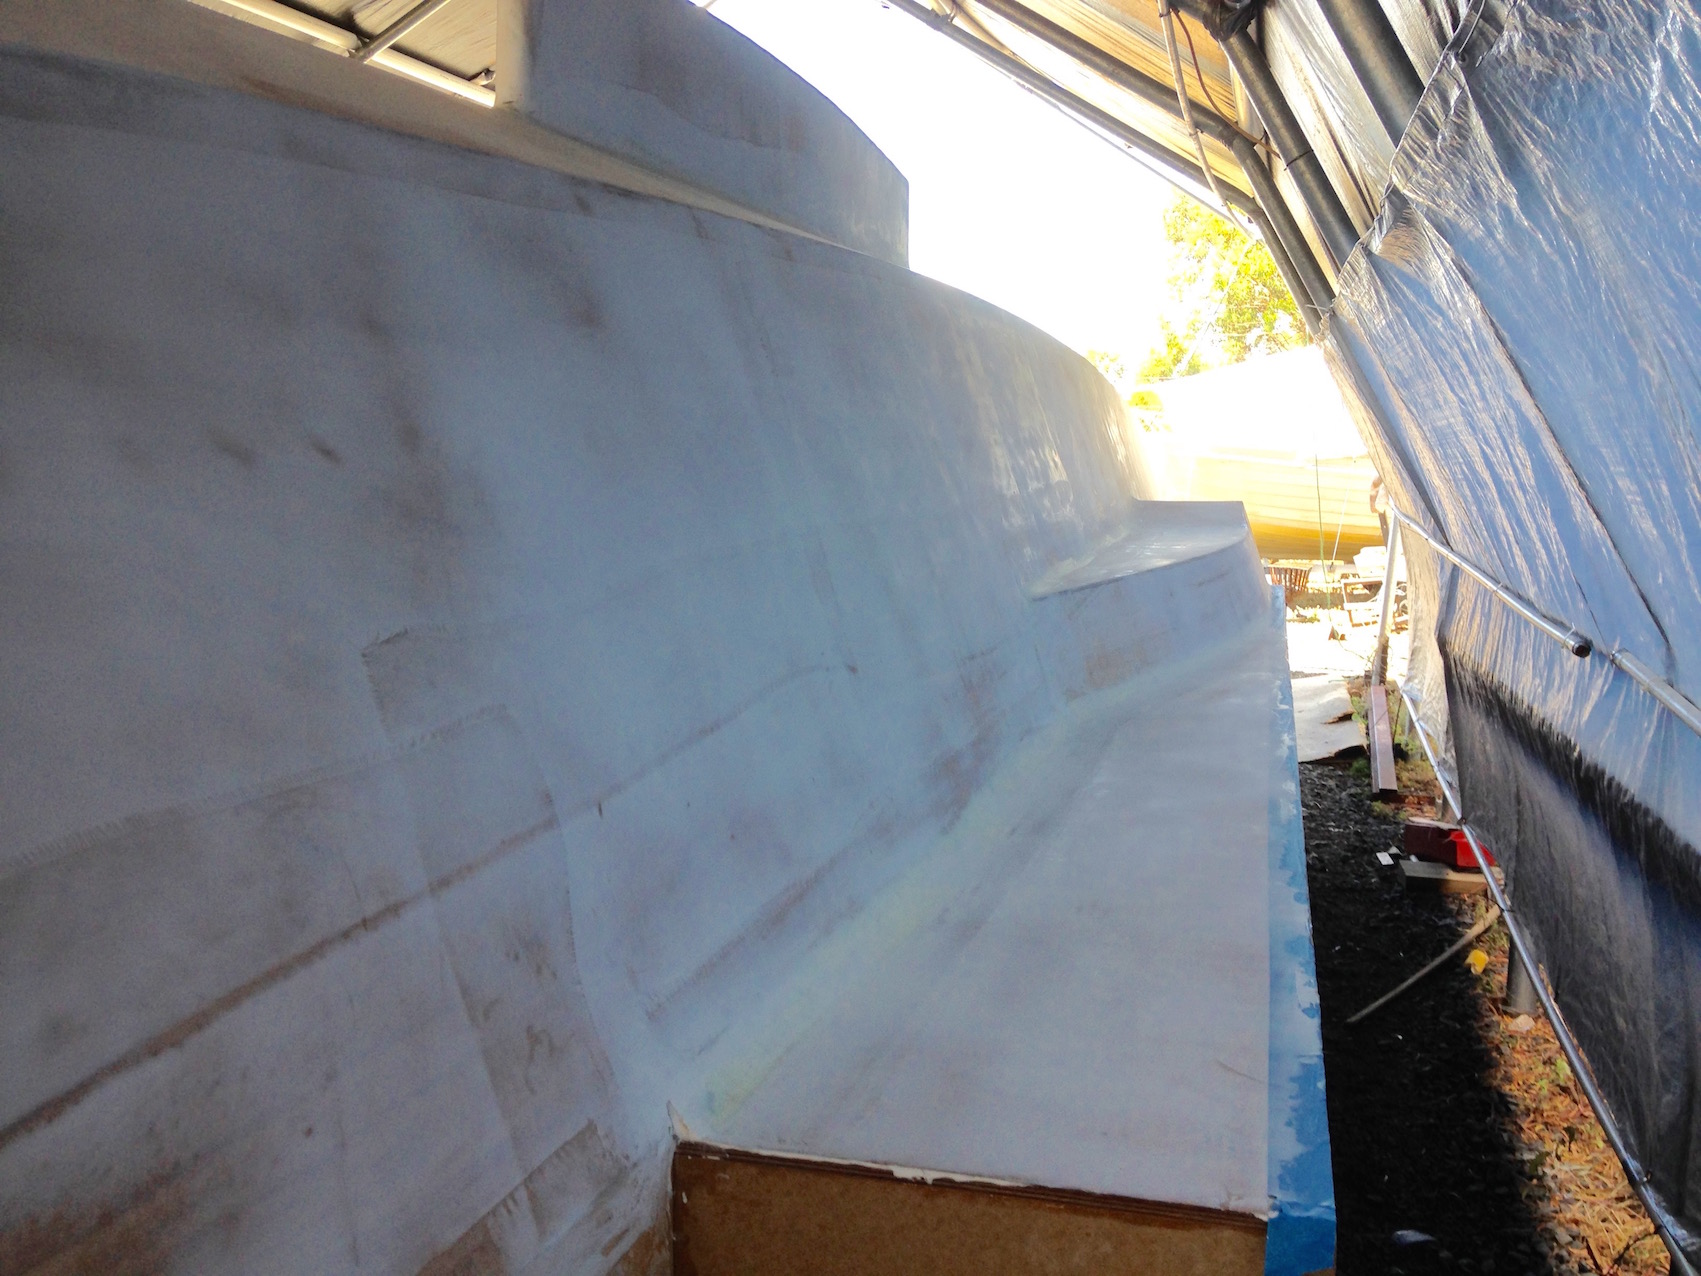
After that the sanding began. First with the brilliant Festool Rotex 150 sander/vacuum combo using 80 grit disks, followed up with the 650mm long torture board. It was at this point that Pete was thankful we were building a flat panel boat, and that Peter Snell provided an excellent set of off-sets that reduce fairing time to an absolute minimum. We had heard of strip planked hulls that require weeks and even, in the case of one recently launched 50 foot cat, years of sanding and fairing. No one seems to have developed a machine to do the job, and after a certain point, it has to be done by hand. We were able to get the hull ready for painting in about three days of solid work. We will have more fairing to do on the above waterline areas, which we will do after the upper deck and turret are completed, about a year away.
An interesting segway on this subject is the way perceptions have altered over the years. Peter Snell tells me that thirty years ago you could get away with a basic sand and paint. Now, in the same way we have becomed accustomed to high-definition TV, community expectations have changed. If you want your boat to have a reasonable resale value, you have to invest time and money in higher quality finishes. Exactly how much is one of those decisions each builder has to make. Go too far, and you end up spending a small fortune on a beautiful finish, that will be difficult to maintain, and will show up every ding and scratch.
After that, we coated the hull with Jotan Penguard hi-build epoxy undercoat, three layers beneath the water line, and one (for weather proofing only) above the water line. As discussed above, the final coats above the waterline will go on when the boat is right side up.


Hi Deb and Peter – so much work! We keep being in awe of what boat builder do! Thanks for the update and photos. The torture board must be just that!
LikeLike
Hi Chris. Just arrived onsite, contemplating another day on the sander: responding to your comment gave us the chance to procrastinate for a few more minutes! Actually, in the big picture, we enjoy the sanding as it’s a finishing step and very satisfying at the end of the day. That’s not to say we are not looking forward to it ending. Thanks for your encouragement.
LikeLiked by 1 person
Thank you for this blog, an excellent insight to the build.
What do you mean by
Peter Snell provided an excellent set of off-sets that reduce fairing time to an absolute minimum.
What are the off sets? And how do they help?
Thanks,
Kev
LikeLike
Thanks for your comments Kev. The Off-Set table is a series of X-Y measurements that outlines the shape of each station (or frame) that in turn determines the final shape of the hull. A good set of off-sets produce a “fair” hull that doesn’t need any filler to hide slight hollows or hills etc. It’s as much art (experience) as science. If considering building, try to avoid doing hull #1, if possible. In effect you are prototyping for the designer. Peter Snell always built the first hull of his designs, before releasing to the public.
LikeLike