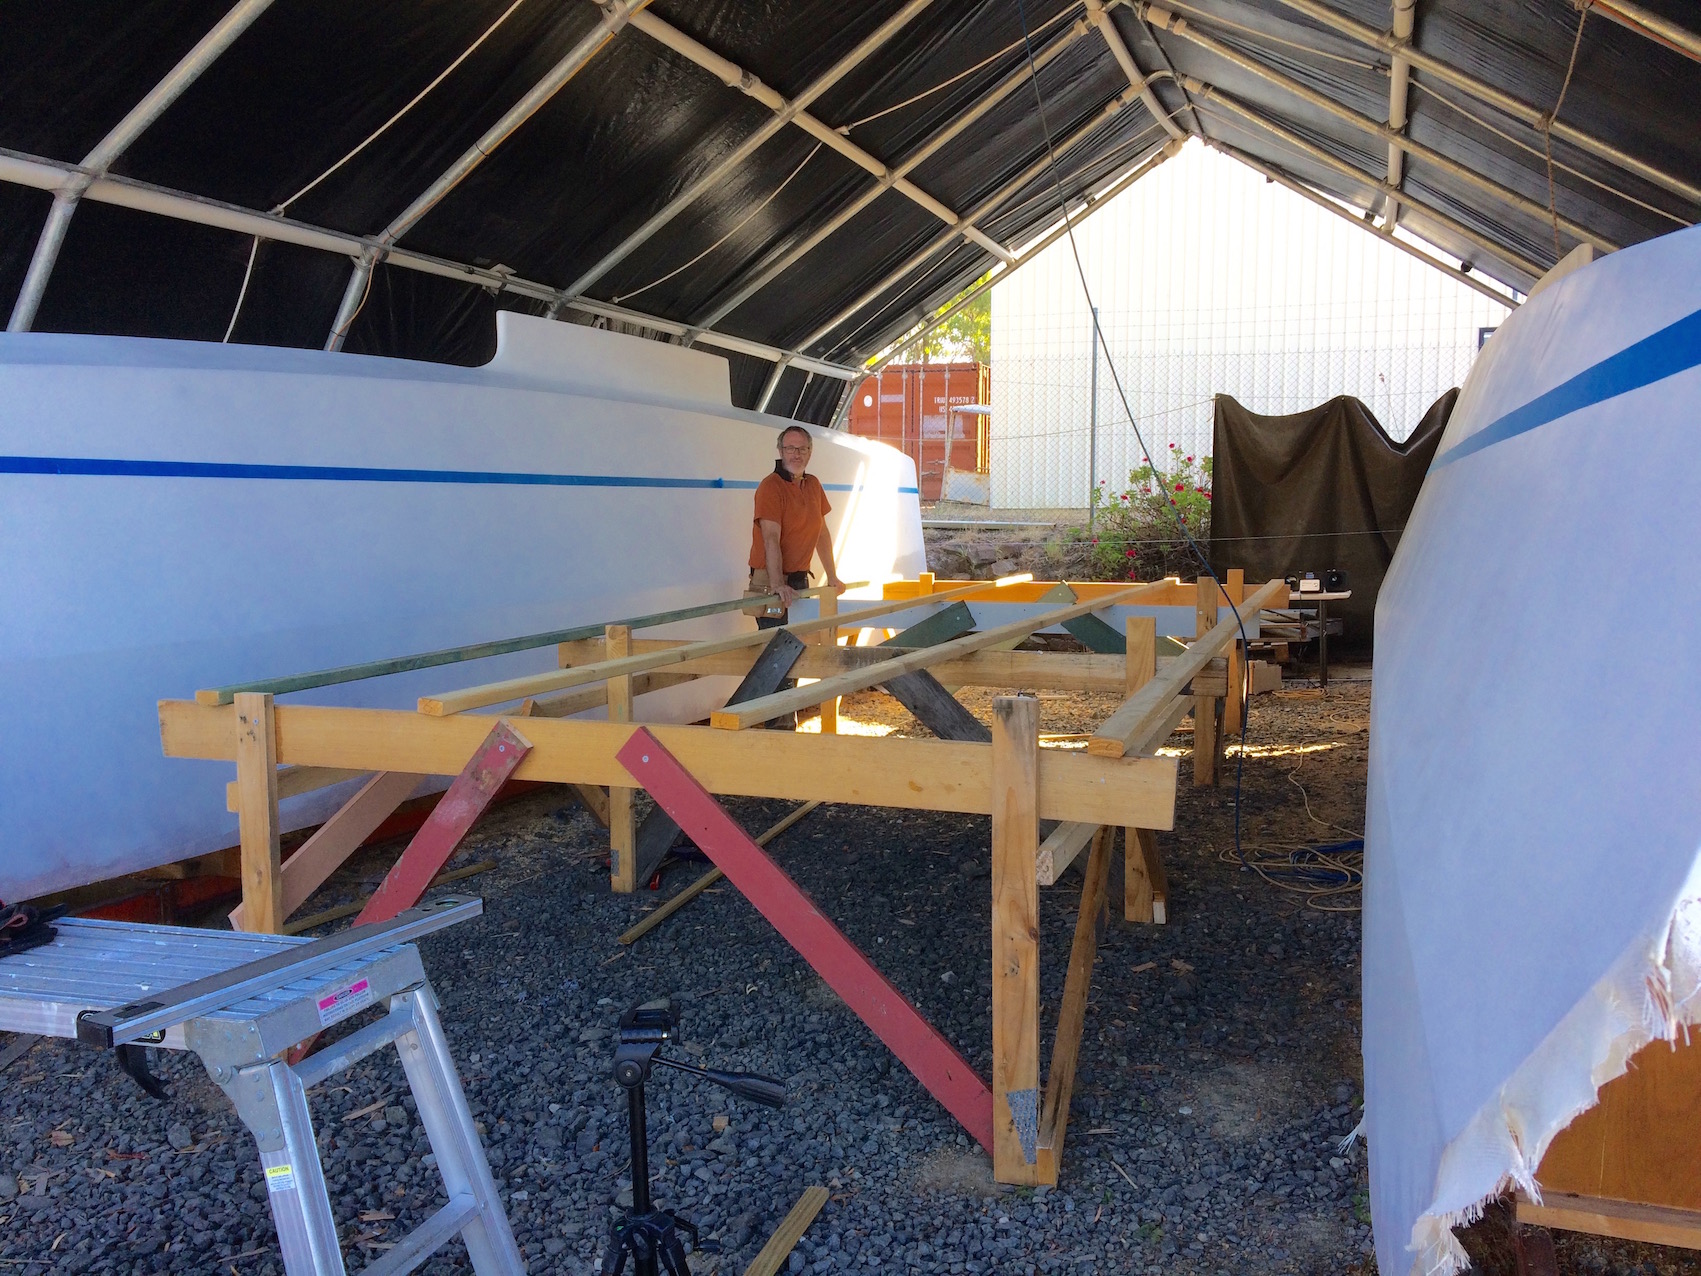
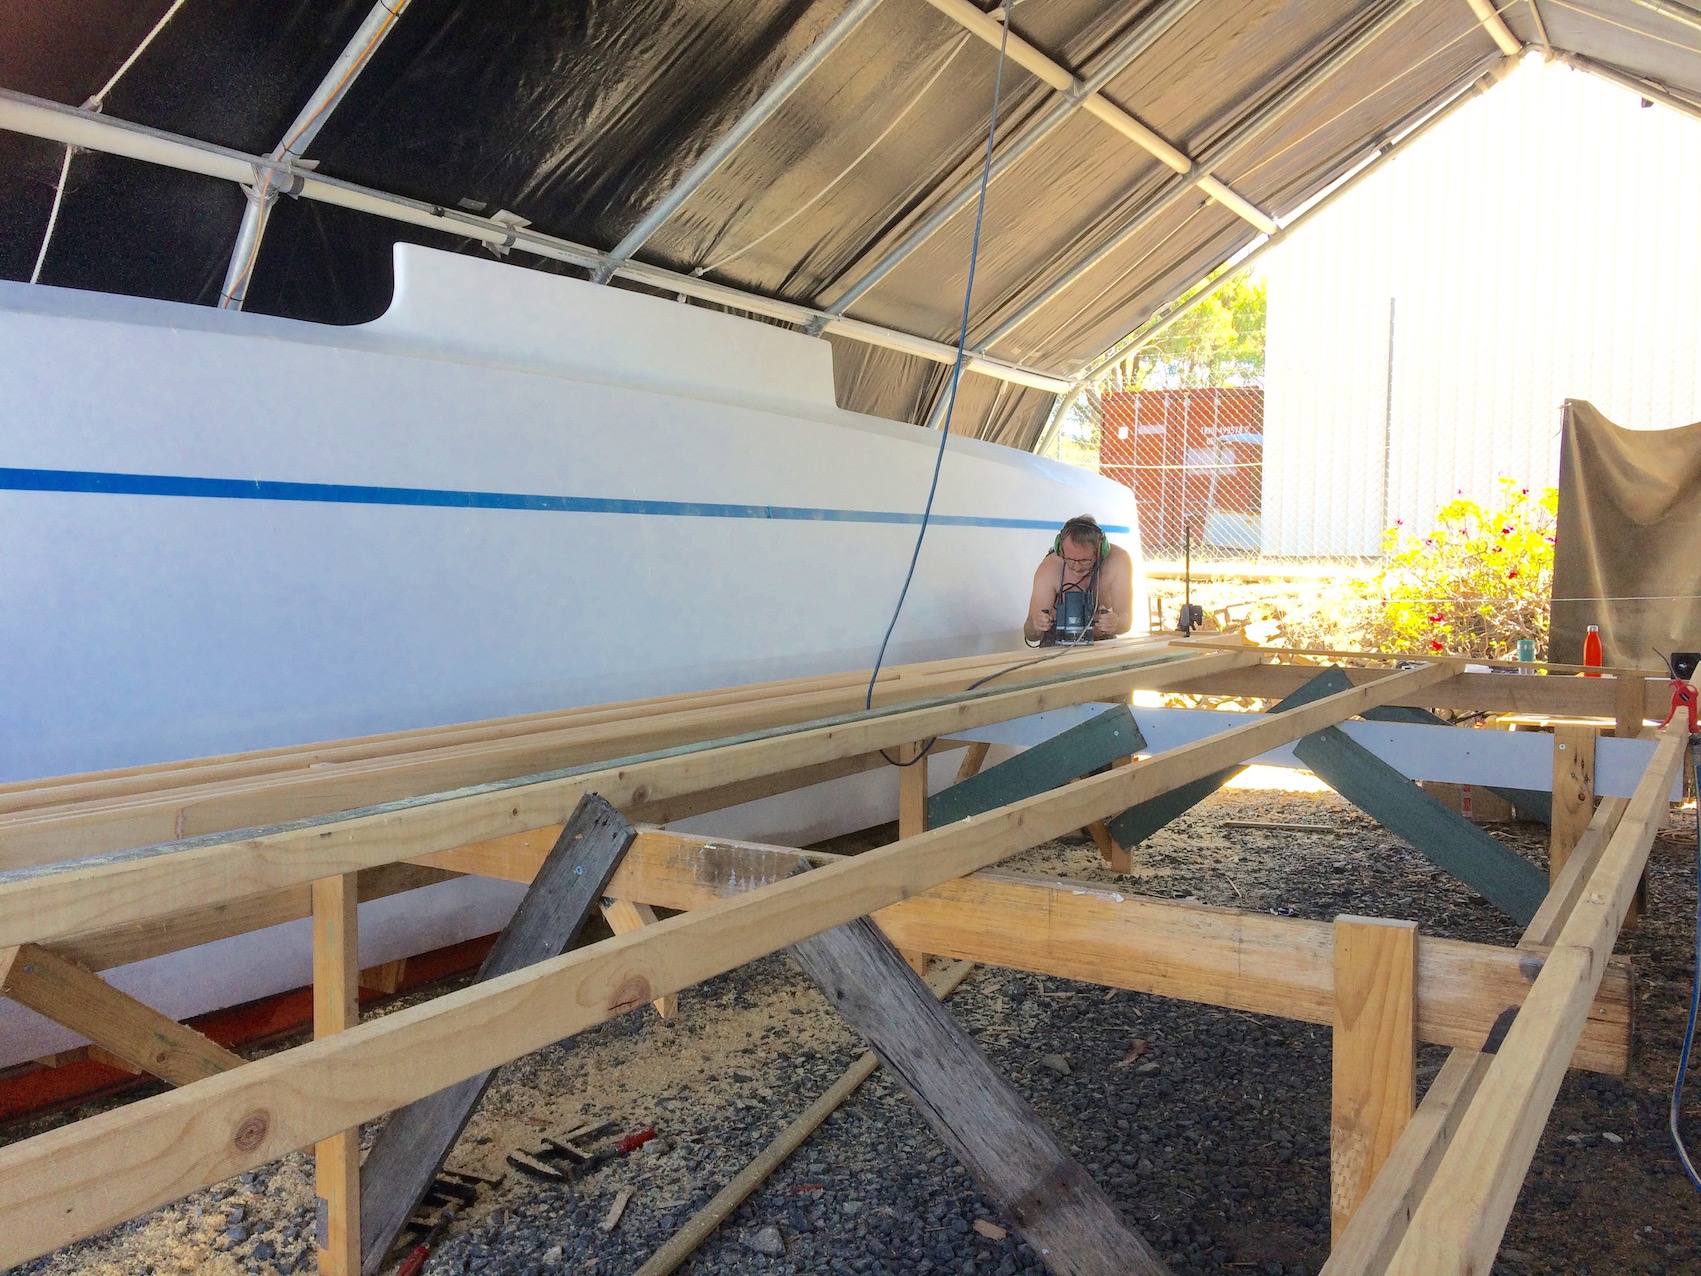
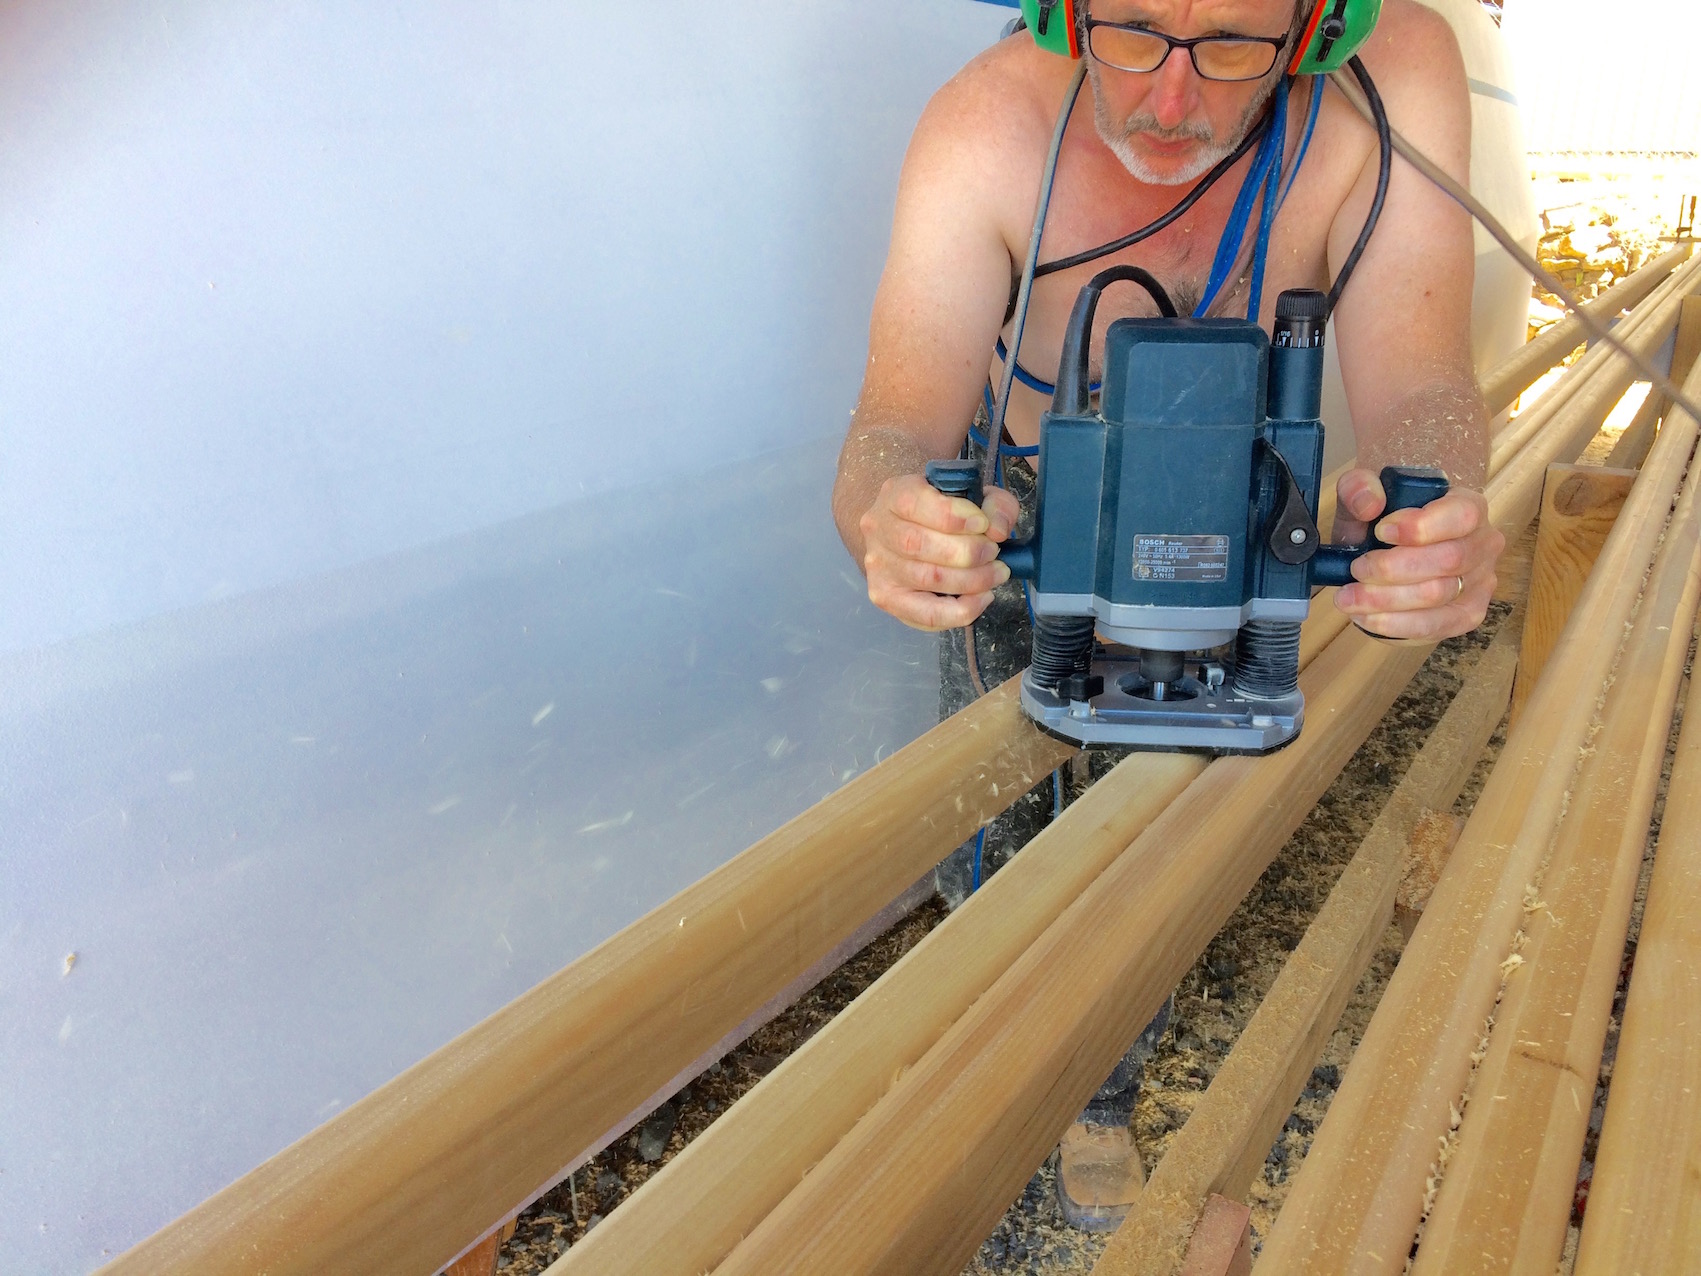
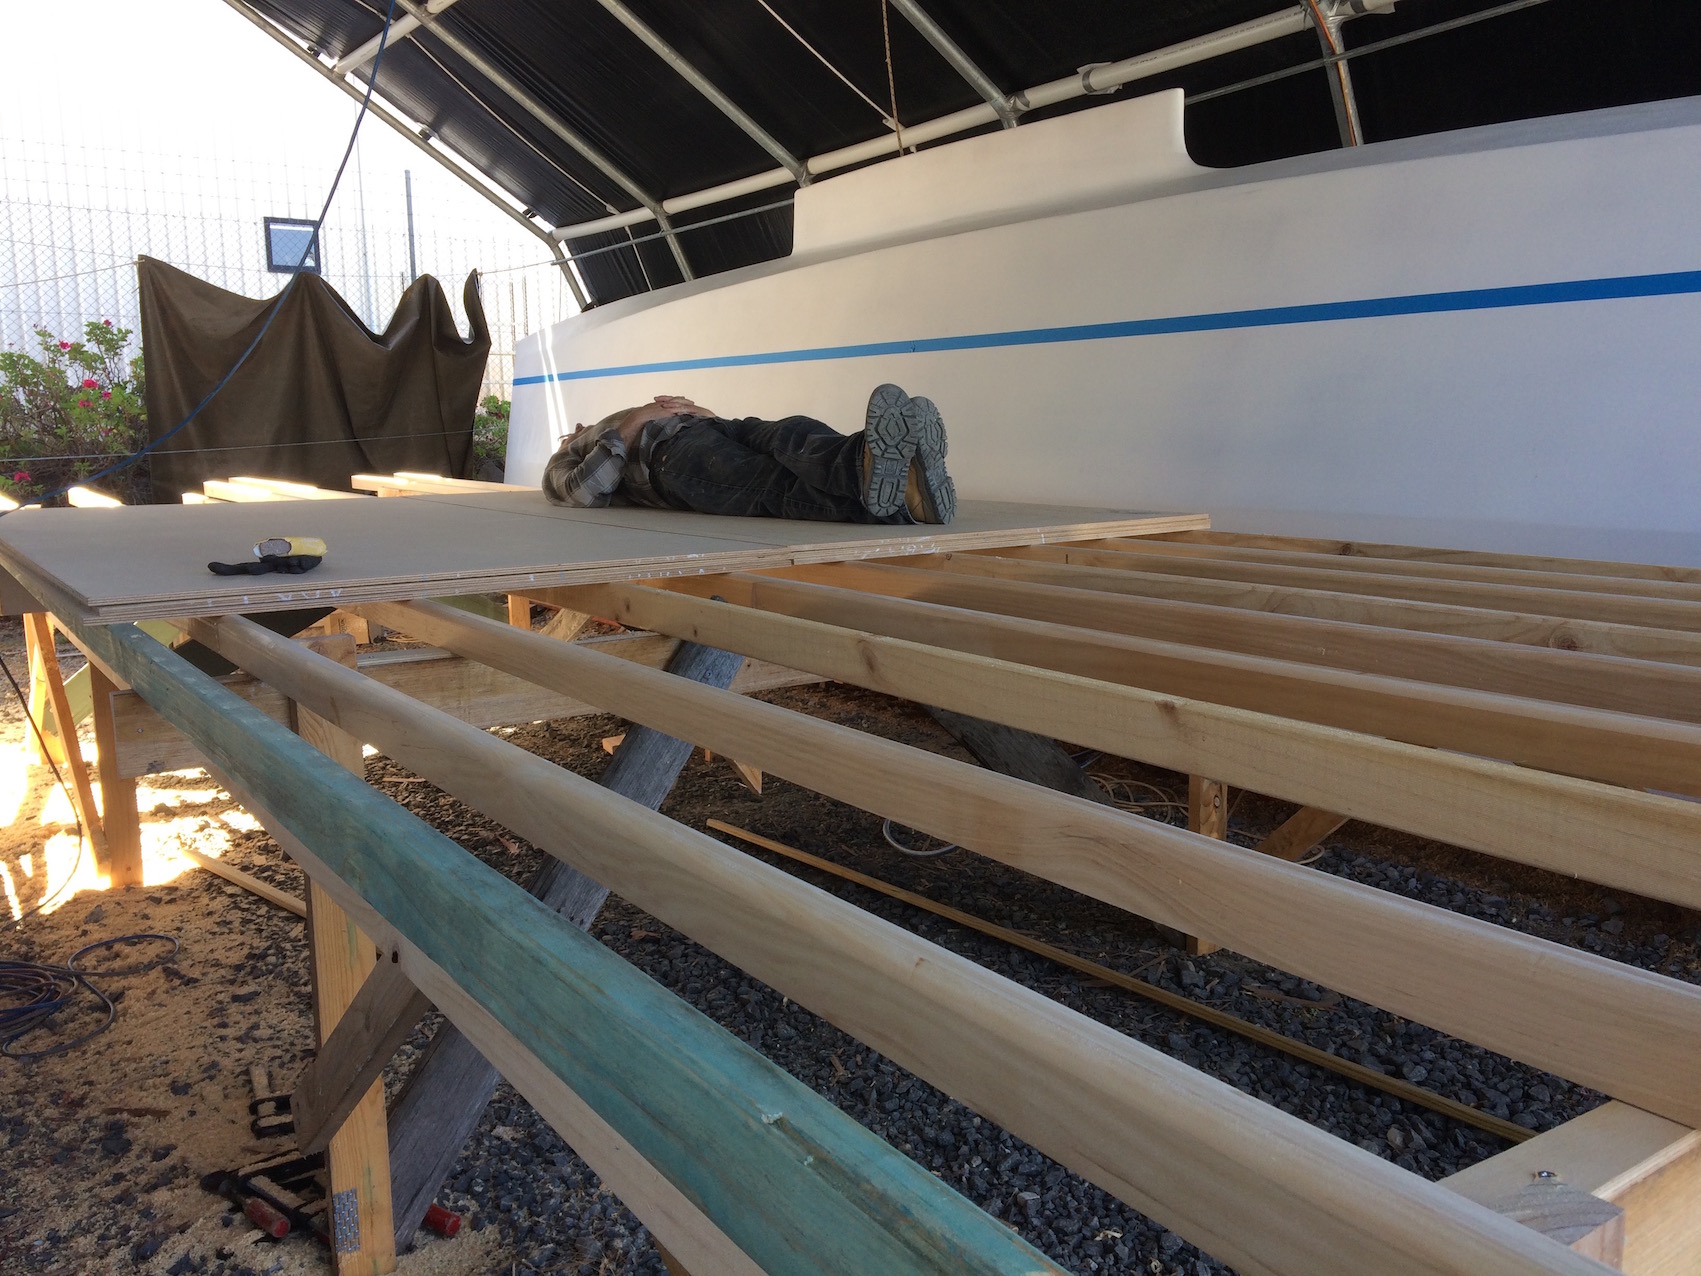
Having completed the hulls we are now free to start work on the lower bridge deck. This is exciting for us as it means that rollover-day is getting closer, but although it looks like a relatively simple assembly, all straight lines and no tricky angles, it is nevertheless a large volume piece. With six 7.1m long underfloor bearers to be glued, there is over 80 linear metres of fillets to be coved and sanded, plus eight step scarfs to join the 6 full size sheets of 12mm plywood that make up the floor of the boat. The whole assembly is fiberglassed and QCelled in exactly the same way as the hulls. This is a critical structural element, that is subject to potential wave impacts from below as well as supporting the weight of the humans walking and sleeping above, so we need to be diligent in our building methods.
There are two ways to build it. In pieces from below, once the hulls are flipped, or in a single assembly, prior to turnover day. We do not know of anyone who has opted for the first method, as it requires a huge amount of working overhead. The thought of all that filleting, Qcelling, sanding and fiberglassing upside-down did not bear thinking about, so we opted for the second without a second thought.
The bridge deck is 600mm above the waterline, and has three functions. Its forms the basis of the queen size beds in the sleeping cabins, is the floor of the saloon and the floor of the cockpit.
Now that we are approaching the joining of the hulls, Pete had one more job that was sitting on his to do list. A year ago when we surveyed the building site we did a quick measure up to ensure we could fit the boat into the available space. Since then however, Pete became a tad concerned that we may not be able to actualy get the thing out of the block once assembled. We knew the drive was wide enough (just), but will we be able to swing her 90 degrees to line up with the drive? So Pete fired up Google SketchUp and was relieved that we will be able to manouever the boat around … with about 1 meter to spare!