
Well we are into full winter mode down here in Tassy. Thermals and beanies are back on as we rise to 3 degree temperatures on some mornings. Actually we welcome the frosty ones as they generally precede a clear sunny day. Good follow up rain after last years wet winter, has kept the countryside fresh and green and the colours are spectacular. If you are considering a winter holiday destination, Tassy is the place to come. The locals are predicting a mild one; here’s hoping they are right!
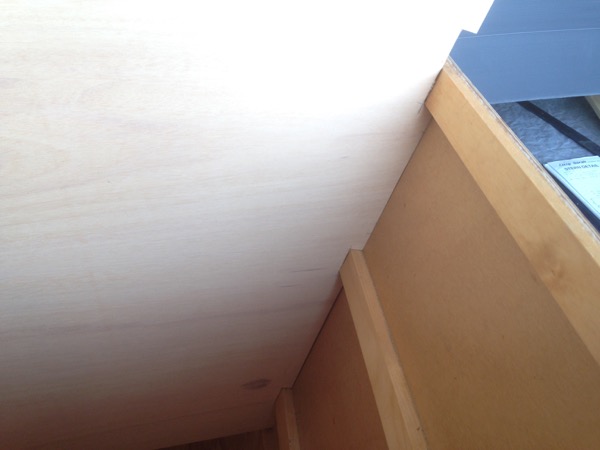
Work on Selah is progressing at steady pace as we are now tackling detailed woodworking and structural fibreglass jobs.
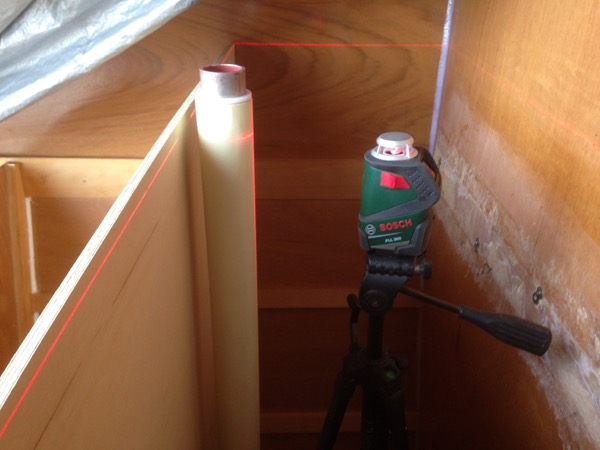
Deb has been kept busy re-enforcing the rudder post/hull joins, and the hull bilges above the keels. The plans call for 8 layers of 200g glass surrounding the rudder posts where they enter the hull. She cut 24 x 100mm wide, 300 long strips, laying them along the hull and up the post, in a wagon wheel pattern, building up the layers until it was about 1cm thick at the base of the rudder post. She did it in one sitting on each side to maximise the chemical bonding between the layers. It took around two hours each side, working in a confined space (see photo) as Pete fussed around supplying resin and coffee as requested.
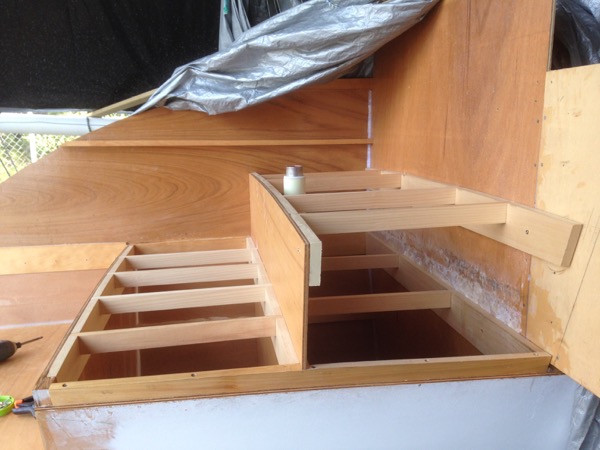
After that she lay two layers of 200g in the bilges between frames 3 to 6 as per the plans. The bilges are the internal spaces under the cabin sole (floor). Unlike most boats, Selah’s designer specifies that the cabin soles are sealed in place, effectively creating a second hull bottom. If, by misadventure, the hull is pierced below the cabin sole water is contained between the hull frames and the sole. If above, they act as a series of buoyancy tanks. In addition to the bow and stern voids, she is effectively unsinkable in all but the most extreme circumstances. This has been tested by modelling, which indicated the boat can still be sailed after a hull compromise.
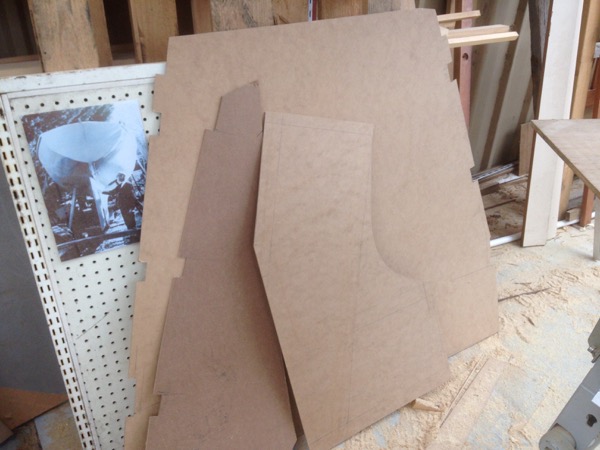
While this was going on, Peter got stuck into assembling the stern steps areas. This also incorporates compartments for the tiller head & steering components. The plans give overall dimensions, but not specific framing details, so there was a lot of thinking time. Decisions about the steering had to be made. There are three options for wheel steering, mechanical push/pull, hydraulic cylinders or cables and pulleys. A fourth option is tiller steering. Some owners use both wheel and tillers. We took a trip to Tamar Marine in Launceston to investigate and have decided upon push/pull. Either way, provision must be made for an emergency tiller, so construction of at least one tiller is the to-do-list.
There is a lot going on with these steps; multiple angles and weird shapes, water proof access hatches, provision for the steering equipment, targa bar, plus mounting points for the back-stays. Its probably the most technical wood working to date. A lot of thought has also gone into the best way to provide for access to the voids, once they are closed up. We have decided upon a combination of stainless flush-deck plates on the decks, and plastic inspection ports in the bulkheads that can be opened on hot days at anchor to ventilate the voids and enable visual checks for leaks etc.


Looking good!
LikeLike