Its been a busy couple of weeks since our last post. The highlight being a surprise visit from our youngest daughter Haley, who flew down from Alice for a week. A great mothers day for Deb. We took a few days off the build to visit Pete’s parents in Hobart, but not before co-opting Haley for some boat work fiberglassing the starboard steps. It was her first real look at the boat, and she was excited, imagining days together on the reef. She has done a couple of charters with us in the Whitsunday’s, on a Seawind 1160, so was easily able to visualise the layout of the cabins and living spaces. Alas, after a precious few days she had to head home and it was a melancholy mum and dad who returned to the work site. But Selah is already showing signs of being a demanding family member, and we threw ourselves into our work, meeting her needs.
The stern steps are now complete, sealed and weather tight. The top steps are fitted but will not be glued down until we have completed the steering and targa bar. This is will be much later in the build, so in the mean time they will be held in place with temporary screws and protected with thick plastic as they will be in constant use as the primary access to the hulls.
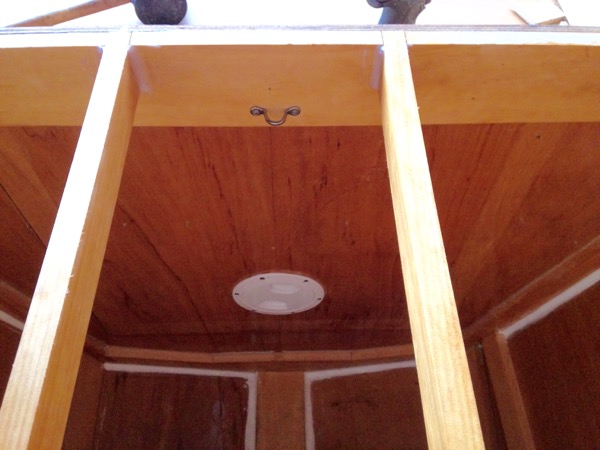
Ventilation ports were installed in frame 10, allowing us to vent the void beneath the swim platforms on hot days.
Pete was looking forward to getting on with the next major step, lifting and gluing the bridge deck in place, when he realised he needed to scarf some long lengths for the fore-beam and Webb locker supports first. These are over 5 meters long, and the bridge deck currently provides a handy 7 meter long work bench for such assemblies.
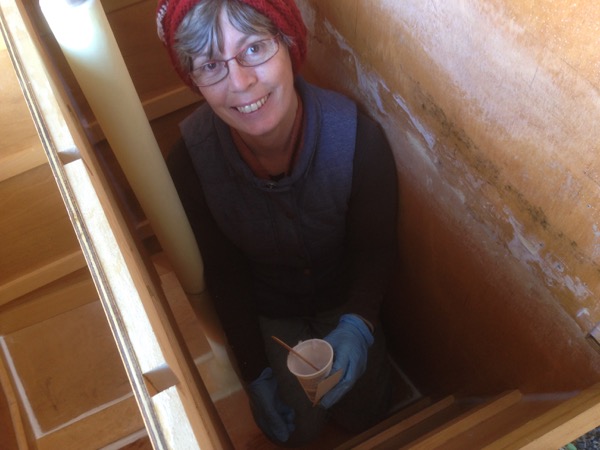
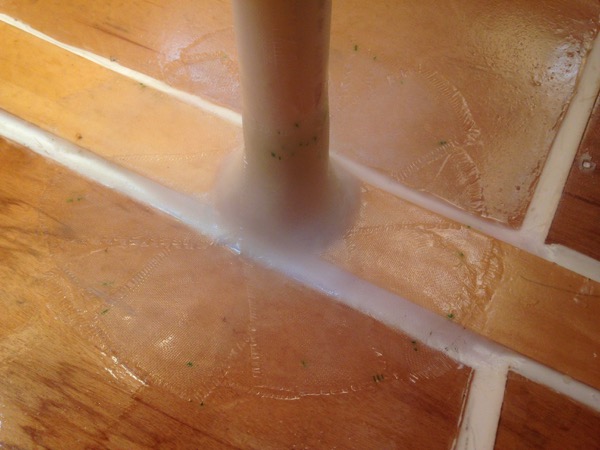
Deb finished up waterproofing the steering compartment, and Pete cut the rudder shaft and post to length. We ordered some aluminium tiller heads, from Vetus Maxwell and dry fit them to check measurements.