Those who have followed our progress from the beginning, will remember the succession of wild westerlies that tore down the strait last winter. Storms and floods: the worst of which forced us to temporarily remove the big tarp from our shelter. Not so this year. To date, the winds have been remarkably light, and most days have been sunny and clear. The only downside of this happy state, is that the frosty weather has brought lower overnight temperatures, causing our epoxy resin to stiffen up. We have resorted to wrapping our large 200L drum in an electric blanket when the overnight temp drops below 5 degrees.
A new chapter has begun for us as we move inside to begin the internal fit-out. We will build most of the permanent furniture, shelving, cupboards and cockpit assemblies prior to fitting the upper decks and turret. This will make it easier (and safer) to spray paint the internal spaces.
We were expecting the visible pace to slow a little, as the work becomes more detailed and there are more planning sessions. This has proved to be the case, but we are thoroughly enjoying this stage of the build.
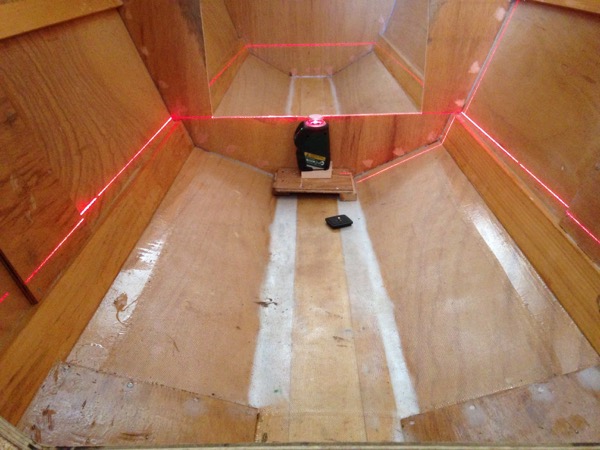
For the last two weeks we have been focusing on the flooring. The laser level was utilised to scribe the levels. Decisions needed to be made about bench widths, especially in the galley area, so that Pete could trim the non structural frames where they intersected with the floors.
We opted to use 12mm ply for the floors, (instead of the suggested 9mm) which meant we could use lighter underfloor framing. Eventually the floors will be fixed in place to the hull sides. Pete has an aversion to spongy floors.
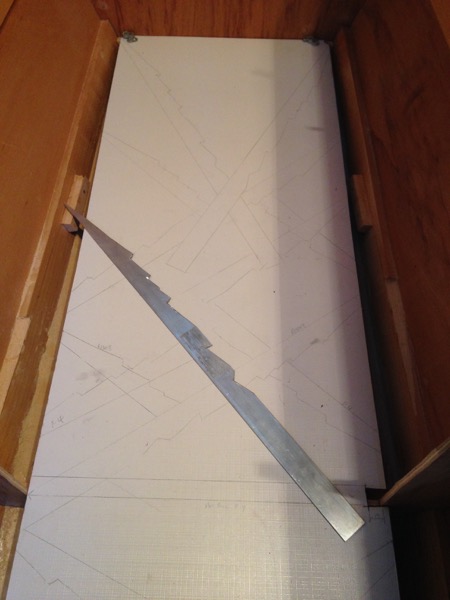
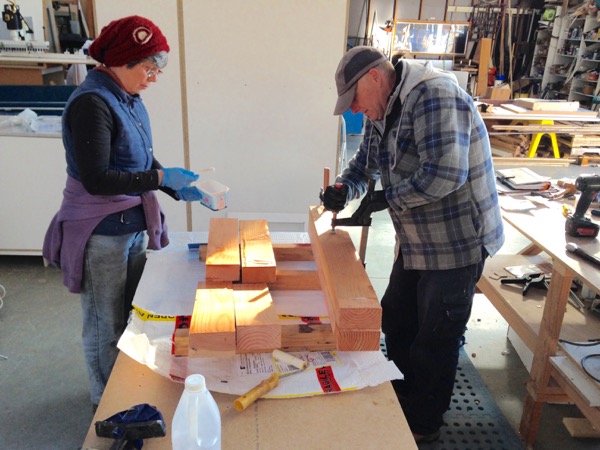
After the floors were cut, Pete started dressing the sheets. This is a technique that sort of simulates laid decking, and is very attractive. Next week, Deb will apply four coats of deck varnish. Then we will glue them in place, and protect them with 3mm MDF covers for the duration of the build.
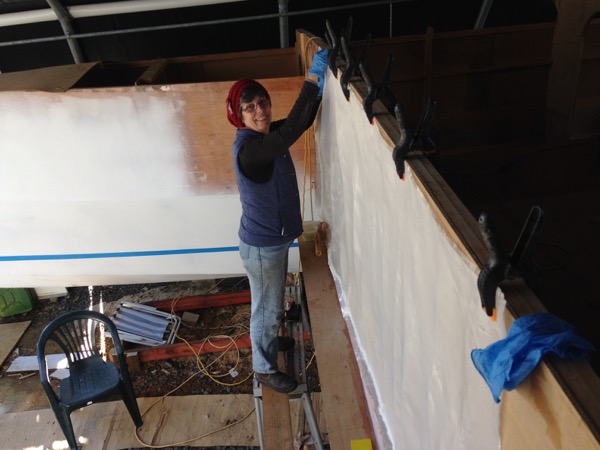
Deb has fiberglassed the front of frame 3, completing the weather proofing of all the external areas we have built to date. She has also fiberglassed the bilges between frame 6 and 7, and completed filleting frame 5 and some other joins.
Russell was able to source some thick Oregon off-cutts for us, to be used as part of the fore-beam assembly. He also offered to laminate and machine it to size, which we greatly appreciated. Russell has been a constant source of encouragement, advice and assistance and is very much Pete’s woodworking guru.