
Its been dead-set freezing down here in Tas for the last couple of weeks. Still frosty mornings and low overnight temperatures.
Fortunately the temps have not impacted our ability to work on the boat, and progress has been steady.
Some people have expressed surprise at out ability to keep working with epoxy resin which is notorious for being difficult to manage in low temps. Epoxy cures with a exothermic reaction, which generates its own heat once activation takes place. Every morning our working batch of resin is immersed in a sink of steaming hot water, in the workshop kitchen, (the warmest room) to bring its temperature up from the overnight low. Once warmed up, we pump out the required amount into re-used disposable coffee cups as needed, and stir thoroughly. Only after we have seen the tell-tale little bubbles, that indicate the chemical process has started, do we take it out and apply to the job. We have noticed that although it still “sets” hard overnight, it takes around four days to cure, instead of the usual 48 hours. This is no problem for us, unless we intend to sand it, in which case we just wait.
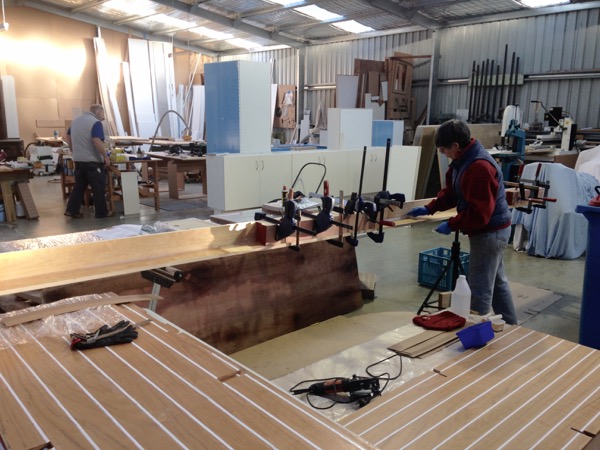
We decided to fit the cabin sides next, so Pete shaped and fitted the sheer gunwales that provide a fixing point for the sides. On the Sarah design, the cabins are an extension of the top-sides, angled back at 15 degrees from vertical. We then extended the frames, cut to the dimensions supplied in the plans to induce a pleasing curve for the cabin side stringers which was bent between frame 2 and frame 9. The cabin sides were then installed using the same method as the hull sheets.
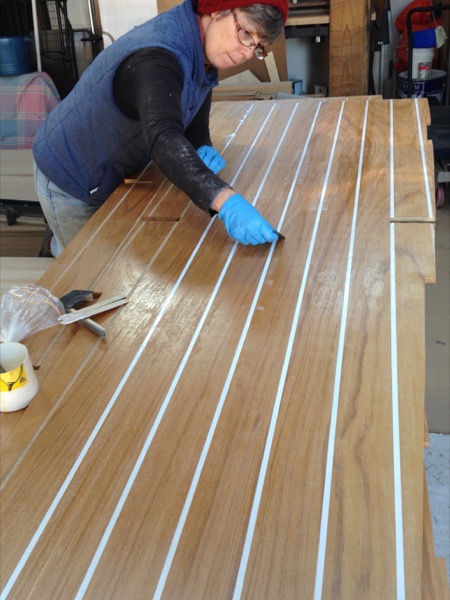
Meanwhile Deb finished dressing the cabin soles (floors), by filling groves with white filler, and sanding smooth ready for varnishing. They are now ready to be glued in place.
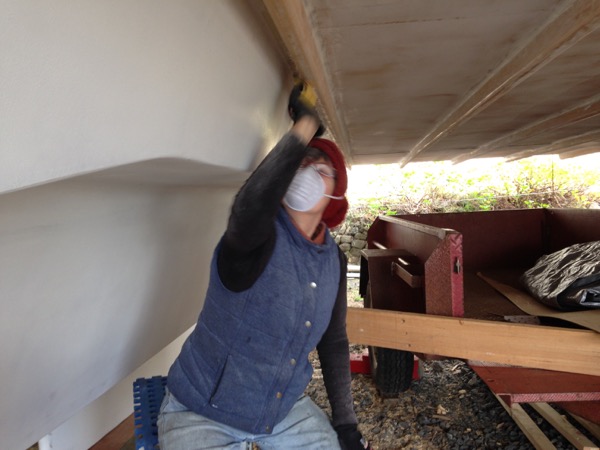
She then tackled a job we had been putting off: filleting the underside of the bridge deck where it joins the hull extension. This involved working overhead, never a pleasant job. First she corse sanded the bonding surfaces to provide a “key” for the epoxy. Then brushed on a coat of resin, prior to running a generous fillet of thickened epoxy.
During a couple of particularly inclement afternoons, we retreated to the workshop to begin assembling the fore-beam which joins the bows. Later it is fitted with a seagull-striker, a fixing point for the genoa fore stay and an anchor housing.


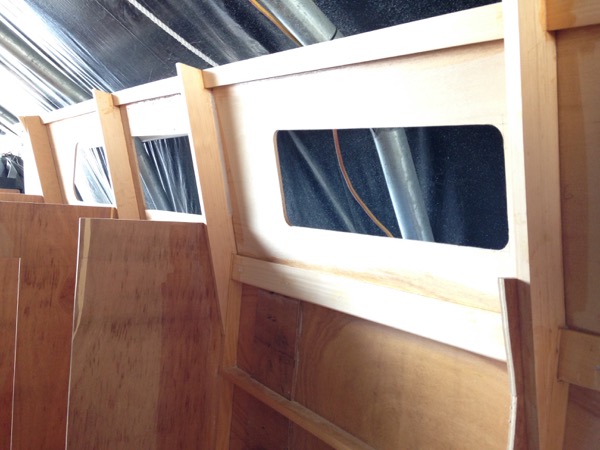


Great to see the cabin shape coming along, guys. It’s interesting hearing about your technique to work with epoxy in freezing weather too! We guess a heater in such a big shed would not work so well!
We are right now leaving the Gippsland Lakes to bring the boat to Melbourne and it is ccccold!
LikeLike
Wowsers… 0 degree overnight here. Must be freeeeeezing on the water with the wind chill! Are you stoping or doing an overnighter?
LikeLike
Overnighting to Cleeland Bight – Phillip Island – 30 hours for starters, then we’ll see what the weather does on Monday! Might get stuck there for a few days.
LikeLike
Such big distances you Victorian sailors have to cover to get anywhere! Have a safe and happy trip.
LikeLiked by 1 person
Thank you so much!
LikeLike
wow my friends i was so emotional to see your hard work paying off as you lowered ypour boat into the water, you are an inspiration to me personally and i dream of building my own boat in the near future
LikeLike
Thank you for your kind comments Selvin. I hope you are able to fulfil your dreams. Please let us know when your building project is underway, we’d love to follow your progress!
LikeLike