One of the advantages of building outdoors is that it is keeping us connected to the weather and environment. Well, thats what we keep saying to ourselves anyway: preparation for life aboard. Sailing is like camping, its all about the weather.
What has been a constant surprise for us, is the difference to last winter, which was dominated by storms and wind. This year, its been about frosts and icy temperatures.
Thankfully now that we have moved to internal fit-out, and are no longer working on the ground, we are more protected than before.
Last Saturday, we had planed a day trip to Launceston to pick up some Oregon timber that had been given to us by an old friend, Colin Jones. A call from Pete’s mother informing us that his 93 year old father was in hospital, changed our plans, and we went to Hobart for four days to be with the family. Pete’s father trained as an shipwright and is very interested in the build.
We returned to Selah on Thursday. Heres an update on progress from the last post.
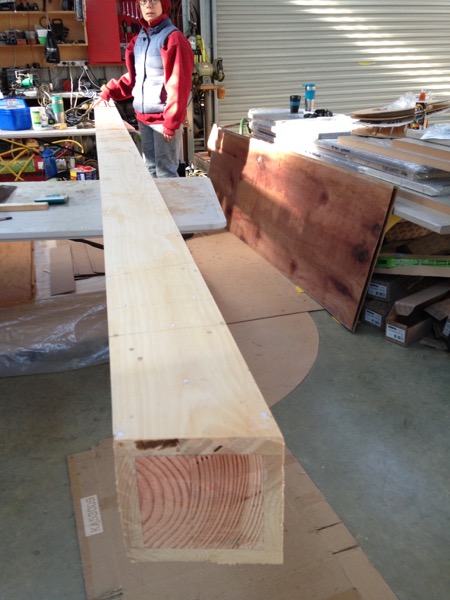
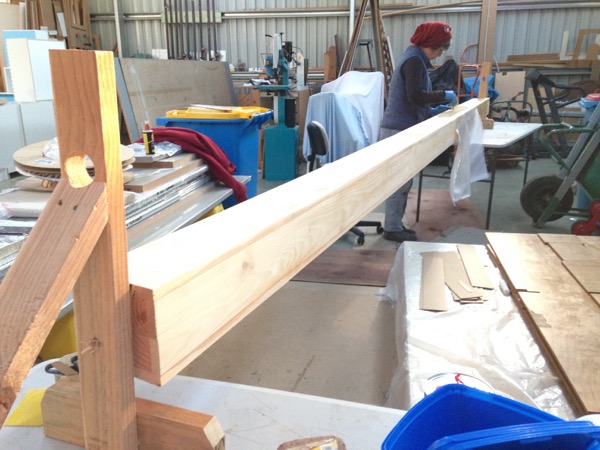
Deb has completed the fore-beam which is ready to be dry fitted. Later a PVC faring is fitted to the forward face, but not before we have run a conduit for nav light electrics, so that will wait for a while.
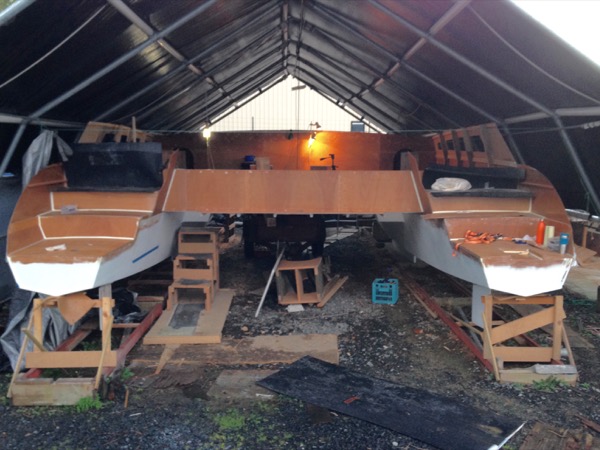
Pete has been working in the hulls, doubling up on stringers and frames as specified by the designer. Its detailed and fiddly work, but very gratifying as we can feel the boat strengthening with each new assembly. Easy cats are renowned for their rigidity.
A new question has entered our discussions. “Will this be visible?” meaning will the component in question be visible after final fit-out and not concealed by furniture or panels? If so, edges are rounded by an edge trimmer, care is take to ensure the tolerances are as tight as we can make them, and that it looks right. Some surfaces will be varnished, and others will be sprayed with high-build and two-pack.
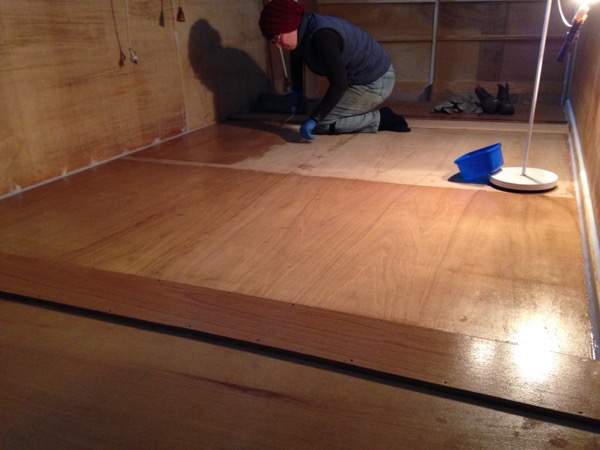
Deb has sanded and coated the sleeping cabins with epoxy. This will protect the plywood, from condensation drips, that are a problem on icy mornings. She also went underneath, and filled screw holes left over from the bridge deck installation.