
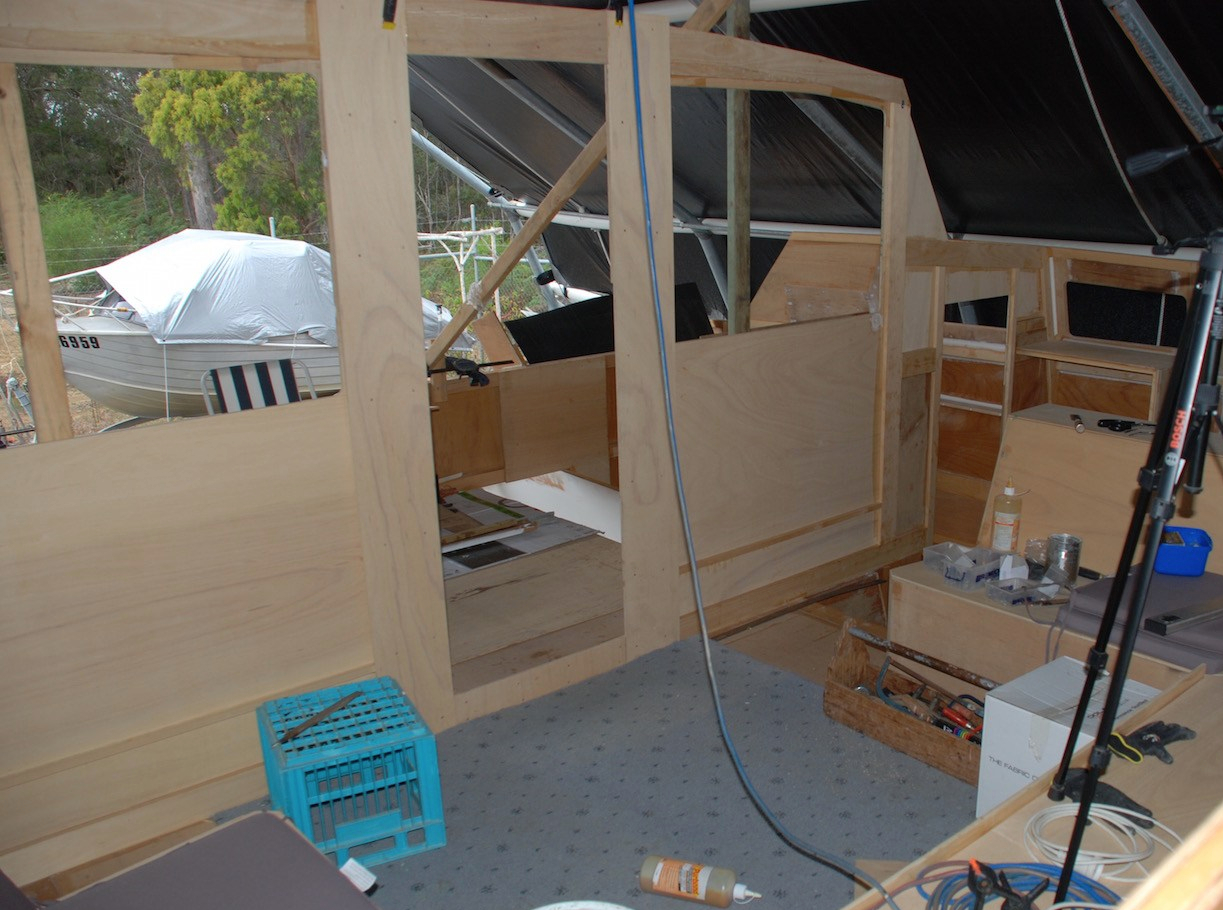
Now that the saloon settee has been completed we moved onto installing frame seven. This is the rear wall that seperates the main saloon from the cockpit. It is effectively an internal bulkhead as the turret roof and sides extend well beyond. The cockpit on the Sarah design is fully covered, a feature common to most Australian cruising cats, due to our climate. Having lived in central Australia for 19 years, protection from the sun and wind was an important consideration for us.

There is much to be said about this frame. A lot goes on around it. Most evident are the huge windows. Structurally, it has generous width frames and is double skinned, providing the rigidity of a laminated fabrication. This creates an internal cavity for the windows which open by sliding down, much like vehicle windows. The door is also framed in the same way. On hot evenings, the combined area of these three apertures, creates through ventilation, sucking out the incoming air from the forward facing hatches in the sleeping cabins, possibly even accelerating the airflow a little. There are forward facing windows on the turret as well. Heat dissipation is important with cats, due to their large deck areas. The helm station is situated directly behind the largest opening. As well as the wheel, it incorporates a console that houses the navigation and engine controls. Provision must be made for ducting the various power cables, instrument sensors wires, and solar panel cables.
The plan set gives detailed dimensions and scantlings, but not building instructions. This was something of a challenge as there were a number of important intersections that were, at that point, floating in space. We thought that if we started with the top cambered frame then we could dimension from there. We built a temporary support scaffold. The plans provided the width, camber, and height of the frame. We used the laser level to position it on the centerline, and screwed it to the temp supports, level and plumb. Then we used it as the frame of reference for all the connecting bits. Once completed we will disconnect the scaffold, as Pete has hit his head on it a number of times! The designer approved our plan to increase the turret sidewall angle to 30 degrees (from the specified 20 degrees), which we feel will improve her looks.

As well as frame seven, we continued work on the forward web lockers. Deb did the large external epoxy fillets at the external join, and Pete cut away the side panels, connecting the internal webb locker space to the small forward cabins.


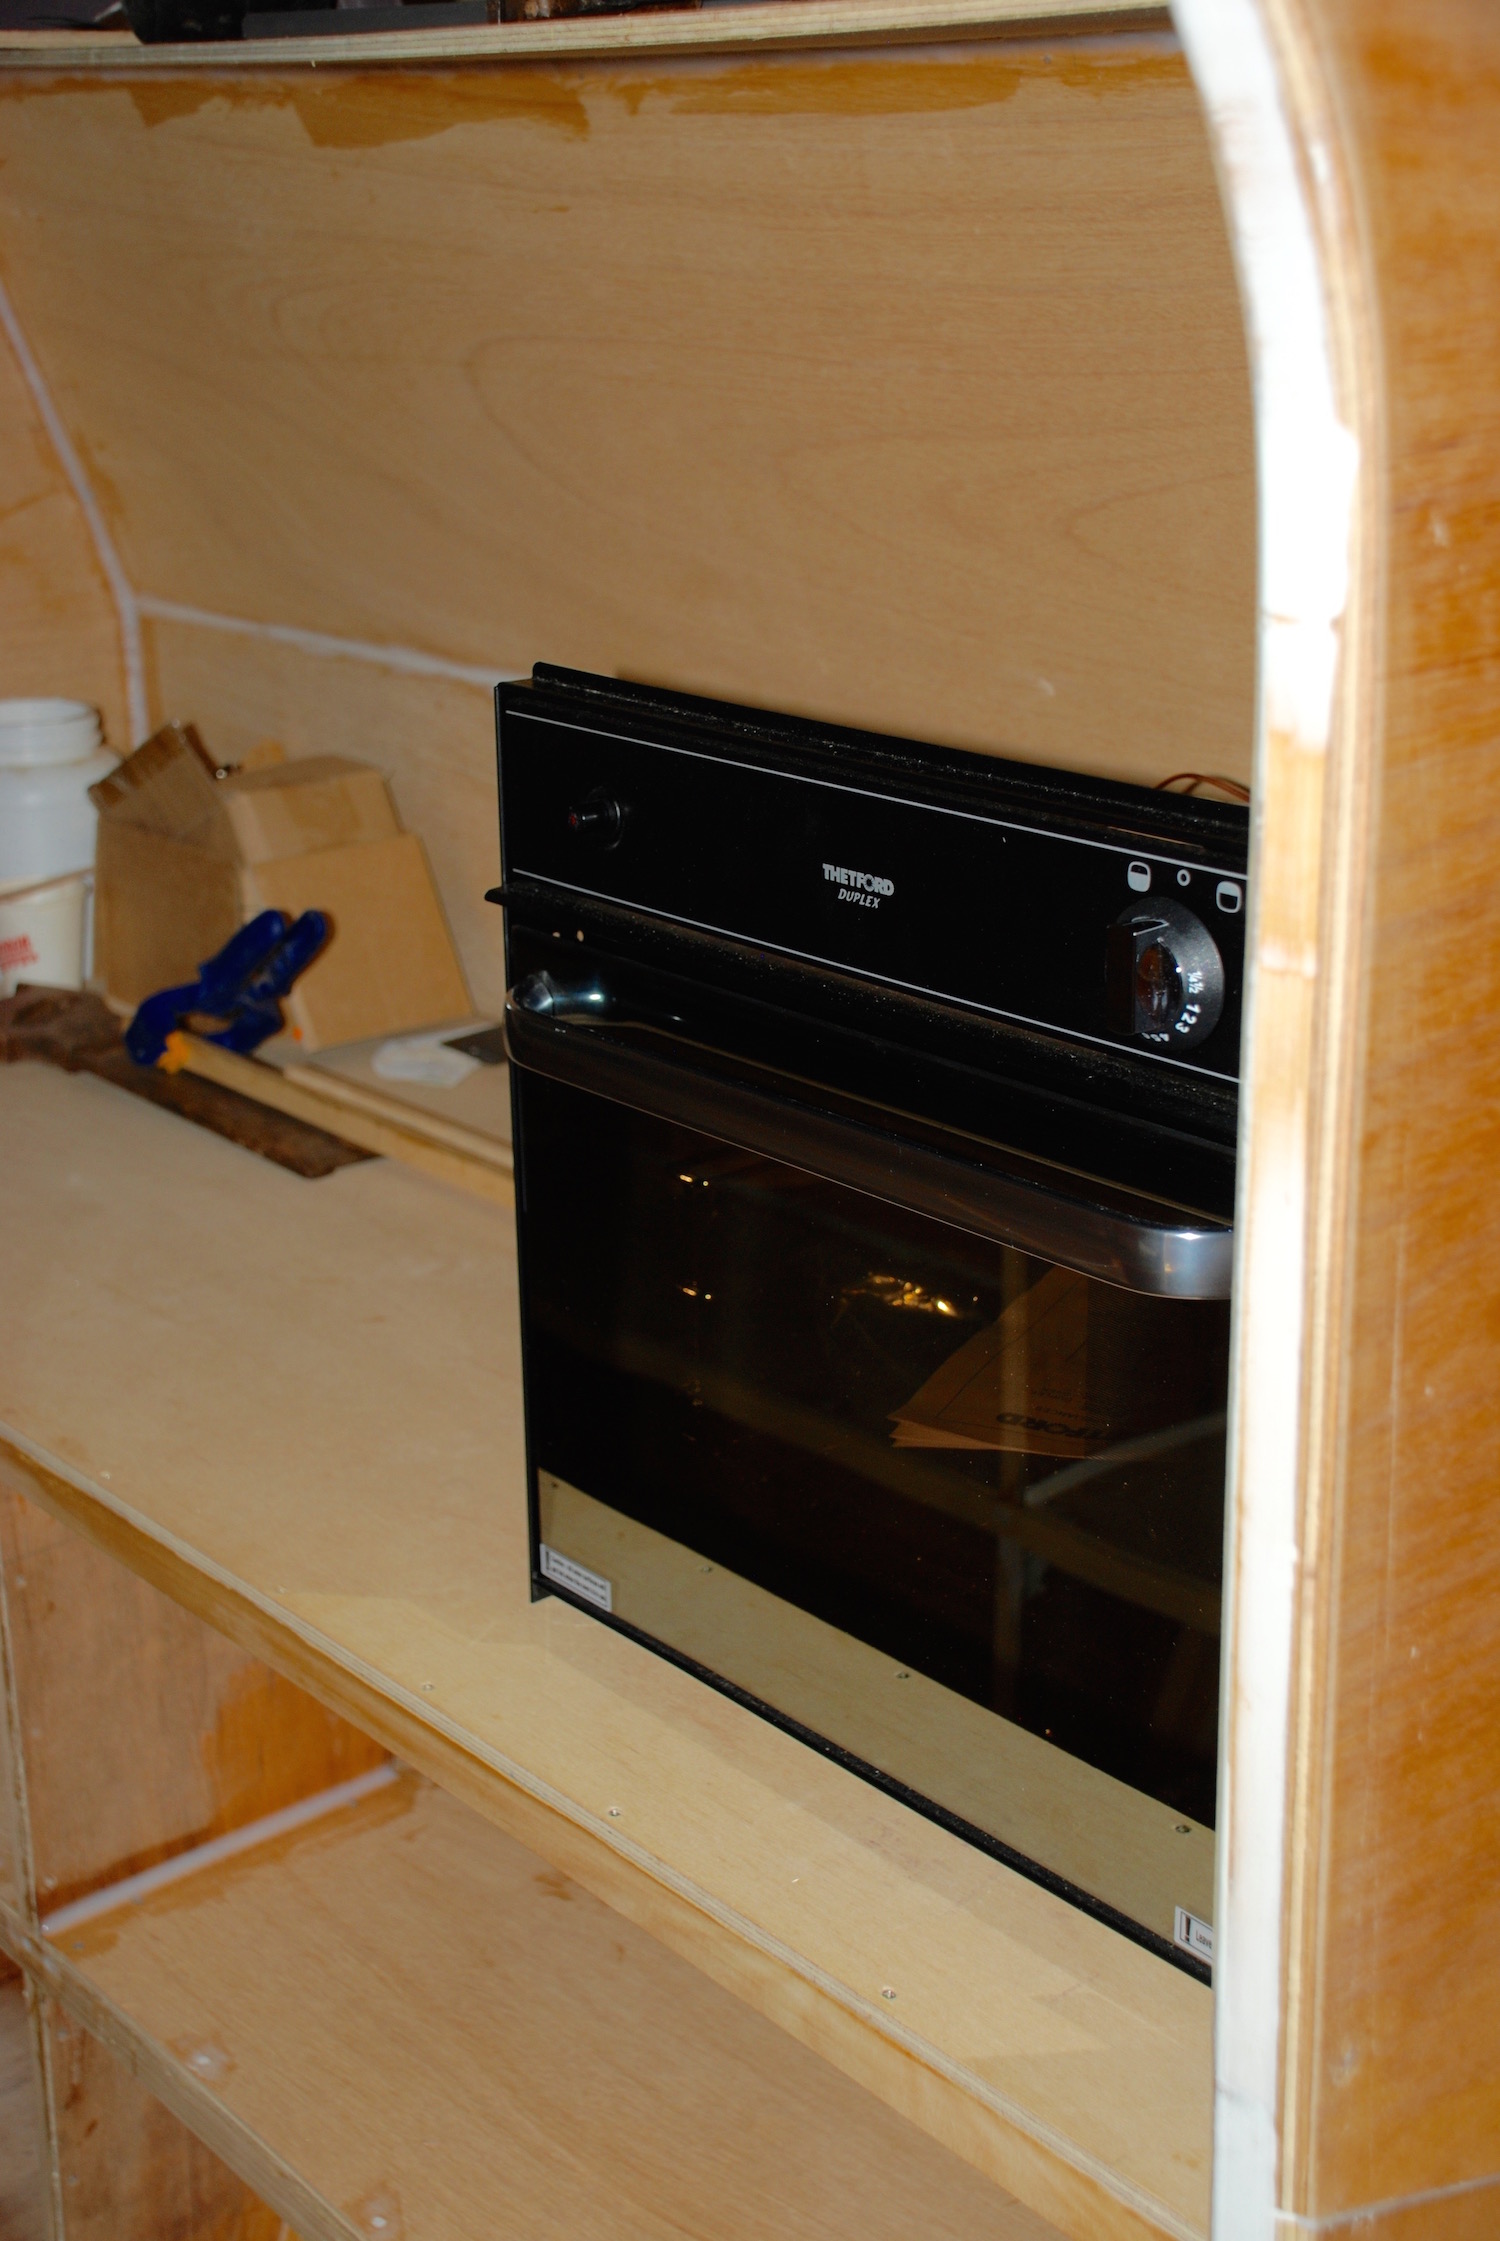
We have begun selecting and ordering the equipment that we need on hand to incorporate into the internal cabinetry. This week we took delivery of our sinks and the fridge freezer. The fridge freezer is something of a gamble. Typical boat units tend to be top-loading chest style, because they use less power and are safer when it gets rough. We have chosen instead, a 12-volt front-loading unit more commonly used in caravans and campers. It has a 170-litre fridge and a 40-litre freezer capacity. Its advertised power usage is more than most boat fridges. However, many liveaboards retrofit a Wako style camping fridge for added freezer space, bringing their total consumption to significantly more than our unit. Our hesitation with our choice is that this model, as far as we can see, is relatively untested. We made our decision on a few factors. Firstly, we prefer a front-loading fridge. We have used camping fridges for years in the desert, and are well and truly over the constant food shuffle inevitable with top-loaders. Secondly, EvaKool is a well regarded Aussie company, and they designed it for our conditions with significantly wider wall thicknesses than the overseas built units. They claim a real-world power consumption of 2.6 amps, 33.3 watts at 31-degree ambient temperature. Time will tell! Thirdly, its advertised consumption is around 13% of our planned battery capacity, so we are hoping that there is enough elbow room in our power calculations, should it use more than expected.


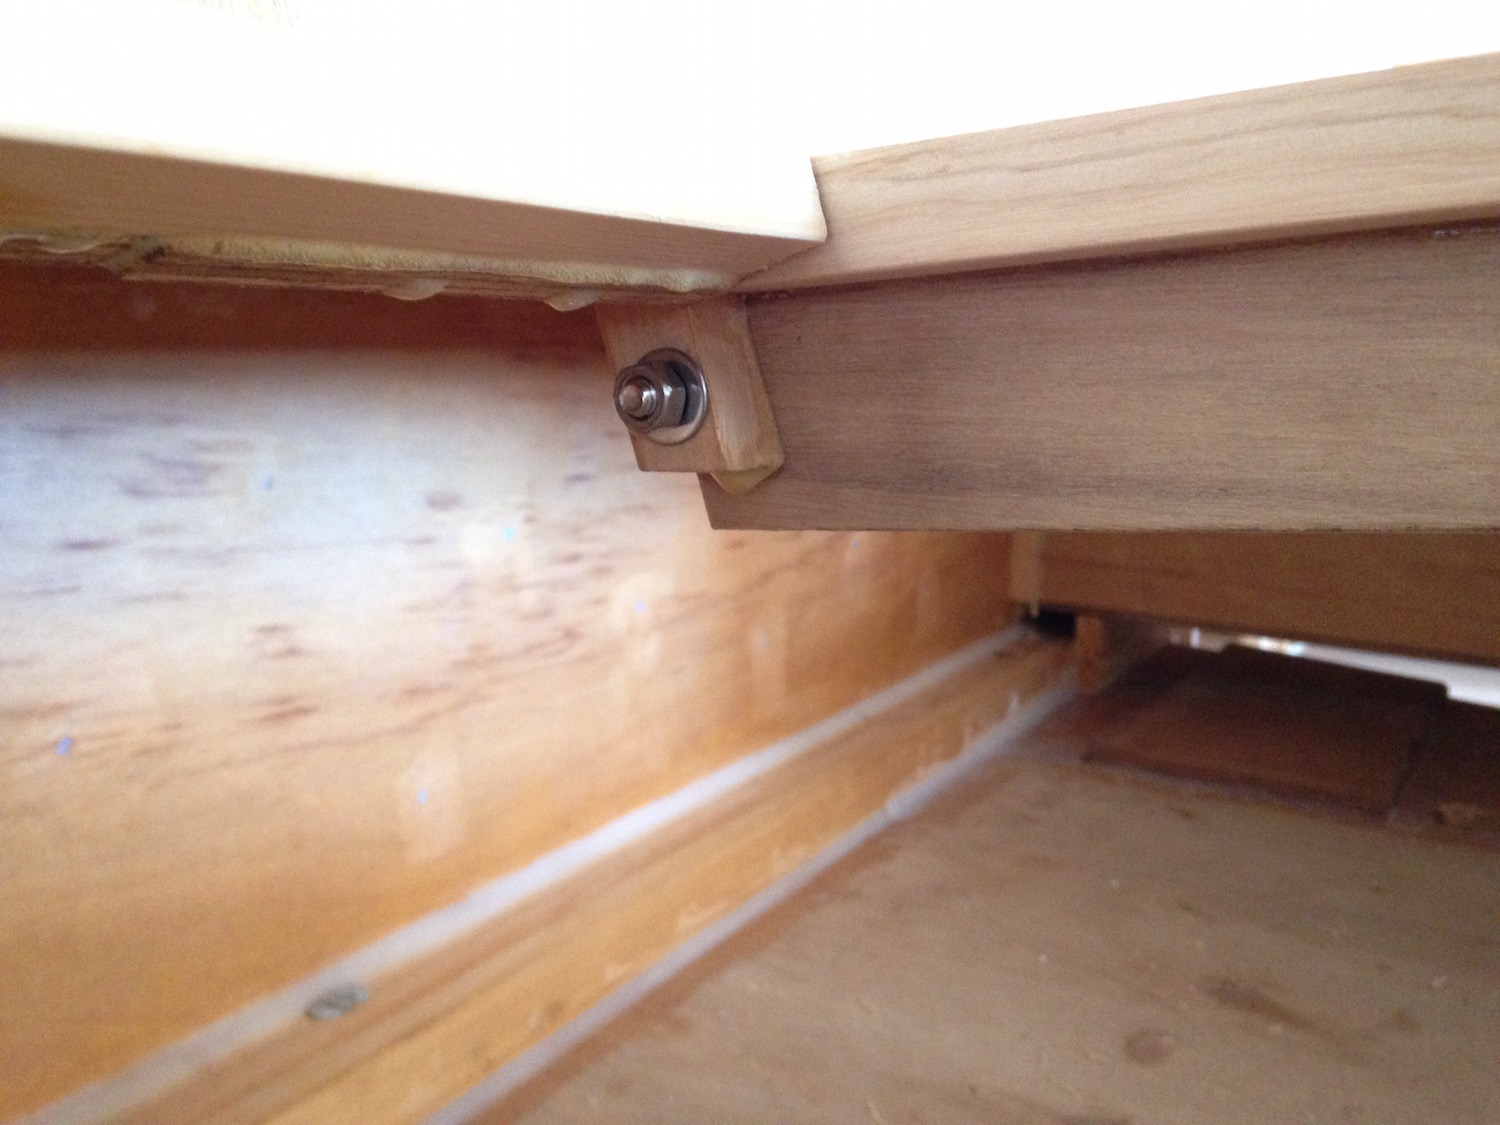
Building the internal joinery has thrown up some interesting challenges. Boats are notorious for their awkward shapes and spaces. Despite his best efforts to always be thinking a few steps ahead, recently Pete found himself backed into a tight corner. After dry fitting components for some removable seat supports, Pete needed to drill 10mm bolt holes. He realised too late, however, that there was not enough room in the tight confines for either the drill and his boofy head to sight the job. Stumped, he consulted with Russ, Deb’s brother, a master cabinet maker and our woodworking guru. Russ dived into his tool bag and came up with a couple of possibilities. A right angle drill bit, and a flexible drive. The flexible bit was perfect. Within 10 minutes the job was complete, and the bolts installed. A flexible drill bit is now on the Christmas list!


What brand artikel number ia your fridge-freeser combi.
And you both doing a great job again.
Keep up the goodwork and thanks for the update
Robert
LikeLike
Hi Robert. It’s an Evakool brand, 210 Platinum model. We purchased it through mygenerator.com.au (I’ve updated the post: the actual capacity is 170L fridge, 40L freezer)
LikeLiked by 1 person