
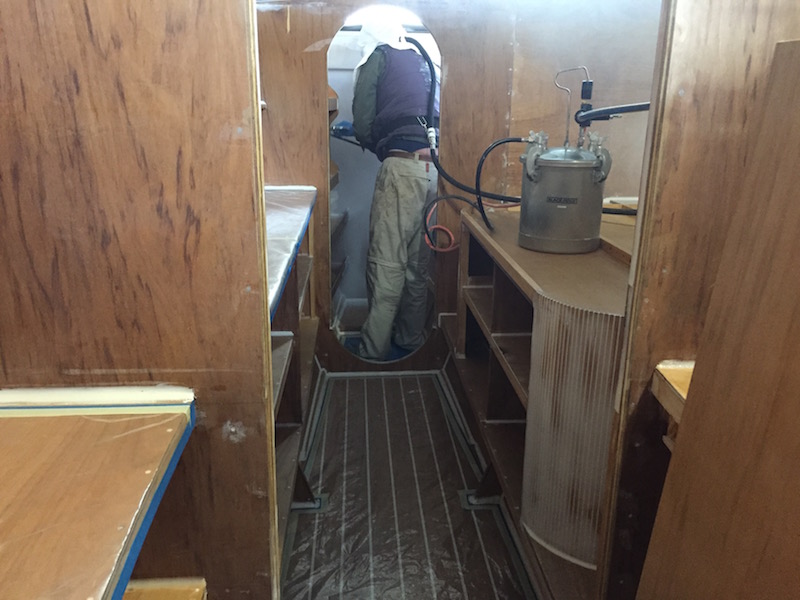
A lot has changed since our last post. We have managed to get our first coats of high build undercoat on, but not without a battle with the weather.
Turns out Tassy has humidity levels not dissimilar to the tropics, something we had not fully understood until now! Our magic figures for painting are: temperature no less than 10ºC and a maximum humidity of 80%. We have struggled to meet these critera, so have decided to keep moving forward with the decking, while we wait for conditions to improve.
We took a week off the build, to travel to Hobart to help Pete’s parents who’s house was flooded in the recent storm that caused massive damage in southern Tas. We also took the oppertunity to collect some additional plywood for completing the decks, superstructure and cockpit furniture..

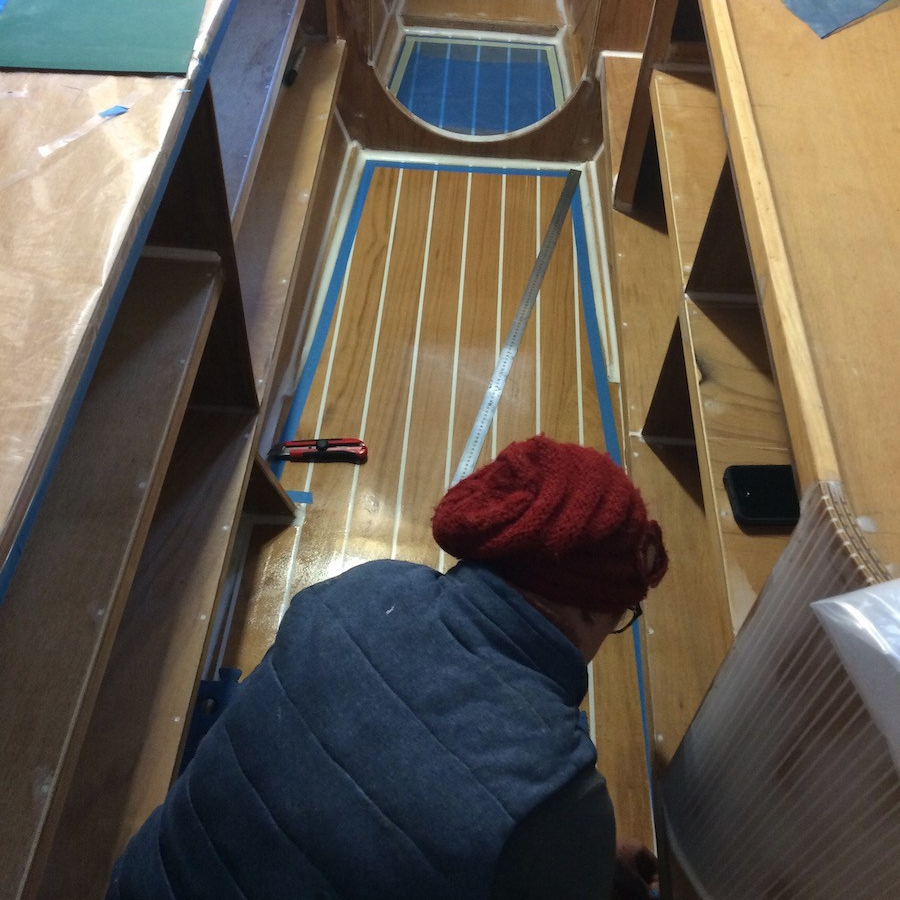
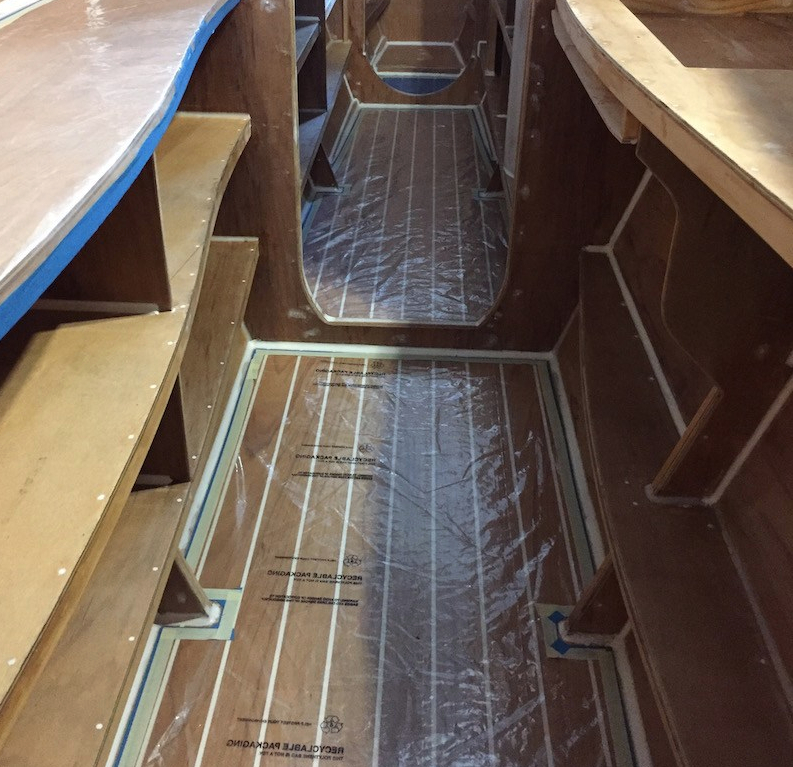


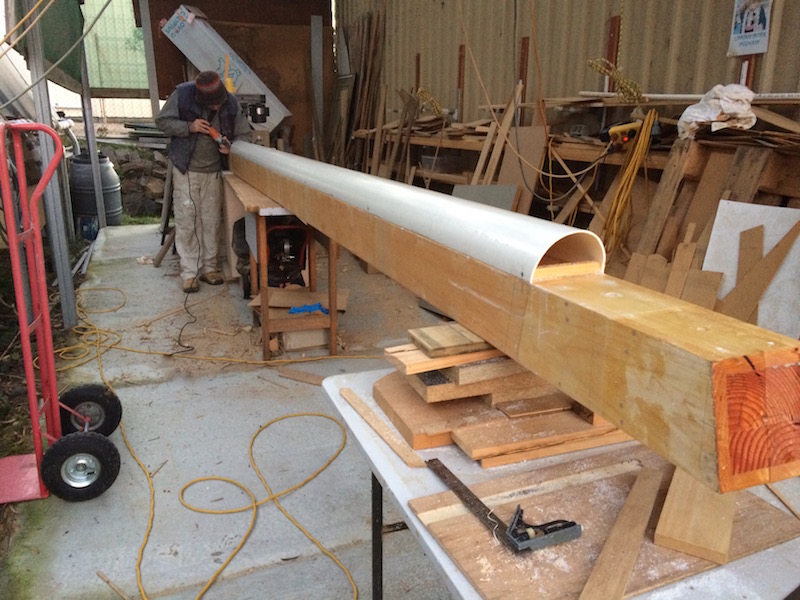
To keep things ticking over while we wait for the weather to improve, we began preparing for decking. First we got the fore-beam ready for permanent installation. This involved drilling four 16mm bolt holes for the big 5/8″ bolts specified in the plans. This thing is close to 2.4 meters from the ground, so after drilling, we lifted it down, so that we could continue work at ground level.

An optional feature of the fore-beam is a fairing made from cutting an 150mm PVC pipe in half, and mounting on the forward face of the beam. It serves to soften the appearance of the square beam, plus provides some level of shock absorbtion in the event of a collision.


Bummer about the humidity and low temperatures… when we resprayed TIE the paint went all dull because of low temps and we had to sand and redo! So not worse forcing things!
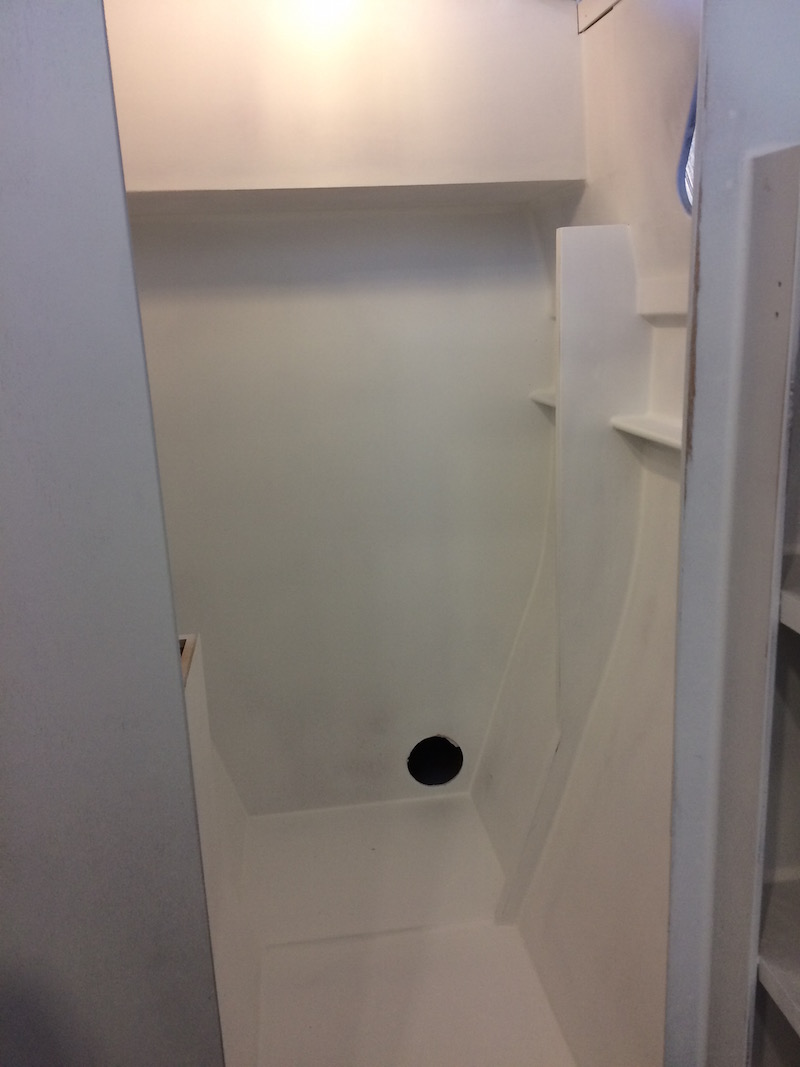
Does not it look amazing inside once all white and bright.
LikeLiked by 1 person
Thanks Chris & Wade. Yeah the timing is looking good for painting the outside. Should be in the warmer weather. We were hoping to have the inside done before then however, to avoid doing the whole thing at once! Once the deck is laid we have the option of heating the internal spaces: so that is part of our current thinking.
LikeLiked by 1 person
Ah, reminds me of when I was spray painting Kurura after the smoke damage went right through all the cabins. Your equipment is so much better. What a difference a coat of paint makes, looking great !
LikeLiked by 1 person
Thanks old bean. Spraying may be faster to apply, but we took a full week to mask off. Would rather spray than roll all the nooks and crannies though. Quite happy to be back on the tools for a while now, however. Epoxy based paints are not for the faint hearted. Fussy and expensive!
LikeLike
Finally………. the suspense was killin me!
It’s funny how others lives entangle. I’ve been checking every day for an update and wow what a difference. I so enjoy what you share and it helps motivate me because I can see wher I’ll be in a few years. Thank you so much for sharing your life with us!
LikeLike
Hi Jim. Thanks for your comments. I guess it’s summer for you: good building weather. Yes, it’s been a while between posts. Finish sanding and detailing work didn’t present many photo opportunities. We have totally underestimated how long it takes, especially when battling weather conditions. We were hoping to split interior/exterior finishing to avoid months of nothing but painting but the conditions are against that plan: so we adapt!
LikeLike