Rig ordered

Its been a big few weeks since our last post. Some major decisions have been made and our bank account is much reduced as a result.

First we ordered the portlights and overhead ventilation hatches for the sleeping cabins so that we would have them on hand to check for size, as we fit the decking. Good quality hatches are breathtakingly expensive, but there is nothing worse than leaks over the bunks, so we bit the bullet and ordered high-grade Vetus hatches. While we were at it we also ordered the Maxwell Anchor winch recommended by the designer, as they are distributed by the same company.

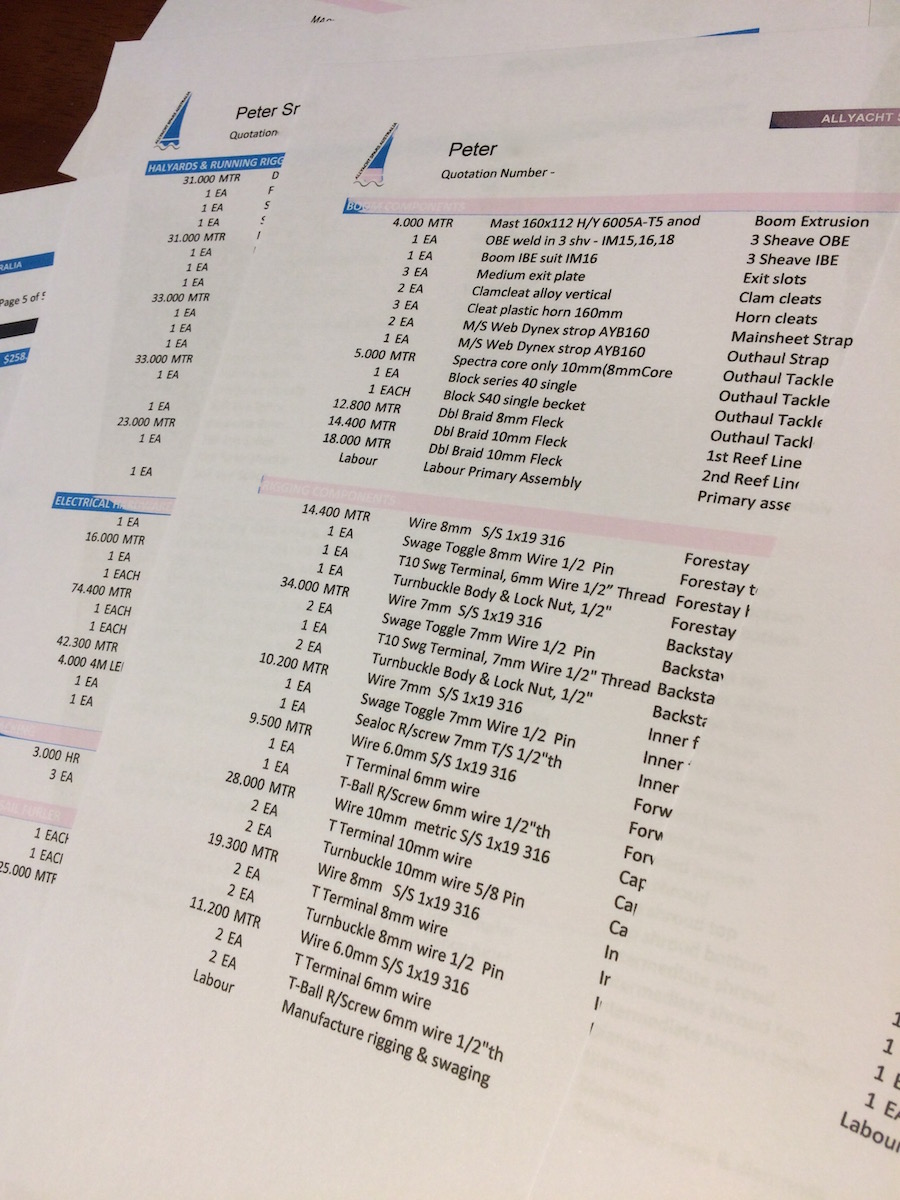
We have also ordered all our deck gear, mast and rigging. Combined with the sails, this represents nearly a third of the entire build budget, so it was a hold-your-breath moment when we placed the order and paid the deposit. Fortunately All Yacht Spars in Brisbane have built many Easy rigs, so can supply ours in kit form to the designers specifications. This has saved us hours of work. We have ordered the standard rig, but with a slightly taller mast: provision for a screecher, if budget allows.

IMG_0369 (2)
The rigging invoice comprised five pages of details. Fortunately we didn’t have to work all this out ourselves! We have gone with the taller mast option.

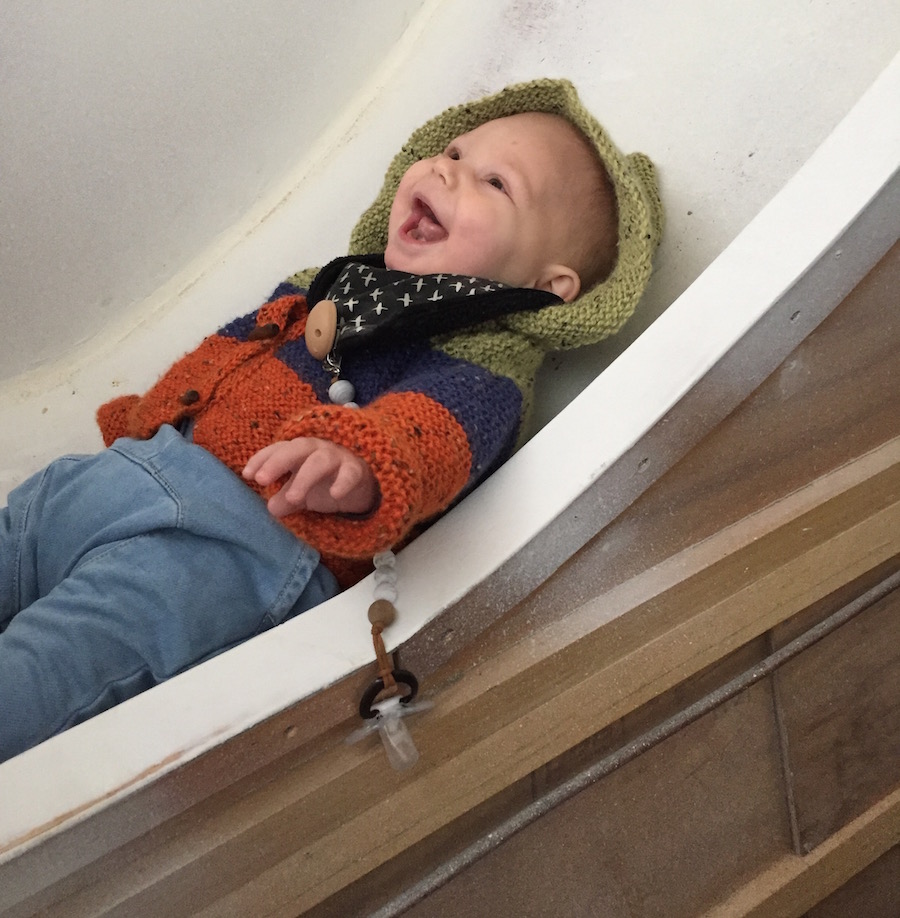
A welcome distraction was a visit by Haley, Sam & brand new grandson Judah. It was a special time with the kids, especially for Deb who misses them terribly.

IMG_0316
Having flown down from Alice, the kids were keen to see the snow, so we took a trip to the central highlands. After 20 years in the Territory, Tassy still seems improbably small. This is Lake Pine, only an hour from Pt Sorell.
IMG_0551
Judah testing his future bunk. We think he likes it!

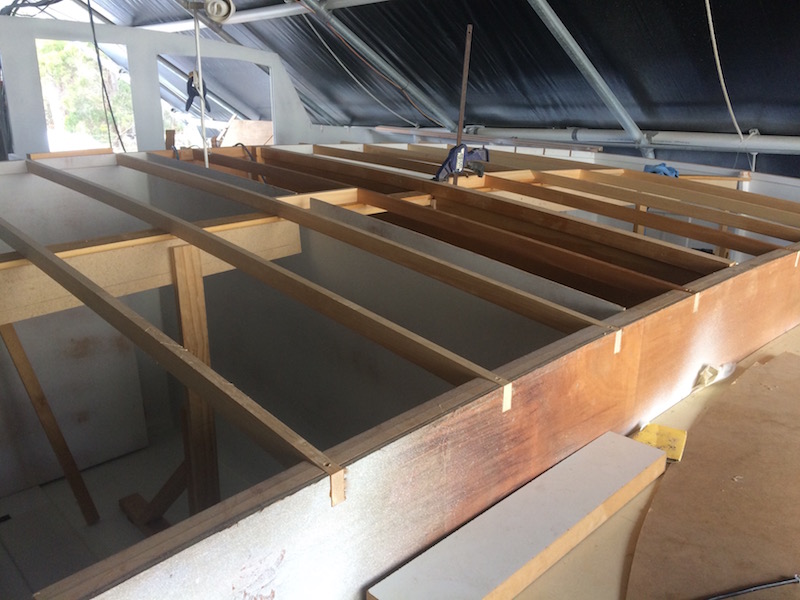
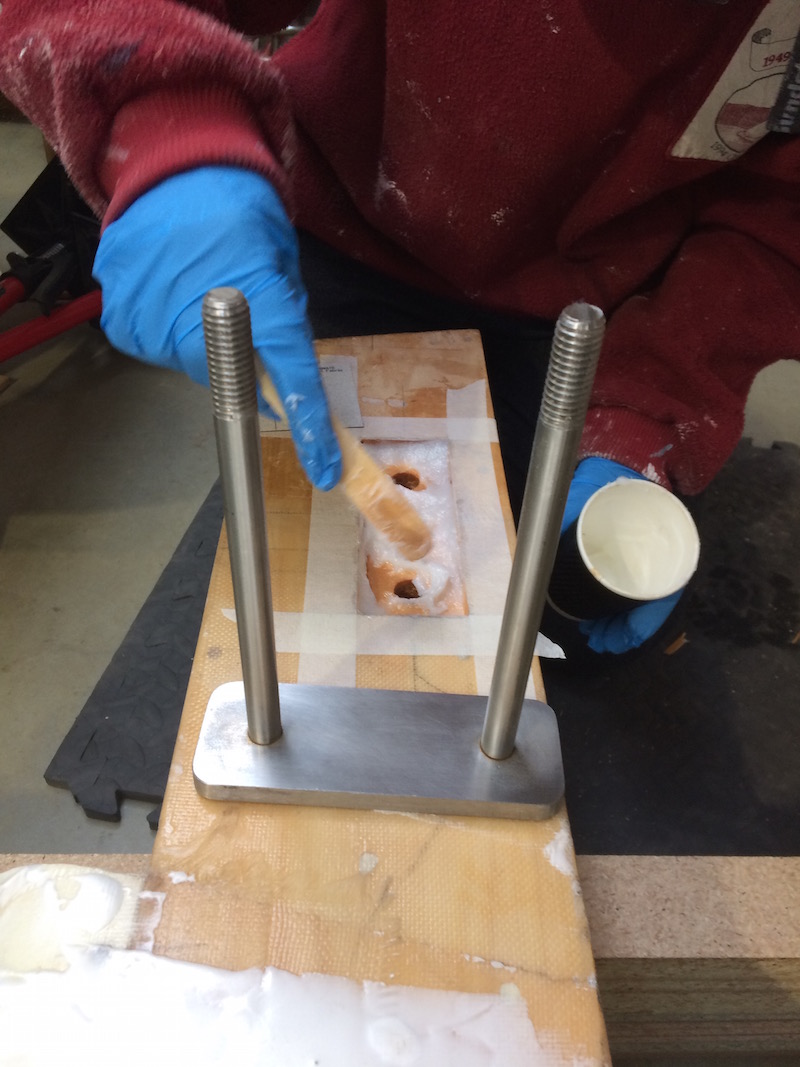
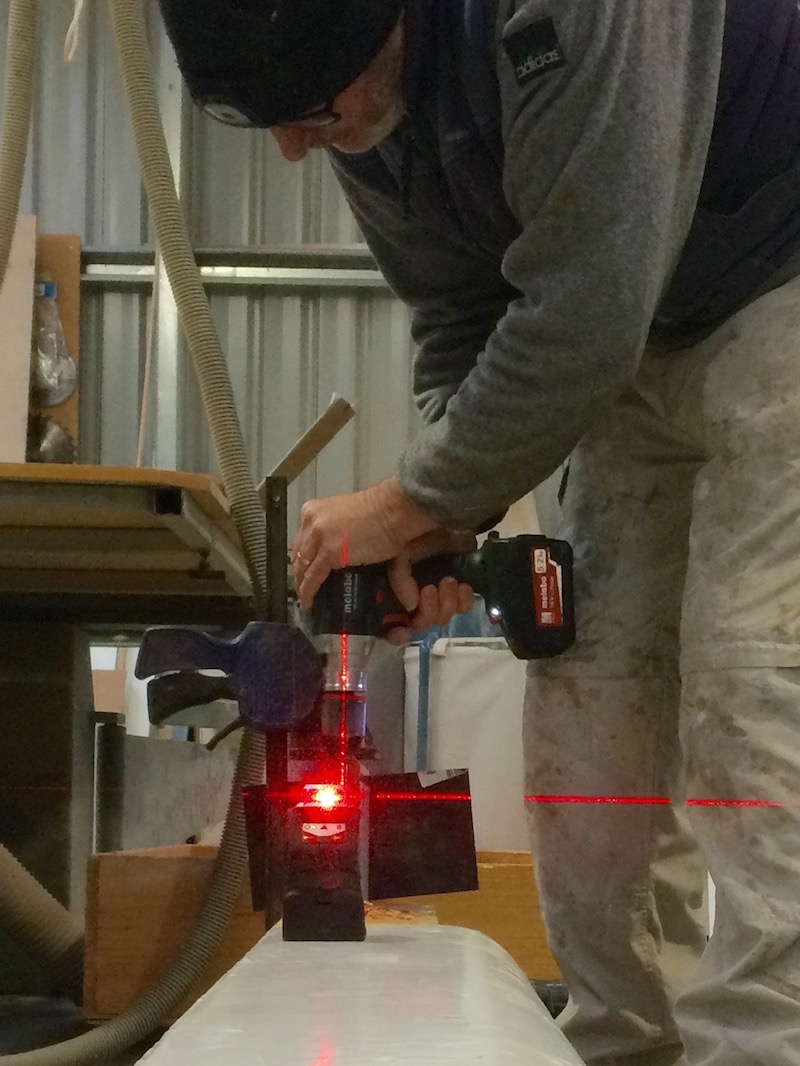
Back at the build we installed the bridal bolts into the fore-beam and lifted it back up to be fixed in place.

IMG_0294
These bolts are embedded in either end of the fore-beam. They are the fixing points for the bridal that stiffens the fore-beam from the fore-stay tension loads.
IMG_0291
We used our laser level when drilling the long bolt holes, that needed to be kept in accurate alignment.
IMG_0334
The fore-beam glued and bolted in place with beefy SS threaded rods. All holes were drilled oversized, and the bolts embedded in epoxy resin.
IMG_0325
Deb up the ladder, prepping for the fore-beam.

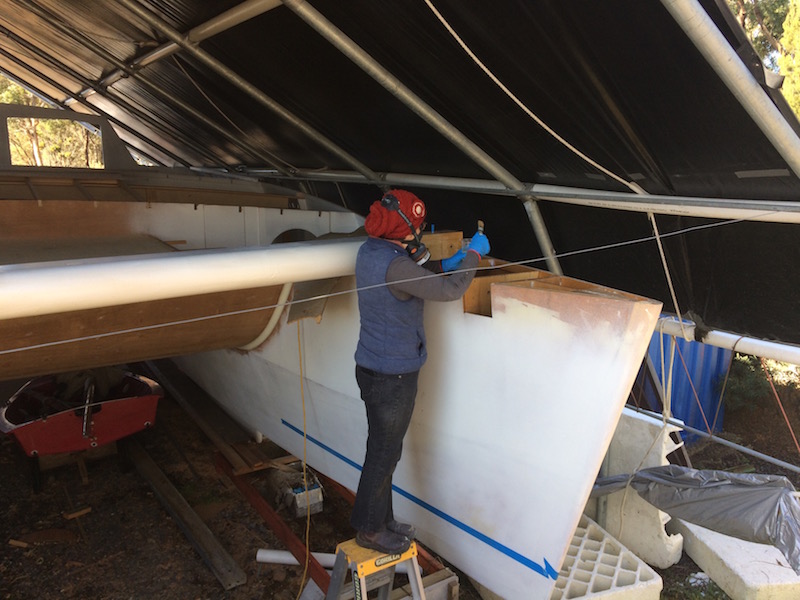
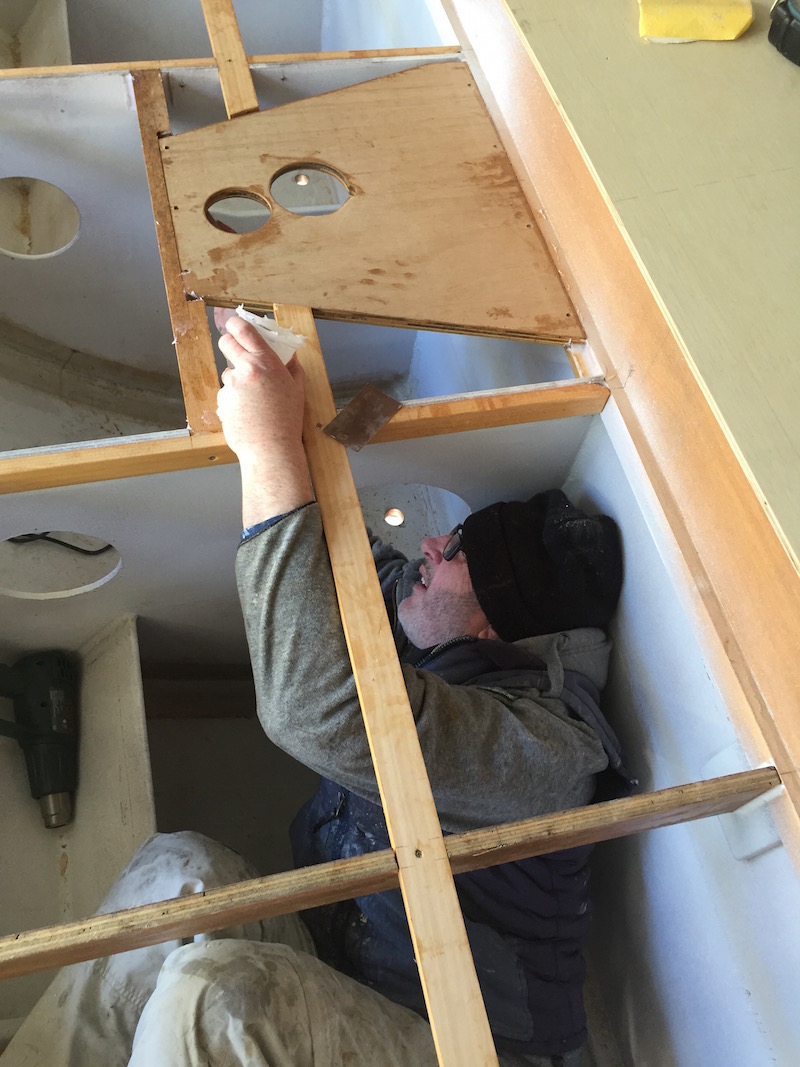
Actually, we are pleased to be finished with the fore-deck area. As we have previously mentioned it’s a difficult area to access. Narrow and high off the ground.

IMG_0348
Last trip into the forward void to clean up in preperation for decking.
IMG_0296
Before the fore-decks could be fitted, we installed backing plates for mooring cleats that will be fitted either side of the hatchway. This is the gas locker. The gas line to the galley can be seen here.
IMG_0359
Fore-decks finally glued and screwed down.

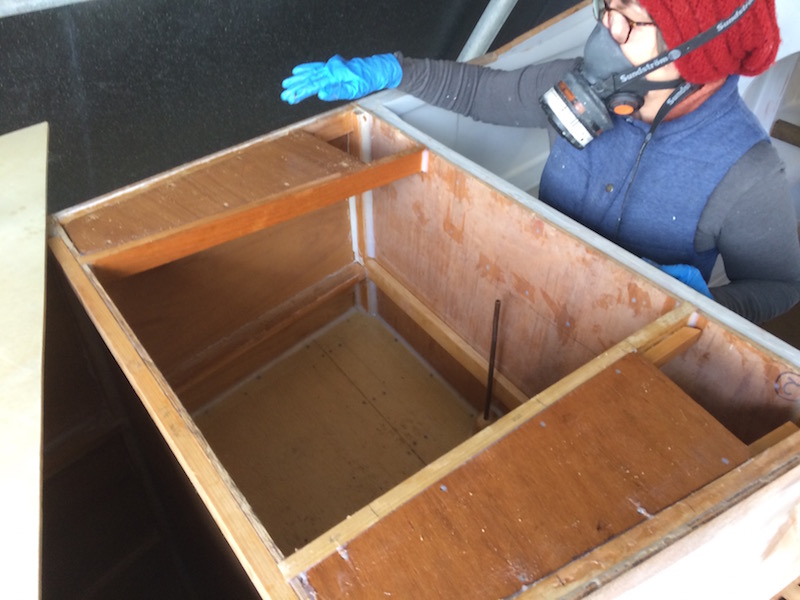
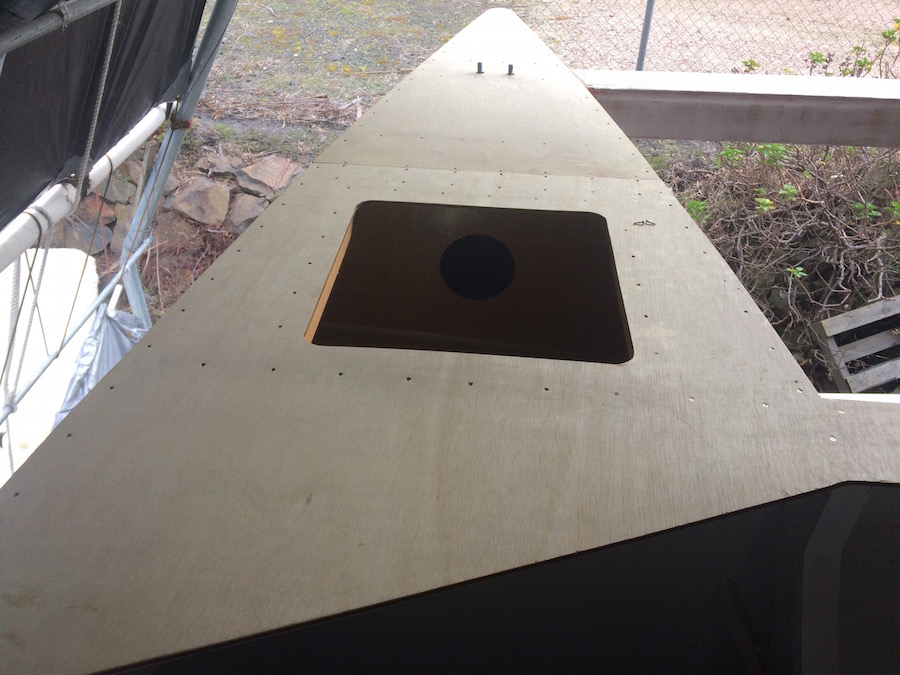
After installing the fore-decks we fitted the webb locker deck. This incorporates the anchor locker, so some substantial re-enforcing for the anchor winch and main mooring cleat had to be fabricated.

IMG_0371
Re-enforcement’s for the anchor handling gear
IMG_0625
A tight fit for the old man. Pete filleting in the anchor winch backing plate.
IMG_0378
Webb lockers decked. Later we will install access hatches.

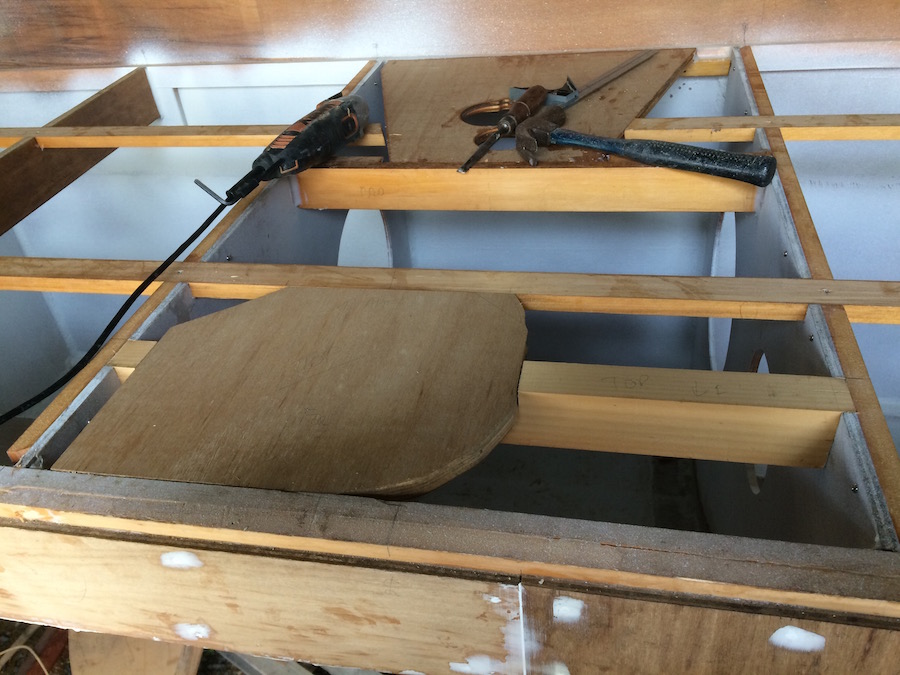
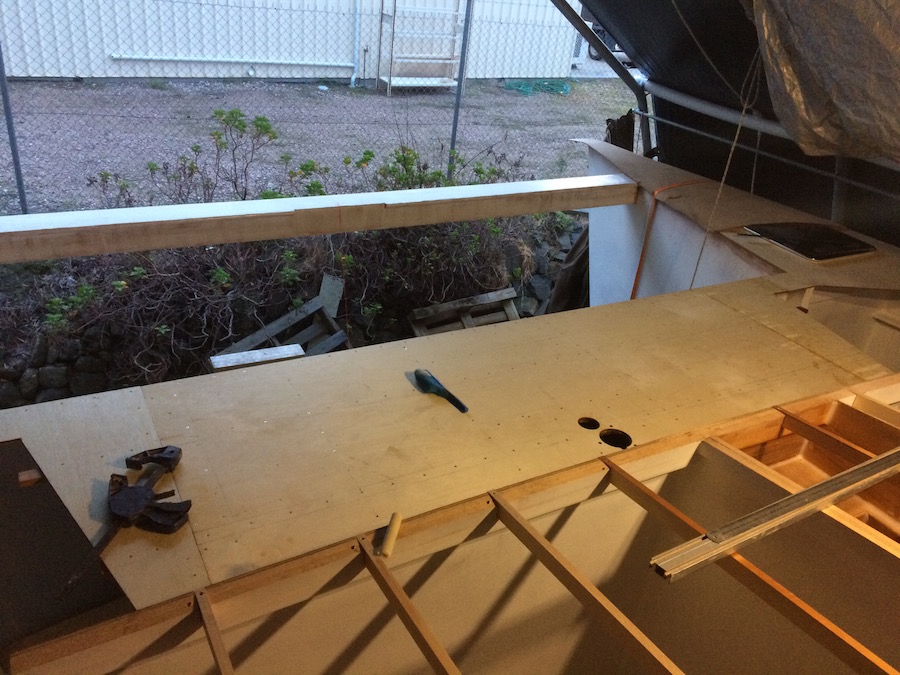
Now that the fore-deck and webb locker decking are done, we can start fitting the stringers for the sleeping cabins.

IMG_0361
At the time of writing we are well into fitting the deck stringers. The compound curve is evident in this shot.

Leave a Reply

Fill in your details below or click an icon to log in:

WordPress.com Logo

You are commenting using your WordPress.com account. Log Out /  Change )

Facebook photo

You are commenting using your Facebook account. Log Out /  Change )

Connecting to %s