
Well our lady is now decently clad in her top decking.
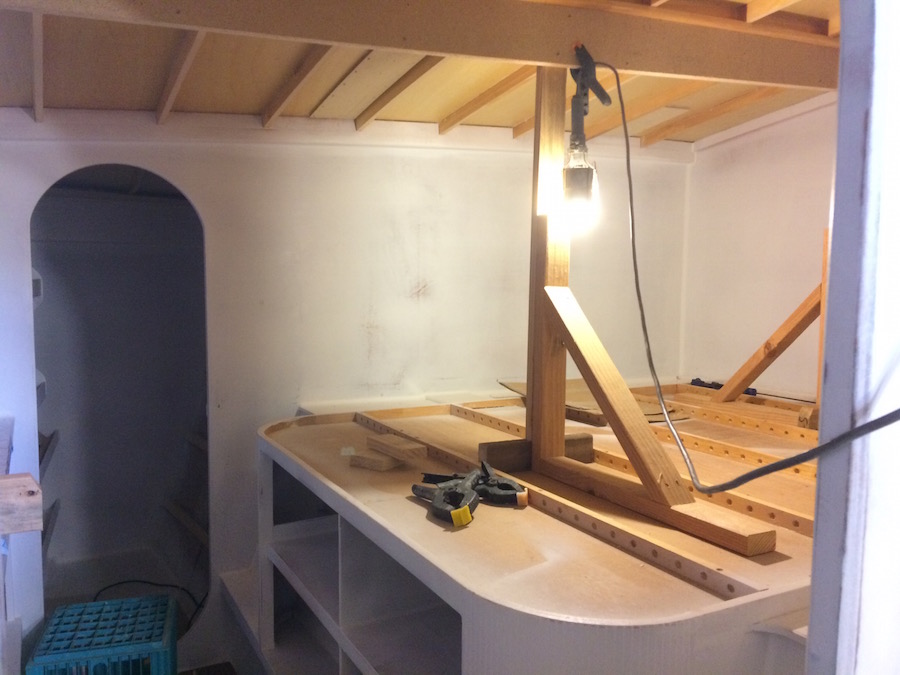
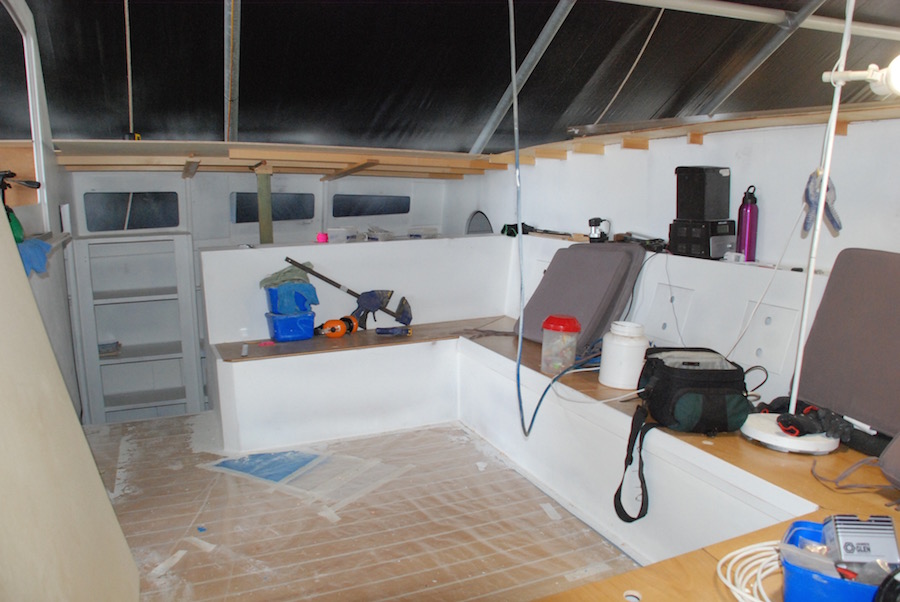
At the end of our last post, we had begun laying out the stringers. These are vertically orientated, cambered beams, that are placed reasonably close together, in order to support the plywood decking.
We let them in a little deeper into the notches, so that we could then bevel the frames to match the angles and present the full surface area for gluing the ply.

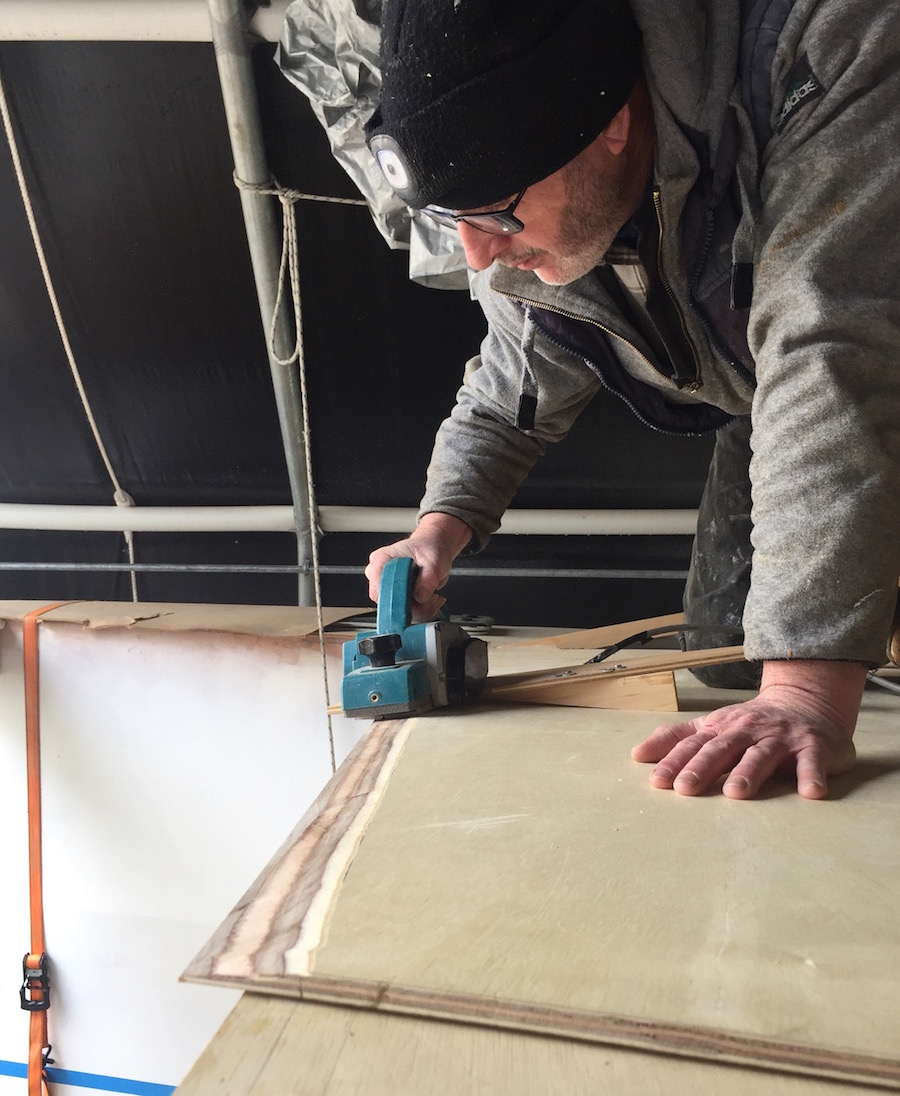
The bevelling process meant the return of the “winged” plane. A plywood base is screwed onto a standard electric plane, that takes the guesswork out of bevelling acute angles. It was last used when building the hulls, over a year ago.

Pete really enjoys this type of work. It’s very satisfying to flush-up all the various angles and intersections, unifying the surfaces ready for gluing. The smell of the wood shavings, making a wonderful mess!


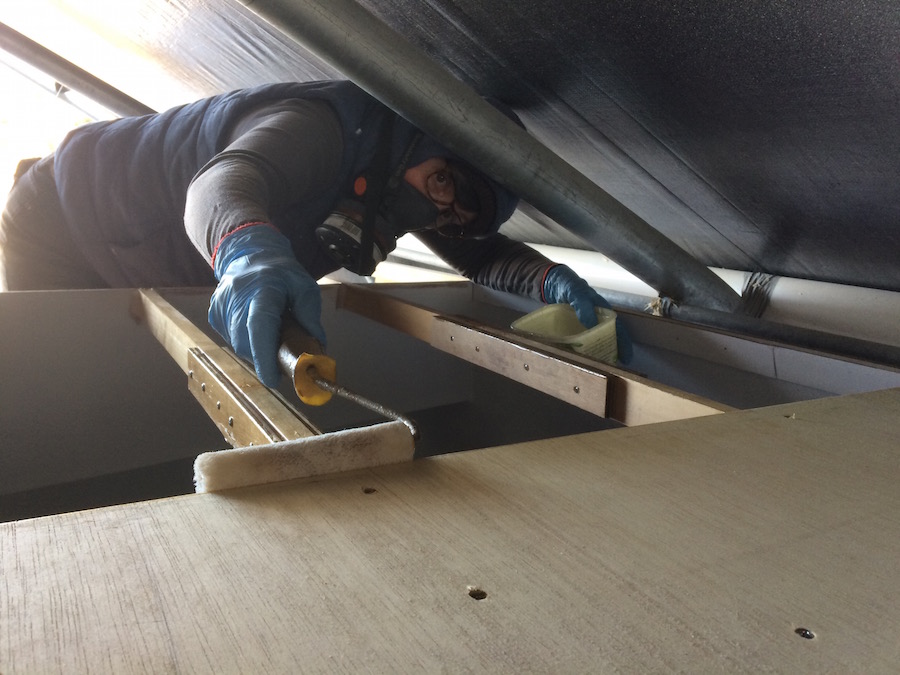
It was during this process that the height of the boat became apparent. When we first built the shelter it seemed unnecessarily high. Now Pete has to duck his head when standing on the deck. The decking process is the same as sheeting the hulls, just horizontal. All this big sheet work was very satisfying, as we covered a lot of ground fairly quickly. We did find it however, physically demanding… a lot of low-level work. At our age, any jobs below the knees, or overhead, takes a toll!
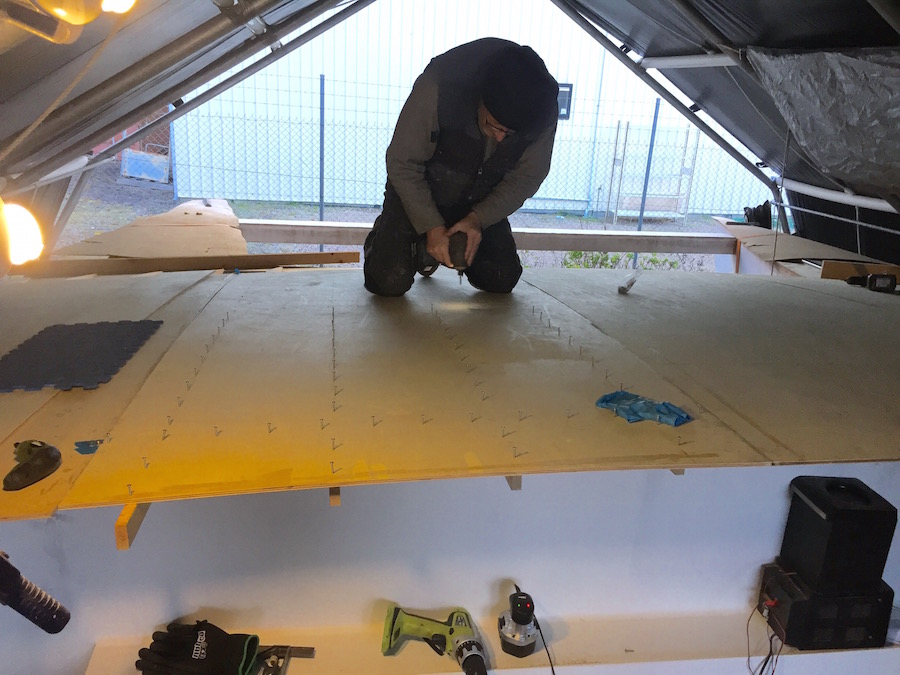
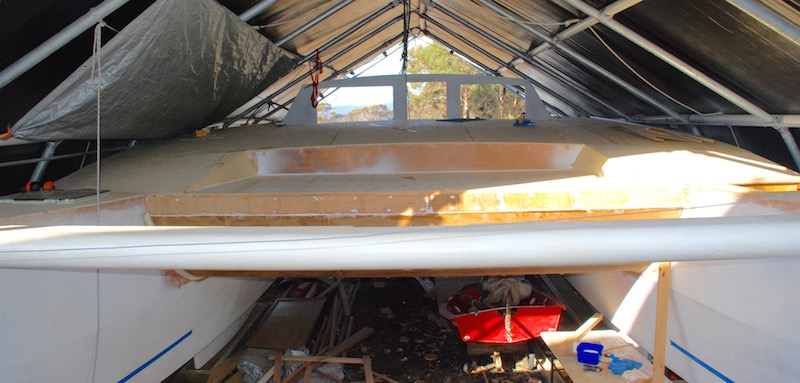
Another issue has presented itself. Some of these photos show how close the deck is to the tarp. We have previously been advised that we may have to lift one side of the shelter, to gain headroom. So far it has not prevented us from completing the fabrications, but we are beginning to suspect it may be a problem when trimming, edging and fiberglassing. We’ll cross that bridge when we get to it.
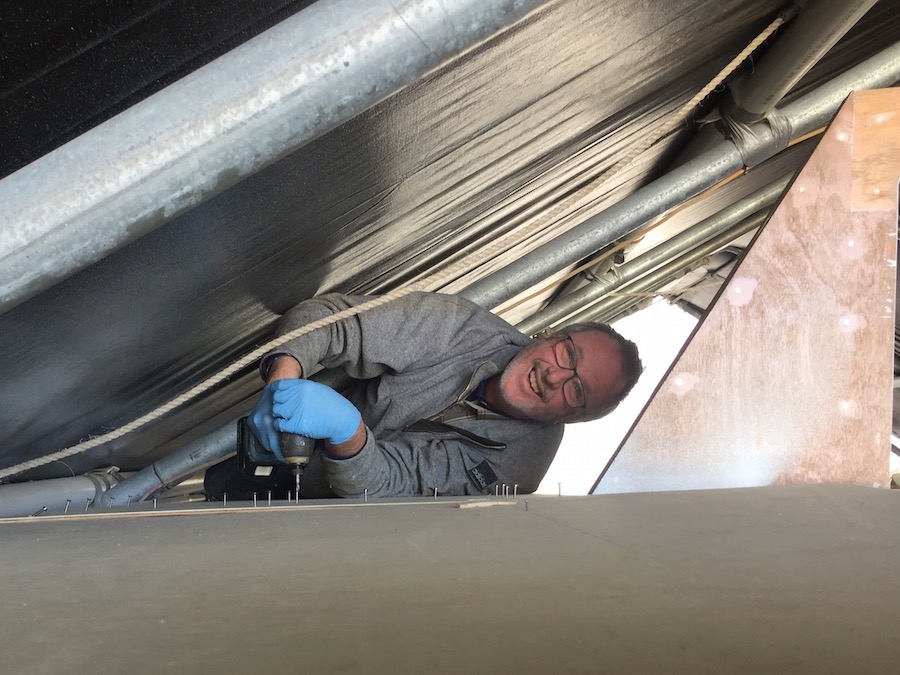

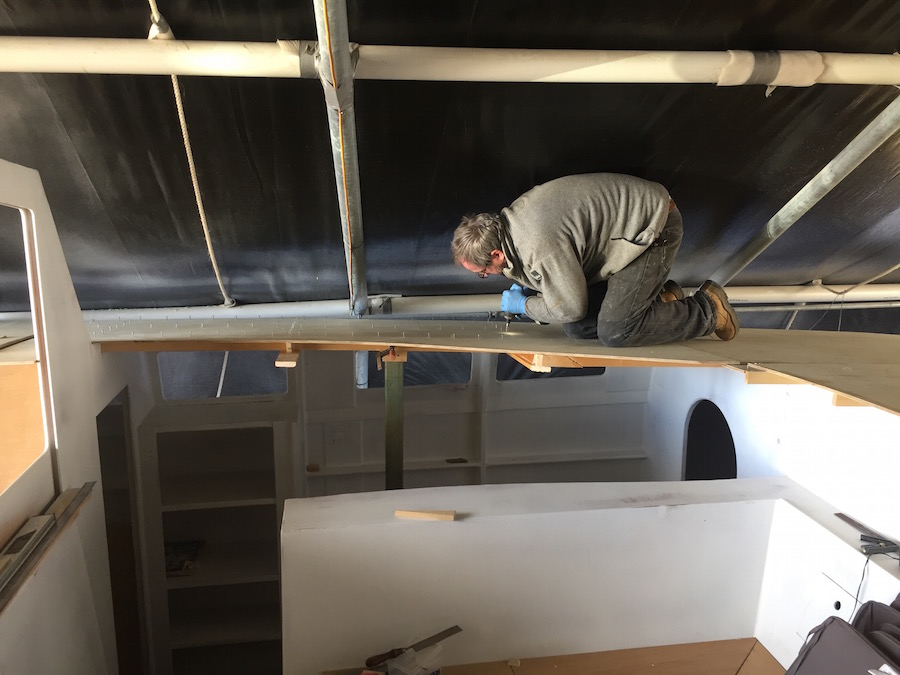


Wow guys, lots of progress. We love the image where you see the inside of the cabin and Pete is nailing the top deck above!
LikeLike
Thanks guys. Yes it’s an interesting side-note about cats. We tend to think in terms of their width and length, but by the time we are laying the turret roof we will be working something like 3.6m off the ground. That’s higher than most house roofs. Really enjoying your Exploring series by the way, especially the Pt Clinton area. My parents were shipwrecked near there the in the 50’s. They were stranded on a headland for a week. Don’t know exactly where, but from their description we think it was close to Cape Manifold. We intend to do a bit of exploring ourselves to see if we can find the actual spot.
LikeLiked by 1 person
Hope you are allowing for lots of chain. We have 50m and 50 rope and reckon a 100m of chain for the north would be better. Big tides!
LikeLike
Thanks for the tip. We’ll be ordering ground tackle soon.
LikeLiked by 1 person
Bravo. Again you have provided a compressive look at building a plywood yacht. I have been looking over your post again and again. The things in the background of your pics are sometimes more interesting that the focus of the shot. All the little details are discussed in the post. I know you are working hard and thank you again for providing a look at what you have accomplished and what I have to come.
The weather here has bees miserably hot and the progress on my boat has come to a standstill until I have a building shed. I have been repainting a little cat for a friend tho. Practicing my skill if you will.
Any thoughts on the finished ceiling? I plan to notch the upper edge of the beams in the sleeping cabins to accept the finish ceiling materials. With Velcro in the stringers and that allows for only one trim piece on each side. Might save a little weight.
Again great job!!
LikeLike
Thanks Jim. Ahh painting: our least favourite thing so far! Any practice you can get will be a huge help on your project for sure. Which is why we are going with the pre-finished lining we can source locally. It’s made of 3.5mm ply with one side finished with gloss polyurethane. The Velcro – rebate idea sounds good. Be aware though that the rebate would have to be lower than 42mm from the top, as the stringers have to be set deeper to allow for the bevelling. From memory the stringers present to F3 at 12 degrees and 6 degrees at F5. You will need to draw it out as the stringers may curve a little differently on your boat, depending on your choice of lumber. It’s all about angles at this stage of the build! Happy building mate.
LikeLike
Hi peter l am very impressed how the project is coming to along. Hope to make a trip up there by Christmas all going well.Colin.
LikeLike
Thanks Colin. Hope you can make it. It’ll be good to catch up.
LikeLike
Us again … if you haven’t yet bought your furling system, have a loot ReeFurl, Australian made, brilliant service and solid gear. http://www.furlings.com
LikeLike
Thanks Guys. Yep they look realy good. We have ordered our furling already, but we’re looking into options. Thanks for the tip.
LikeLiked by 1 person