
Well we have just returned from Christmas break and a trip back home to Alice Springs for a very important occasion, our grandson’s 1st birthday. It takes a lot to lure Pete away from the build, but this little guy has stolen our hearts;
Thanks to my brother Paul for the video.
Anyway, here’s an update of where we got to before heading North.
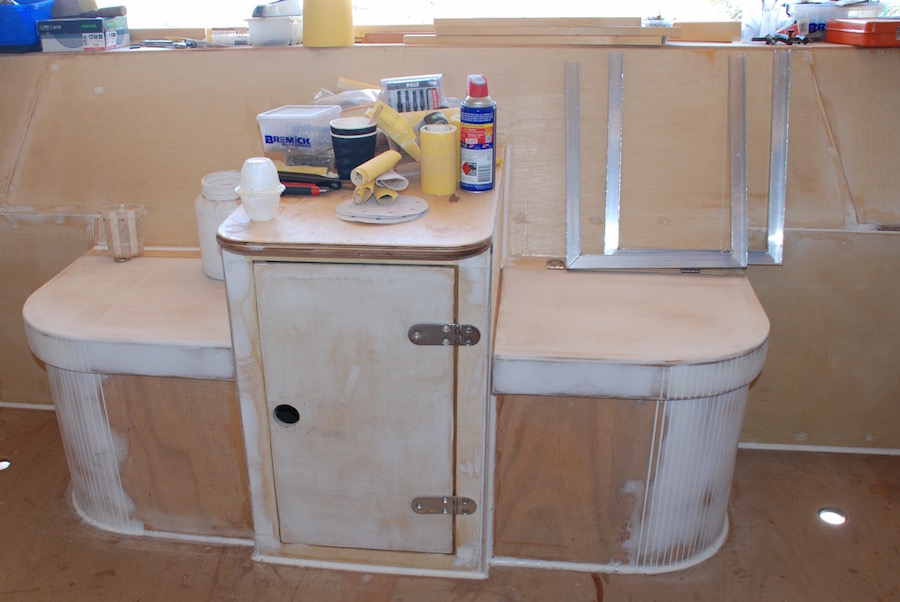
Straight after the Christmas break we got stuck into cleaning up the site. Two trailer loads of scrap went to the local waste management yard; hopefully someone will find a use for all the scraps of marine ply we couldn’t use. Three boxes of useful sizes were kept for miscellaneous jobs, such as backing cleats for the deck fittings.

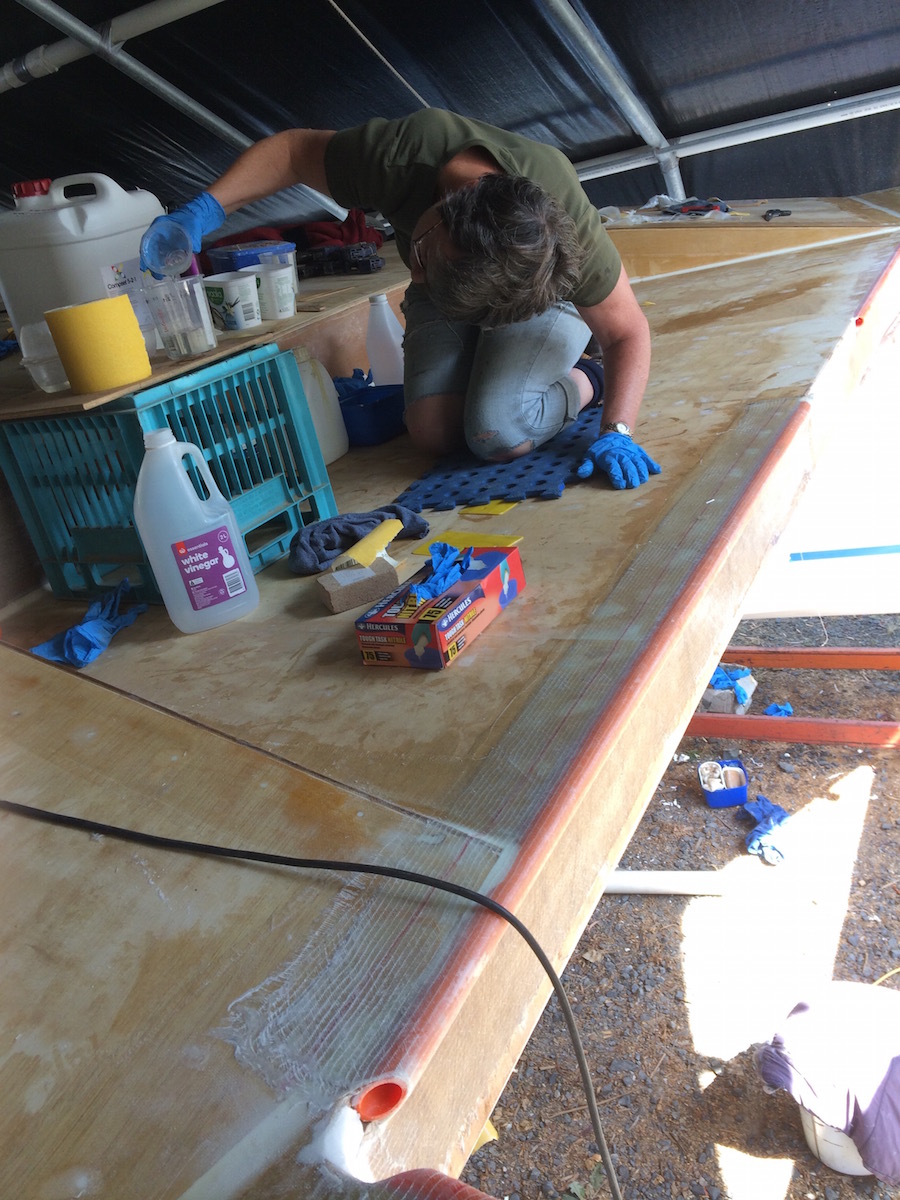
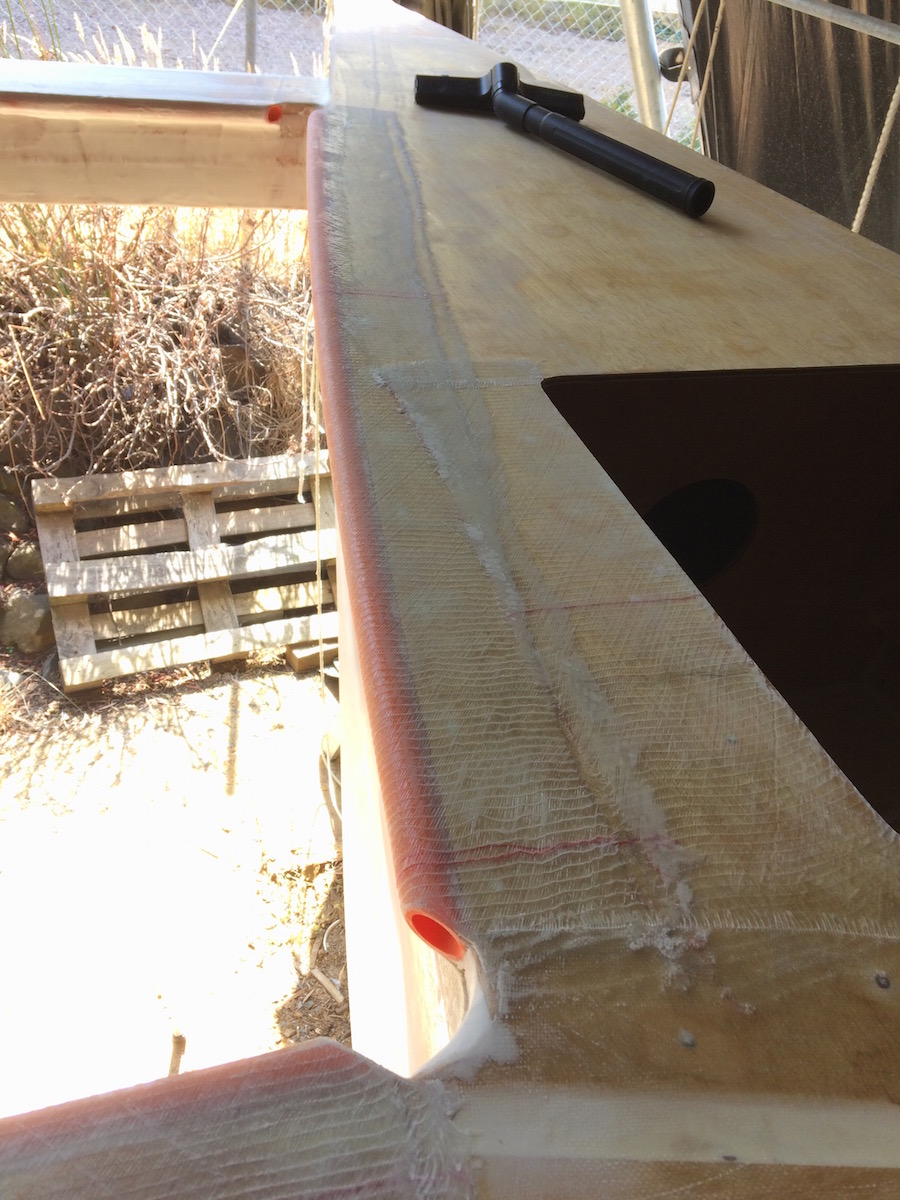
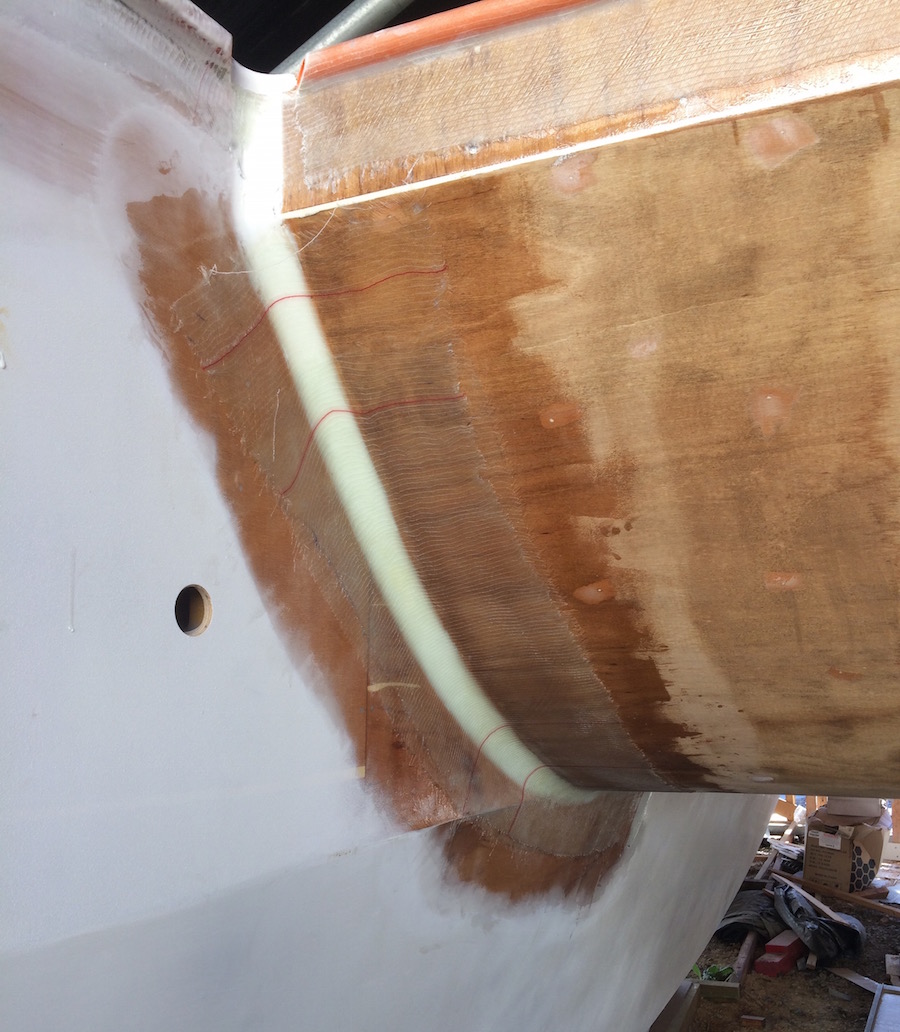
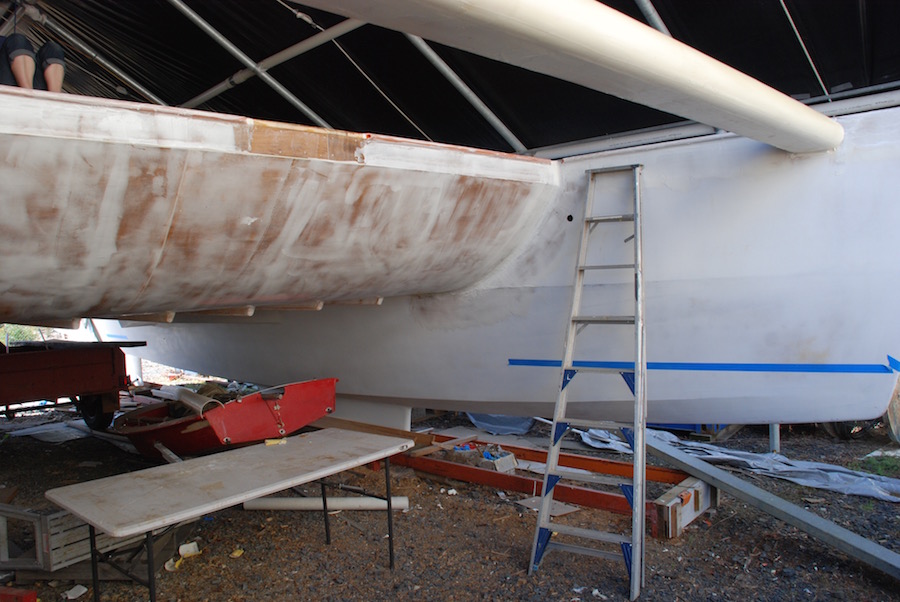
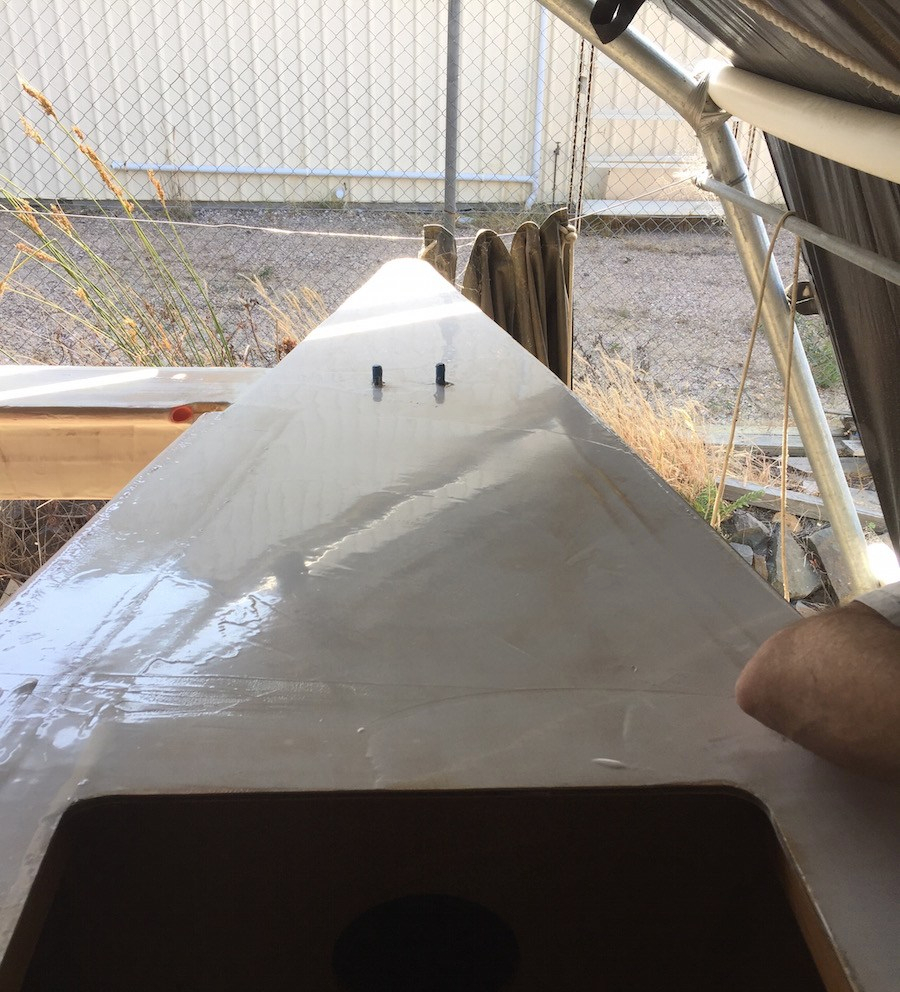
After tidying up the site, we were free to begin fiberglassing.
It was great that our niece Abi was able to join us for a few days to help out. She and Debbie began by fiberglassing the various hatches, doors and the cockpit seats. Its been a couple of years since we did any serious fiberglassing, so these smaller components were a good way to get our hand back in before tackling the larger areas.

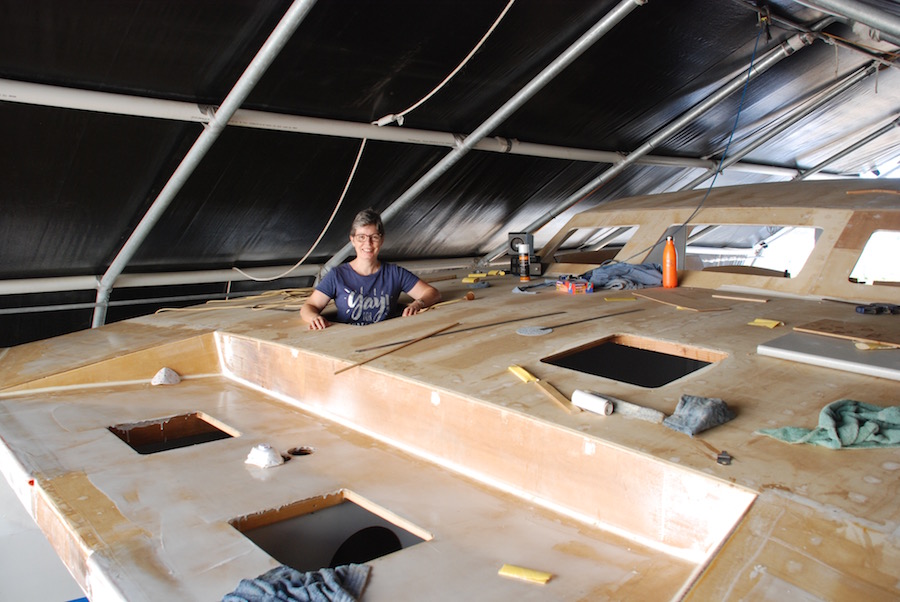
For some time I had been thinking about how to fit the deck over the holding tank compartment . It’s an unusual size, about 500 wide but deep: around 1.8m. Although we have made provision to fit a standard deck hatch for access, it’s not large enough to allow removal of the tank, for future maintenance. Also I was worried about accessing the associated skin fittings and plumbing, which are right down at the bottom. I did a test run, and established it would be possible to squeeze down there, but very difficult to do any meaningful work. Also I have made it a general policy to make all areas of the boat easily accessible for future inspections by surveyors, should we decide to put her on the market. My solution was to treat the deck as a permanently installed, but removable hatch top. It has been fiberglassed on both sides, and will be bonded down onto the bearers, with Sikaflex, so it can be cut away if required, without damage. This will facilitate future removal of the tank if necessary.


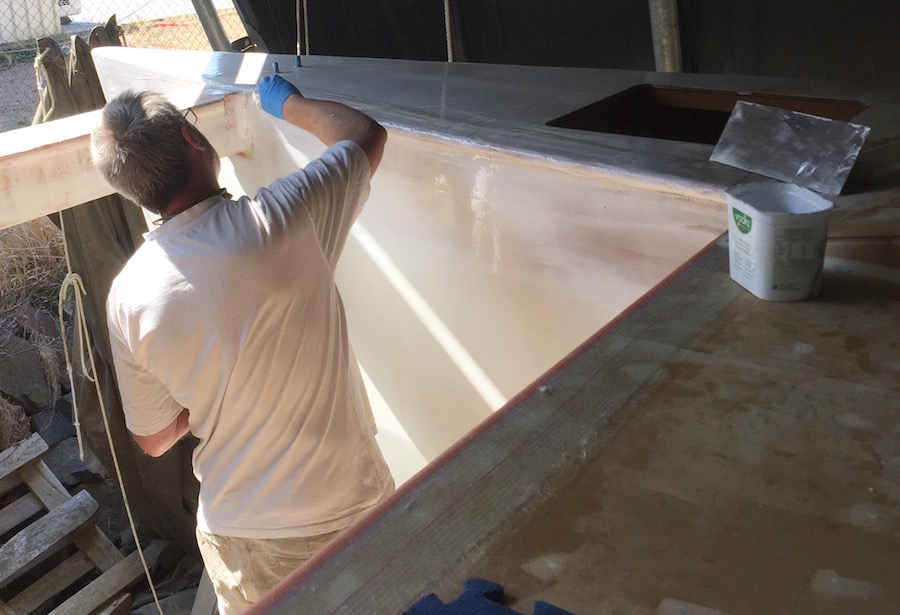
Qcell is best applied, within 24 hours of the glassing. This facilitates chemical bonding between the two, while the fiberglass is still “green”. We have found it best to work in two areas (Cockpit – foredeck) at the same time. This enables us to manage curing times.
In the down-time between glassing jobs, Pete got-to and cut out the hatch openings to the sleeping cabins, and the webb lockers.
For hatches to be leak free they require the mounting surface to be faired to less than 2mm plus-minus tolerance. This is a challenge when the deck is cambered (curved) in both directions. Peter Newman, a local builder who has built two cats, suggested a simple and effective method to achieve this. We glued two strips of 60grit paper onto a scrap piece of kitchen bench-top (courtesy of Russ) which was perfectly flat. We then used it like a giant torture board. It took a bit of physical effort, but worked perfectly. Most importantly it only took about 10 minutes for each hatch opening. The traditional method (by eye and hand plane) would have taken much longer, and probably been less accurate.

The frustrations of building in Tasmania. Queensland is the epicenter of boatbuilding in Australia, and where AYS, our mast manufacturer is located. Pictured is our mast, boom, spinaker pole and foresail furlers, stays, halyards, and fittings, all paid for, packaged and ready to go. Unfortunately, at the time of writing, it looks as if the freight service we organised may have fallen through. It’s not easy to find someone willing to transport 14 meter long loads. If any of our readers have contacts in the freight business, we welcome suggestions!


Hope the transport of your mast and furler gear gets sorted out. How come what you organised might fall through?
LikeLike
He’s a lone operator Chris. Vehicle was written-off in an accident and now seems to have gone off the grid. Not sure what the situation is. Hopefully he’ll get back on his feet. Thankfully it’s not urgent.
LikeLiked by 1 person
Seems like it is coming along really well..finished by year-end?
LikeLike
Hi guys. I see you are back home again. Hope you are readjusting to stationary life OK! Yep, we should be in the water by years end. I recon we’ll be ready to launch mid July, but might hold off till it warms up a little.
LikeLike