
Well there’s no use complaining, as they say, especially when the circumstance is of your own making. In this age of rage, complaining seems to have become almost a national pastime. But it has to be said; fiberglassing is a thoroughly unpleasant job, and we can’t wait for it to be over. We are pleased however that there is light at the end of the tunnel. As of writing, all the decks and turret have been glassed, plus the cabin sides and gunwale join, plus about a third of the cockpit. There are some fiddly bits yet to be done, the targa bar (which requires some structural lay-ups) and the remainder of the cockpit areas.
Oh, and yes… the rig finally did arrive, more on that little drama later.

Still, every experience is a opportunity to lean, and we have picked up a few tricks along the way, including the best way to get resin off your skin….charcole soap!
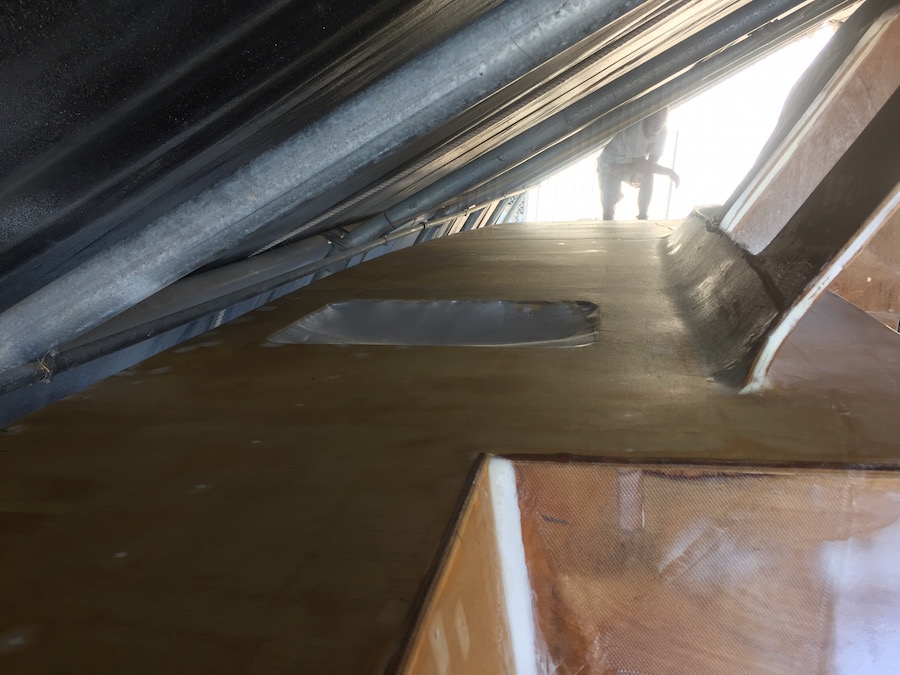
Before we could begin glassing the decks with the 200gsm x 1M wide roll cloth, we had to do some structural glassing around the turret. I had made the decision to re-enforce all the joints of the turret with 450 gsm double bias glass. This is because the turret is a load bearing structure, taking the direct sheeting loads from the genoa and mainsail, plus associated winches. I also decided to re-enforce the cabin sides where the chainplates are eventually fixed, while we were at it.
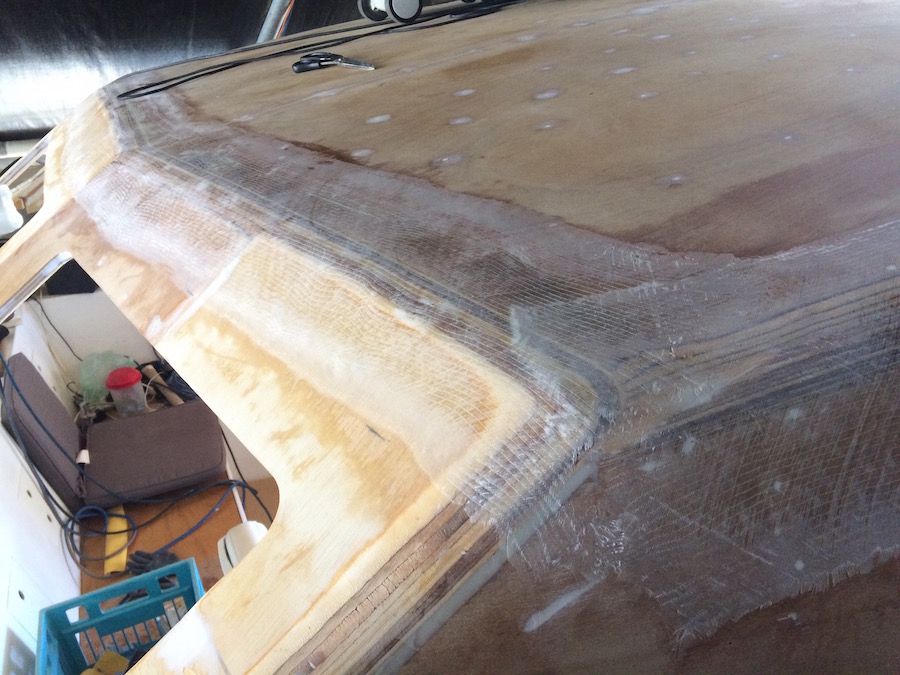
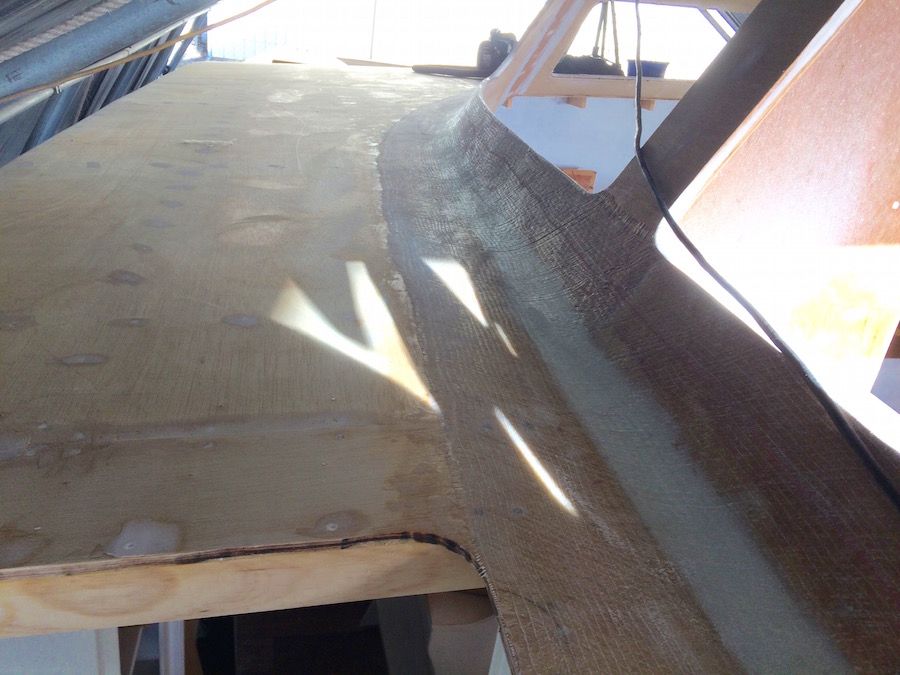
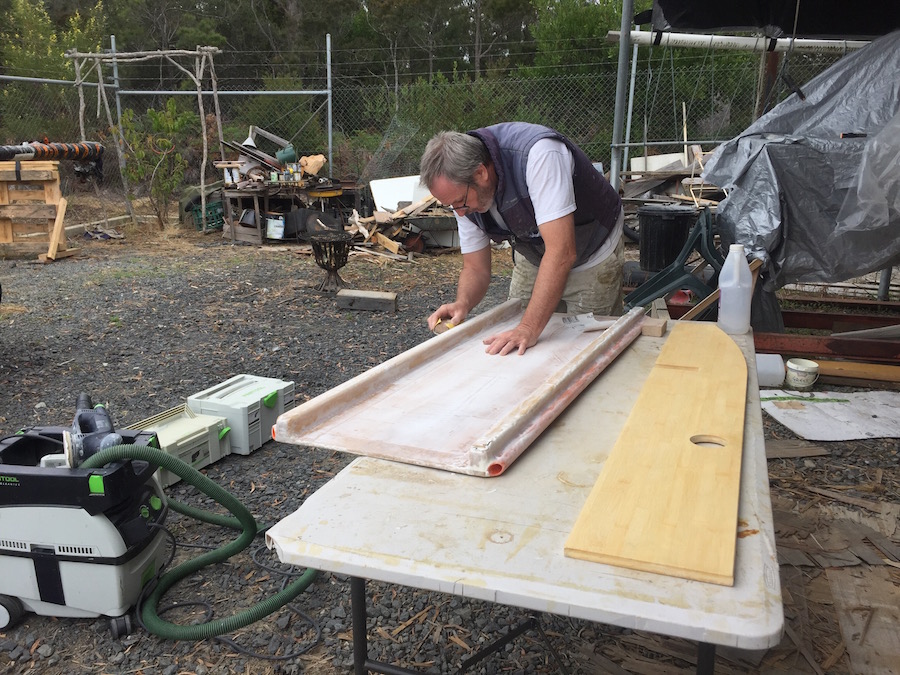
450 double bias, being so thick and dense, is difficult to wet-out by the usual method of pouring on resin and screeding out with a squeegee. So we decided to experiment by pre-wetting, prior to applying in place, something we had never done before. There are lots of ways of doing this, often involving building a wet-out bench: but here’s the method we developed with what we had lying around. It worked out so well, that it is now our prefered way of applying tape and smaller lay-ups.

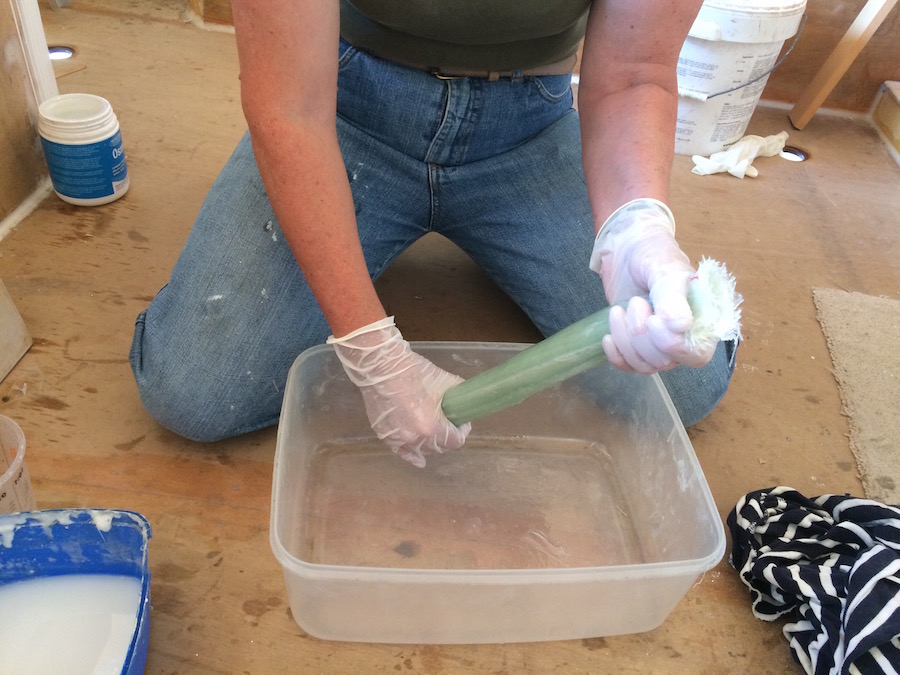
It is essential that the area to be fiberglassed is pre-wetted, to prevent the wood from sucking out some of the resin from the cloth. This is especially so around edge-grained areas. Also Qcell (if fiberglassing over fillets) is porous, and can absorb resin. Once everything is good and squishy the cloth is offered to the job and lay out by hand.
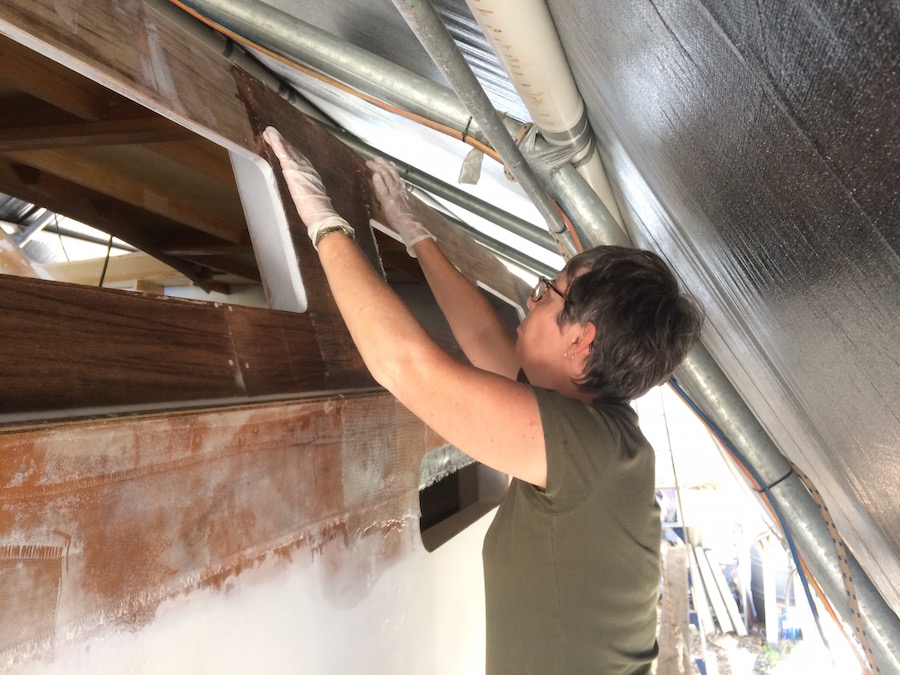
We find working out the cloth with our hands (with latex gloves) is easier, than using squeegee’s. We eventually became so confident in this method, we even tackled the long outer gunnel lay-up, 8 meters long by 350 wide, 200gsm cloth. It was defiantly a two person job, but was much faster.
Other jobs that were ticked off the list included completing the cat-walk and the mast-step, which are now ready for painting.

I have also made up the guttering for the opening windows on the forward face of the turret. The plans give dimensions for timber fabrication, but we didn’t fancy all the fiddly fiberglassing we thought would be needed to protect the timber from rot. I decided to have a go at manufacturing them out of aluminium. Through Russell’s trade account we ordered 6.5 meter length of 40 x 20 rectangular box section from Urlich. This was the profile that could best be cut to match the specs in the plans. Templates of the window openings were made from scrap chipboard, and used to get the exact dimension and angle of each component which was then cut and screwed to the template.
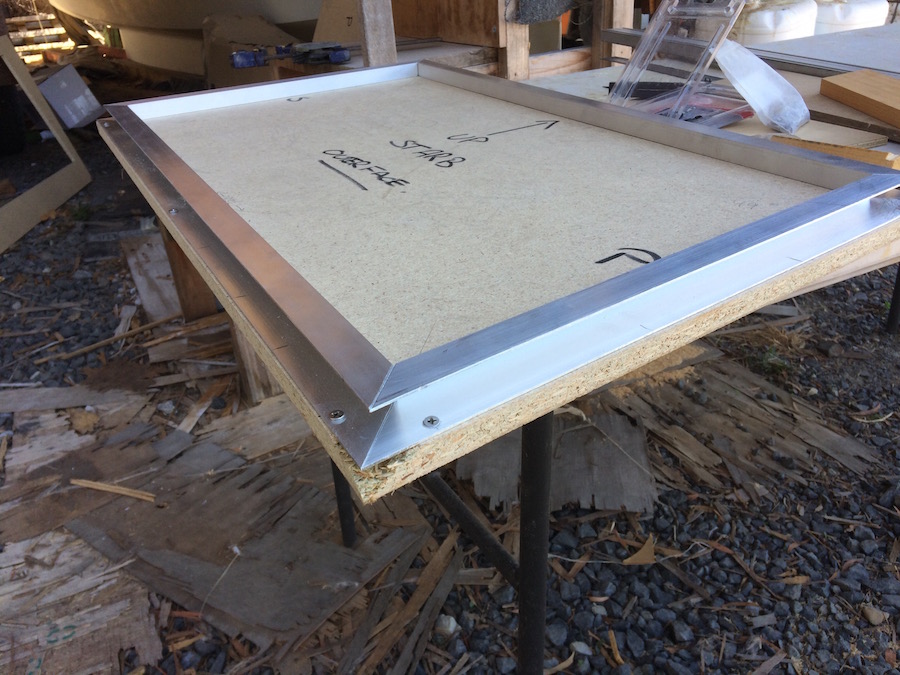
The frames will be delivered to the fabrication shop attached to the templates for welding. That way I know they will fit exactly. They will then be Sikaflexed to the fiberglassed surface of the turret, with SS screws imbedded in epoxy.
The Rig Saga …
In our last post, I was lamenting the possible loss of our freight option for transporting the rig from Brisbane. Well, as it happened I had some of the facts wrong. For a while things got worse before they got better. So for readers who are interested in the unexpected things that can happen when building a boat, here’s the story:
At that time I was mistakenly under the impression the rig was safely stored at the factory, but the delivery driver had been involved in an accident that had written-off his truck, prior to collecting our gear. We understood that he was unharmed, and he would inform us when he would be able to collect the rig and make delivery. After a week of silence I called AYS (the rig manufacturers) to see if they had heard anything. They hadn’t, and informed me that our rig had been collected, a day earlier than originally planned. Also they didn’t know about the accident, assuming it had arrived as planned. To make things more worrying, the delivery company website went off-line and the mobile phone went straight to messages.
So, there followed a worrying 24 hours. It was made worse when one morning, I did some rudimentary (uncle Google) research about who is responsible for what, when goods go missing during transport. I was dismayed to learn, depending upon various factors, the purchaser may be deemed to have taken possession of the goods upon collection from the vendor, not at delivery, as I had assumed.
By that time I was imagining the worse, and was, it must be admitted, in a bit of a state. Deb, who thought I was being a somewhat over dramatic, issued a quick prayer, asking for resolution of the situation.
Then, within 15 minutes, and to my imense relief, my phone pinged with the following message: “Pete, sorry about the delay, your rig is on the dock in Devonport, I’ll be there, first thing tomorrow morning”.
Turns out, the poor fellow had a heck of a time. The load was unaffected by the accident, but he was caught in the middle of nowhere with a 14 meter trailer, and a expensive load to look after (It was a shared load, with four rigs aboard). To cut the story short: the logistics of securing the load, getting himself back to civilisation, organising a new truck, dealing with insurance companies and knock on delays to other clients, took him longer than expected. We were just happy to see our gear. Having been in business ourselves, we sympathised with the nightmare he found himself in.
So dear readers, the take home message from us is this: if organising transport of expensive, high cost goods, take the time to find out when “ownership” is your responsibility. Ask the vendor and the transport company, “what happens if the goods disappear during transit?”

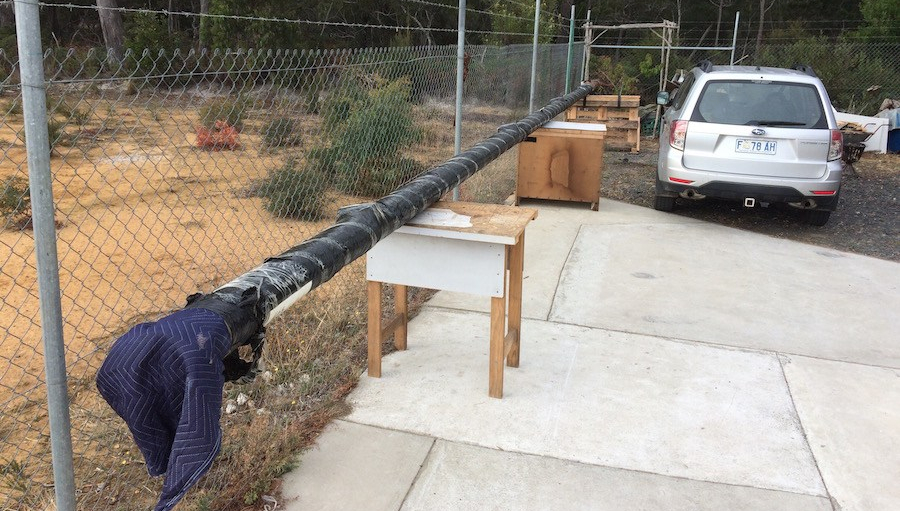
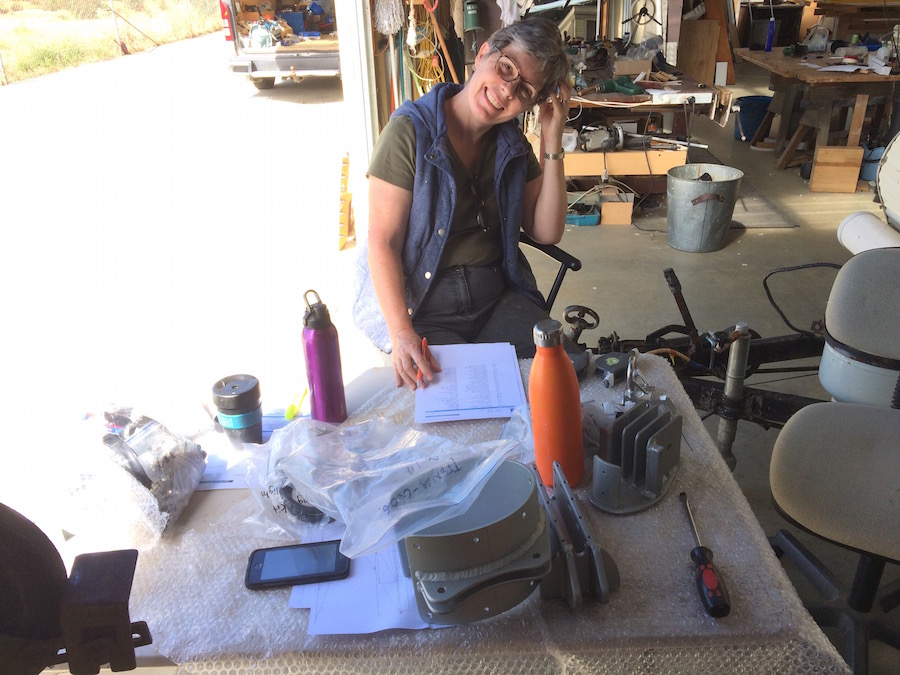
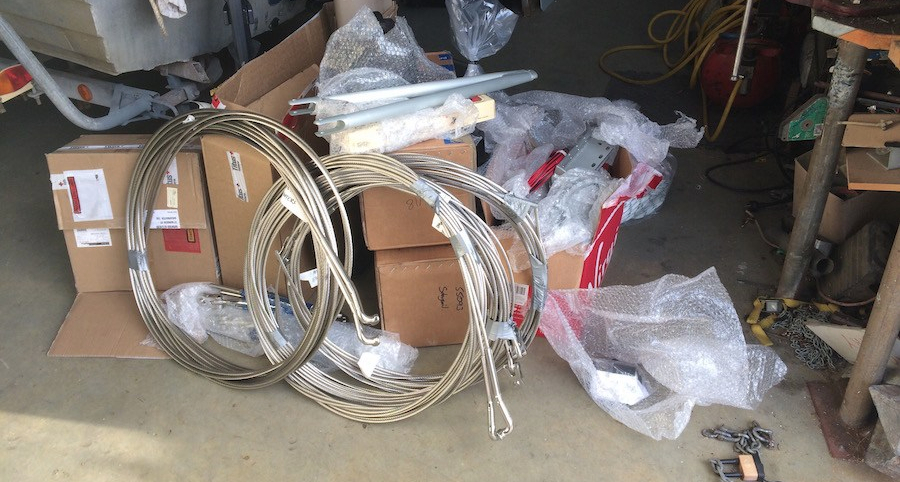
The Sarah design rig is, by modern standards, a reasonably simple one. Even so, the parts list is five pages long. It took us most of the day to reconcile the hundreds of components that arrived. Our rig is not assembled. We saved several thousand dollars by electing to assemble it ourselves, so it was worth the time to familiarise ourselves with the components.

It must have been such a relief to get the rig!
LikeLiked by 1 person
Yes indeed! Another step closer to splash day. Just waiting for the winches to arrive (should be in the next week or so) and all our deck gear and rigging is assembled.
LikeLiked by 1 person