
“If at all possible, avoid building your own deck hatches. Install pre-manufactured ones…”
Well despite this rather excellent advice given to us by Gary, a fellow Sarah boatbuilder, we have spent much of the last two weeks doing exactly that… building hatches. And yes, they have been every bit as fiddly and time-consuming as he warned.
Actually, there will be a total 10 deck hatches and all but one will be shop bought, so Pete was happy to build at least one proper hatch.
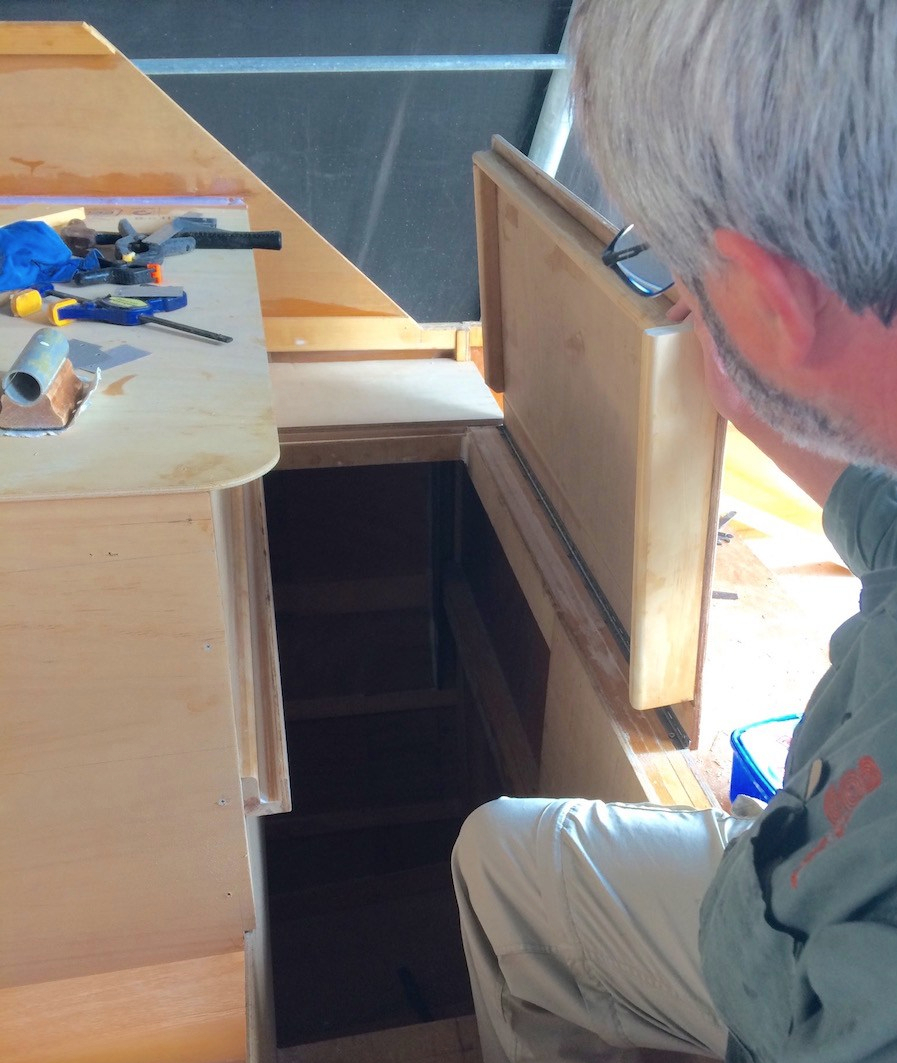
Ideas have consequences and our decision to buy two fold up bikes, meant we had to build a garage for them.
We needed an opening large enough to accept the bikes, remain watertight & safe, and strong enough to also serve as the primary access step into the cockpit. Actual storage space was not a problem, the cavity is huge, around 500mm wide by 1.9 meters deep.
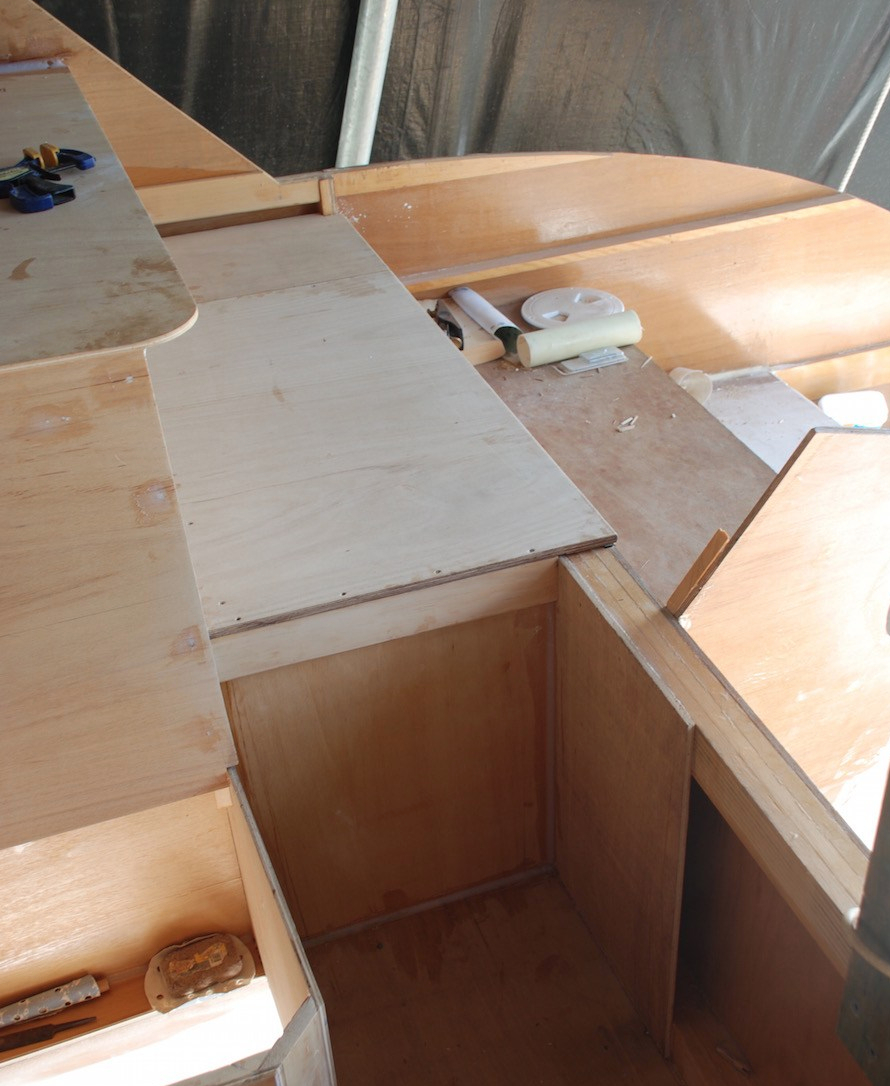

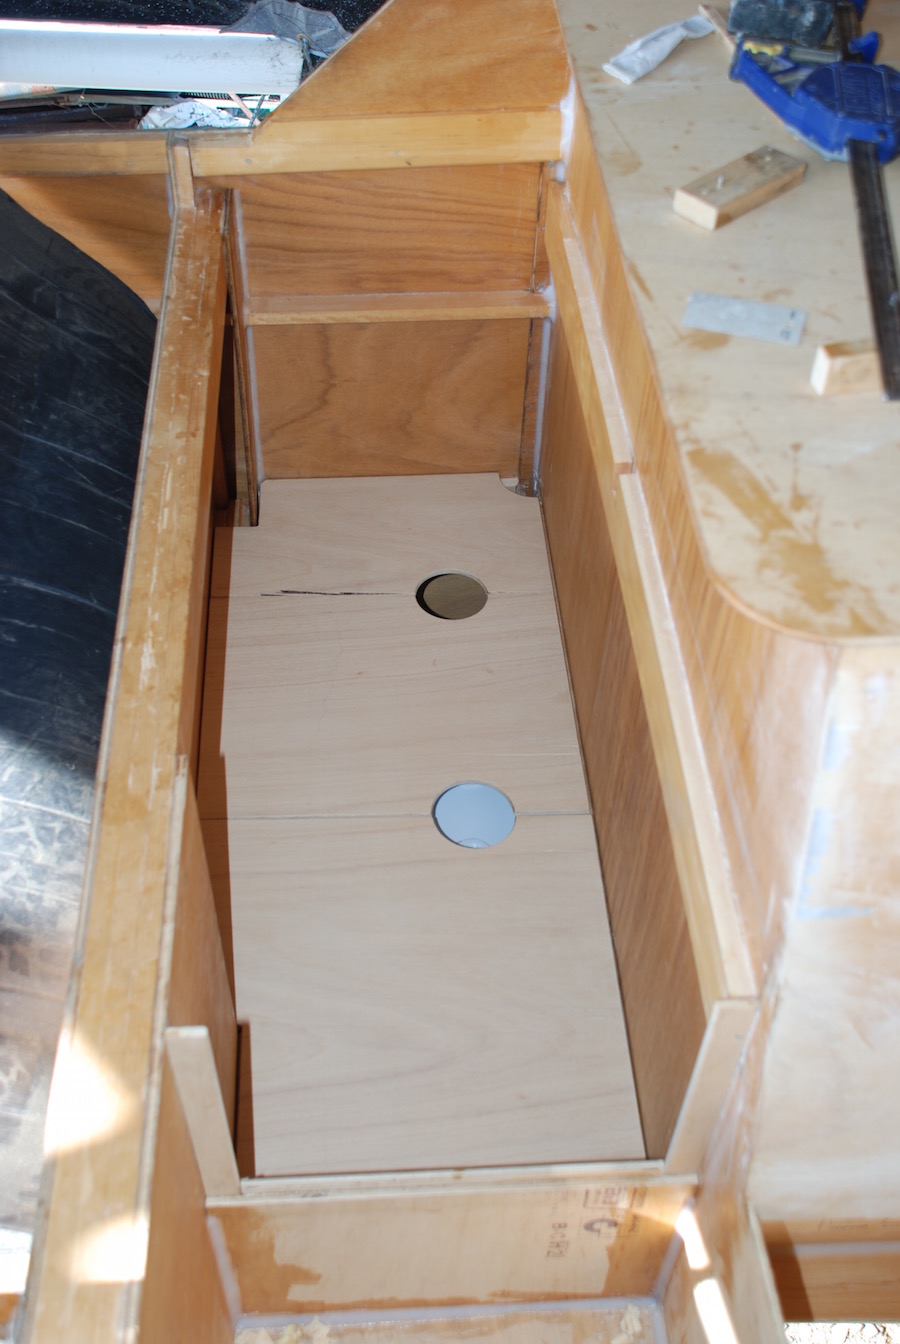
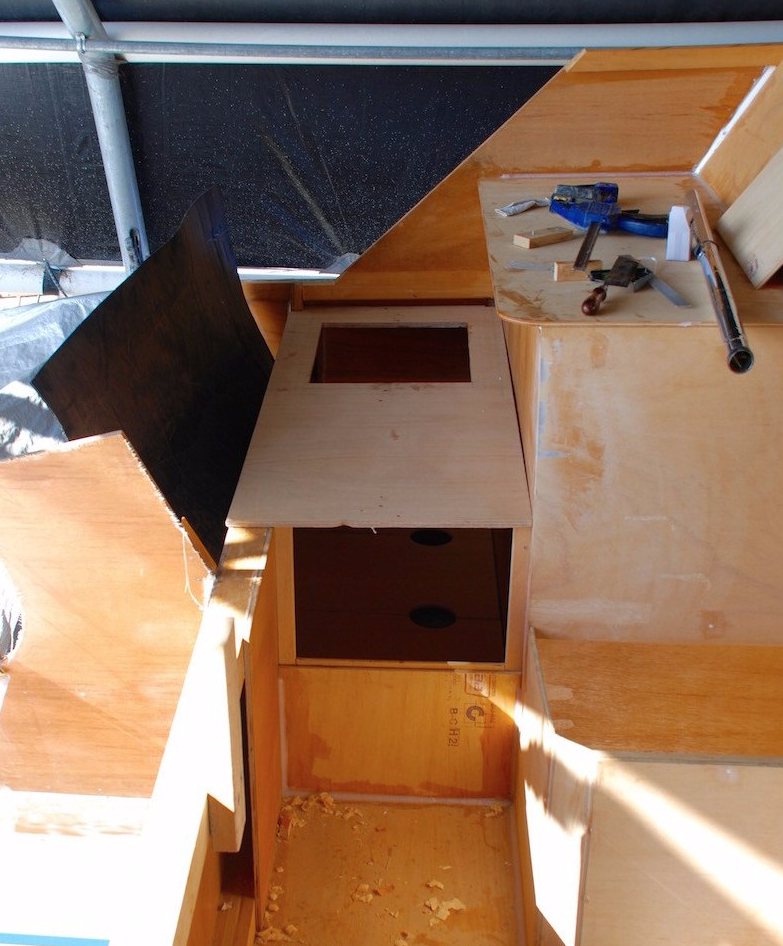
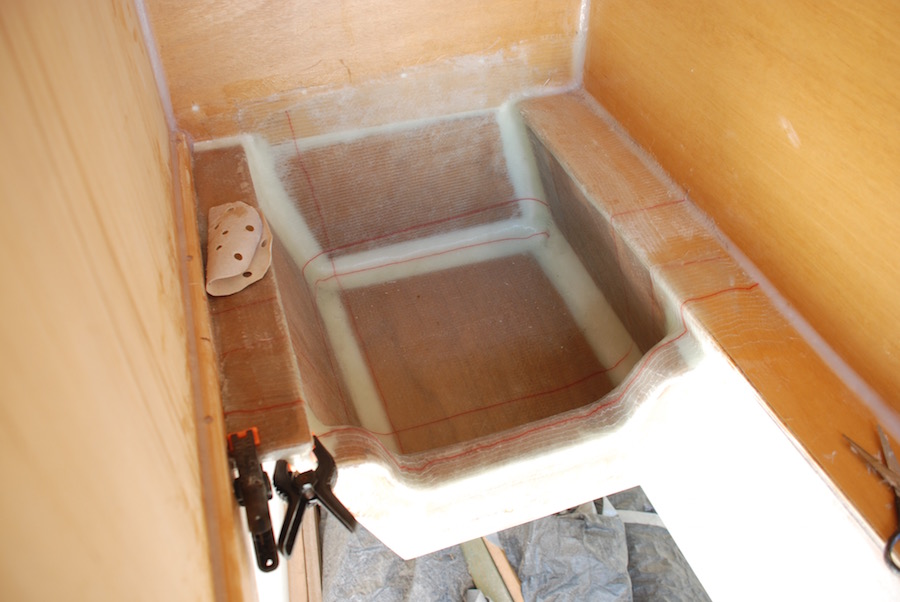
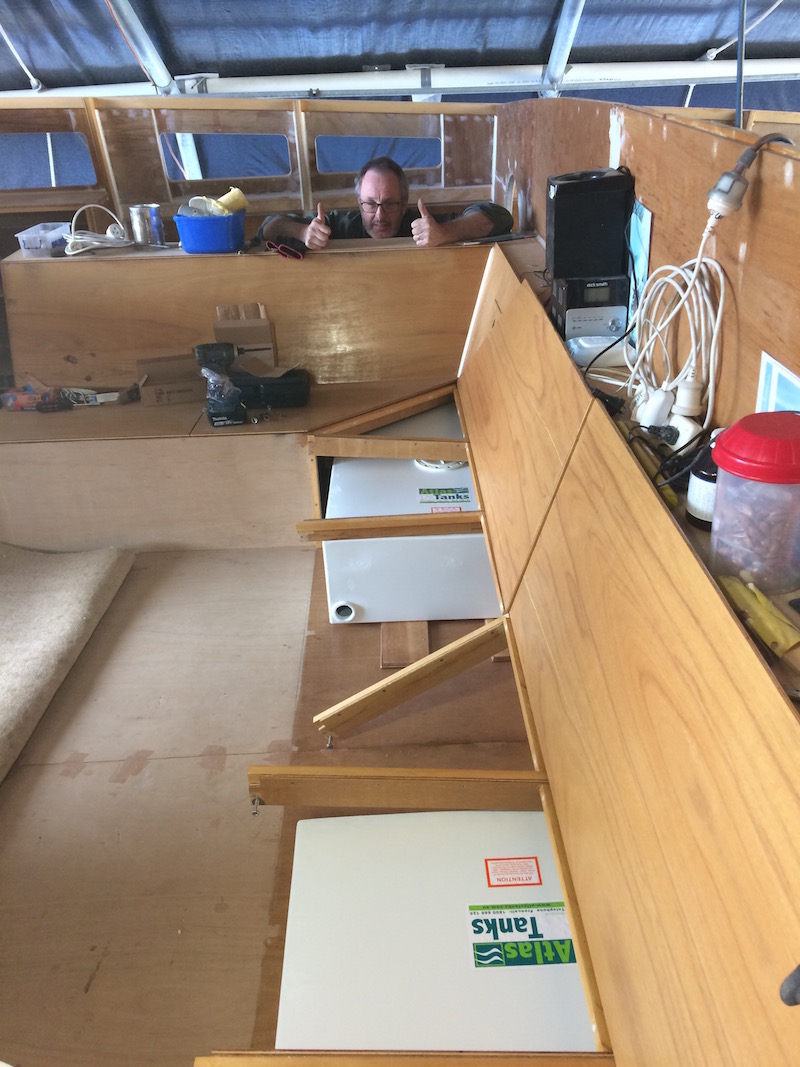
On the opposite port side, we have installed the holding tank. This space backs onto the main bathroom and toilet. We have designed the waste arrangements to be as simple as possible. The tank is drained by gravity, and by leaving the ball-cock open when underway, sluiced clean by wave action, as it is mounted on the waterline. The sea-water inlet for the toilet will be positioned here as well. This way if either the water or (God forbid!) the waste plumbing fail it will be contained within this sealed compartment.


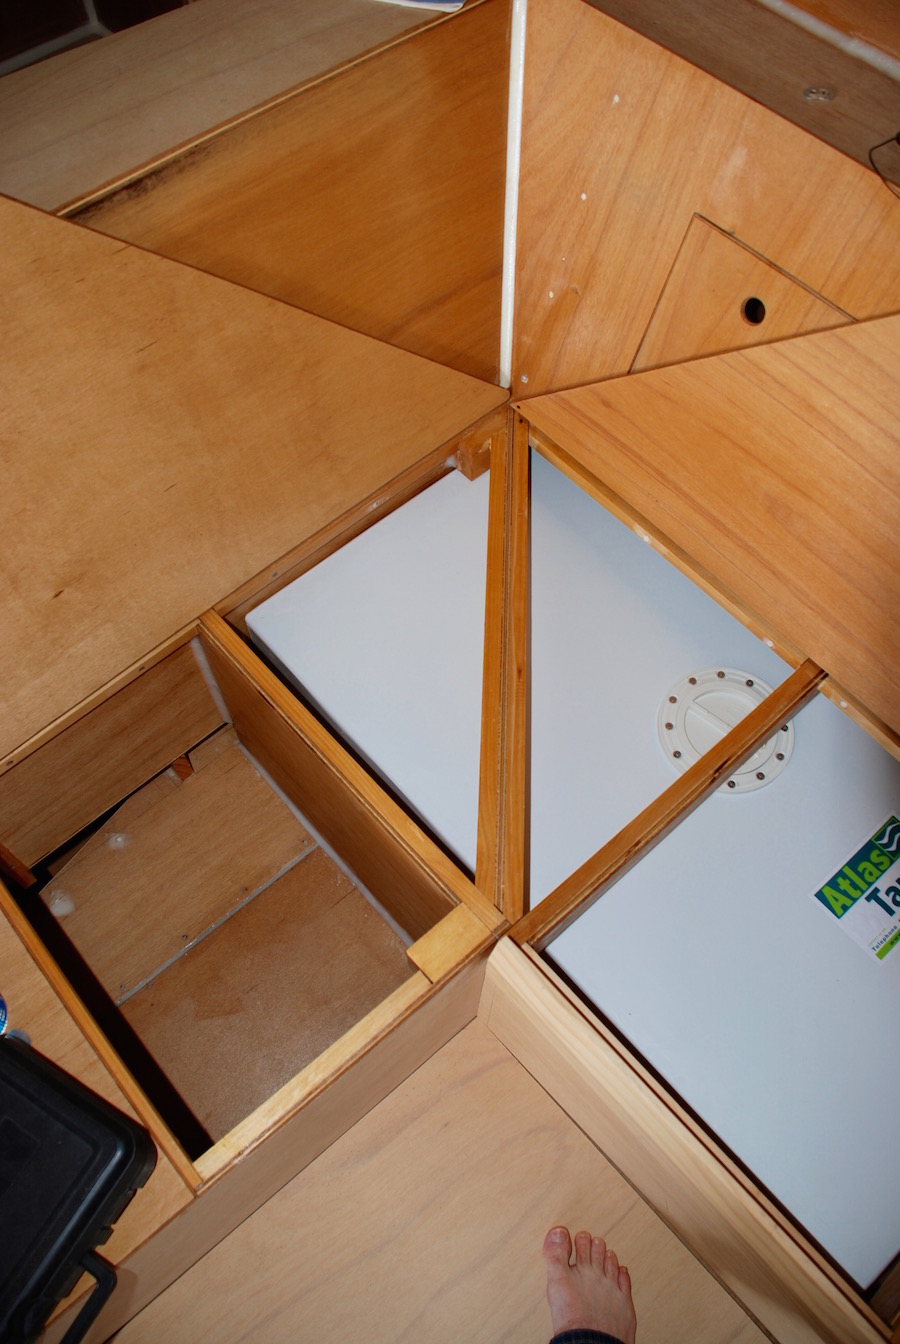
On top we have fitted a false floor, that can be removed at any time for access. This results in a rather large locker that will be accessible by a deck-hatch above (shop bought) and a small side hatch. This is probably where we will store life jackets, and maybe wetsuits and swimming gear.
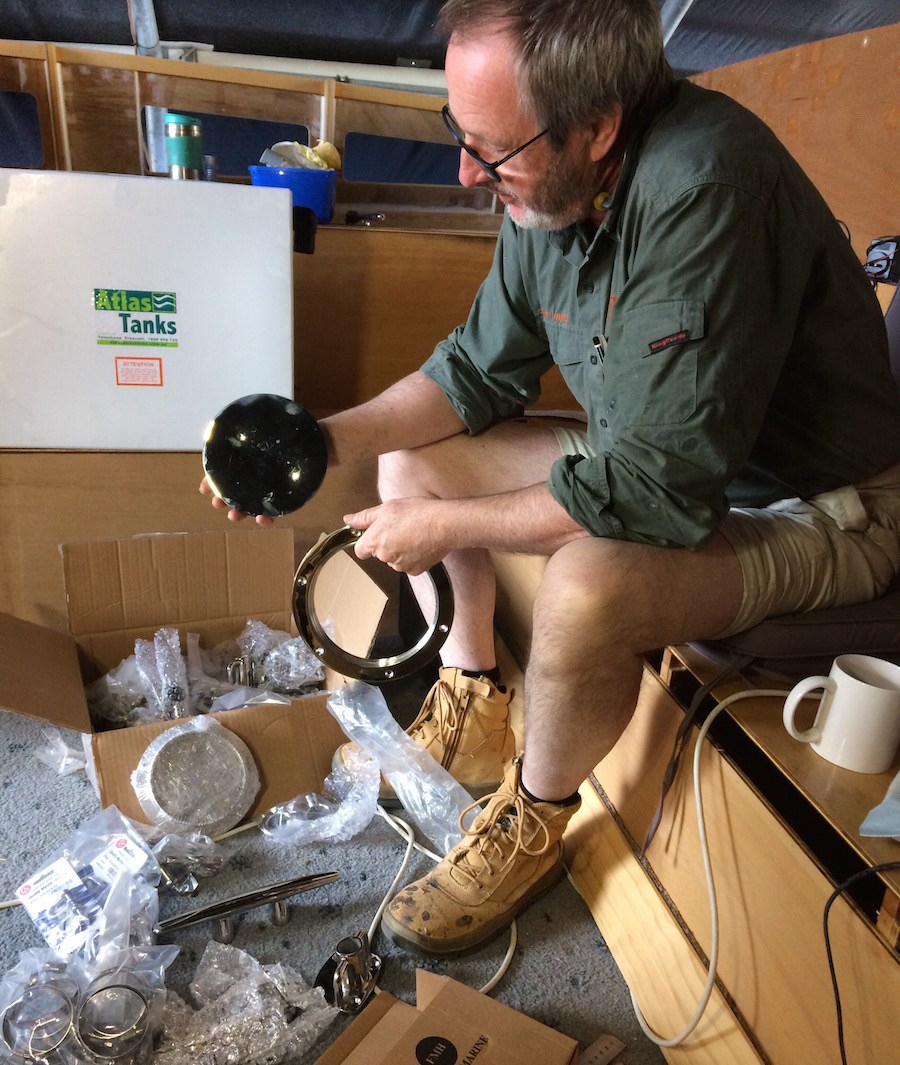
We had some excitement this week when our bulk order of stainless steel fittings arrived. Cleats, hinges, deck plates, and all manner of shiny things. It was fun checking it all out.
Another big job was ticked off the list this week. Deb did an outstanding job, fiberglassing the outboard motor pods. The designer has specified a total of 1600 gsm thickness here, a massive layup: the thickest in the whole build. She used 450gsm double bias for its structural rigidity. The outboards have been ordered, and we expect delivery in the new year.
The main water tanks are also now in place. It was a heart in mouth moment as we offered them up. The clearances are pretty tight under the saloon seating. A heck of a lot of thought went into these things, and we are especially pleased with how it has worked out. The system is designed around two 150L tanks, with room for another 100L tank if needed.

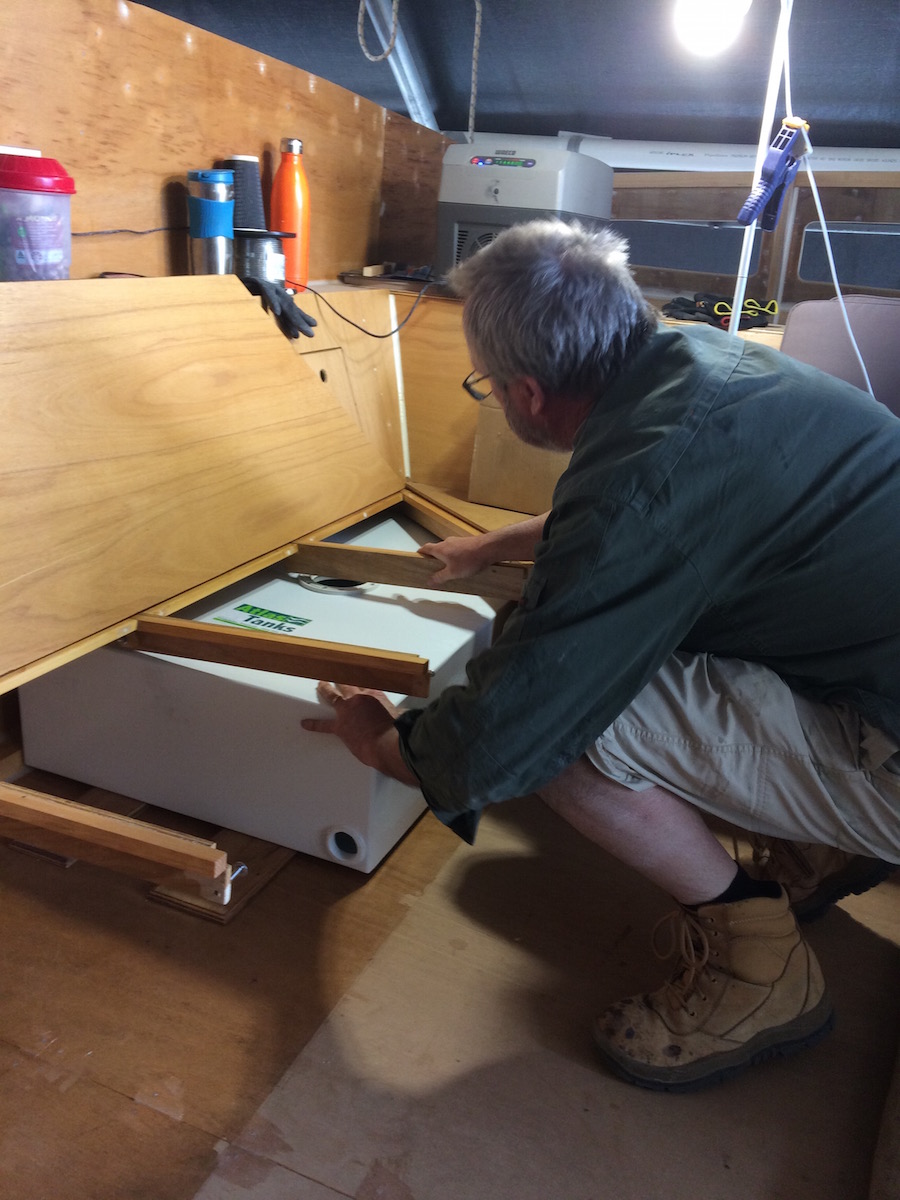
The tanks will be interconnected by a balance pipe fitted with a ball-cock tap, but will mostly be run as two separate systems, with its own inlet and breather. Each will have its own pump, one to port for the bathroom and shower, and one to starboard for the kitchen and guest ensuite. The pumps will be gravity fed, in an effort to avoid random pump “cycling”, which can occur with top fed pumps. Either pump will be able to feed the whole system should one fail.

I appreciate you sharing some tips and steps on how to build your own hatches, tanks, and outboard pods. It’s good to know that you could actually build a watertight hatch that is mostly made of wood. The finished product looks absolutely beautiful. I wish I could build the same in my own boat. But for now, I’d probably ask the help of a professional to be the one to build a watertight hatch for me. Thanks.
LikeLike