
Well we are entering our third winter for the build, and it has arrived with typical north-west coast enthusiasm. Westerly fronts are punching through with gale force winds every nine days or so, followed by a period of calmer north easterly winds. These are the conditions Bass Strait is infamous for, and we often marvel at the skill of the old Bass Strait Ketch sailors who worked these waters before the advent of weather forecasting. There are not a lot of safe harbors along this unforgiving coast. Many are little more than narrow rivulets, with shallow bar entrances and strong currents. How they navigated these in their 60 ton engineless vessels, often with only a couple of crew is a mystery to us.
Under our open-ended shelter we are more comfortable than previous winters, as we are currently focused on internal work, and the boat provides us some measure of protection from the chilly winds.
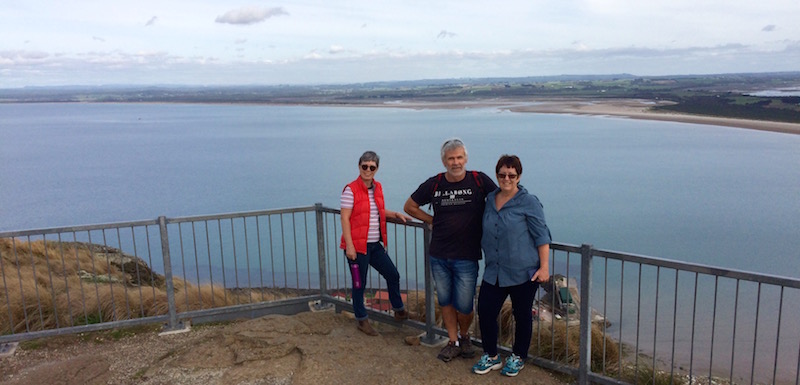
We have treated ourselves to a couple of days off from the build. One with some friends Tony & Bec, from our Alice Springs days. We took a trip to Stanley and climbed the Nut, and enjoyed showing them the sights.
We also did a one day trip to Hobart to pick up some deck hatches and a transducer for our navigation system. It was a treat to see catamaran Take It Easy in Constitution Dock, as we drove past. She is the original 11.6 Easy catamaran, the model before ours, and shares many principal dimensions with the Sarah design we are building. Chris & Wade are live-aboards, and publish a blog of their adventures. We are big fans, and couldn’t resist calling in to introduce ourselves. They were in Hobart taking an R&R break from their circumnavigation of Tas and graciously shared an hour with us, while we plied them with questions. Take It Easy must be the most widely traveled Easy around and their blog has been a lifeline for us when we have needed inspiration.
Heres a link to their blog: Back to civilisation
Back at the build, the countdown to paint-day is definitely on.
The major woodworking and filleting in the master bedroom has been completed, with the fabrication of the bed frame, and steps.
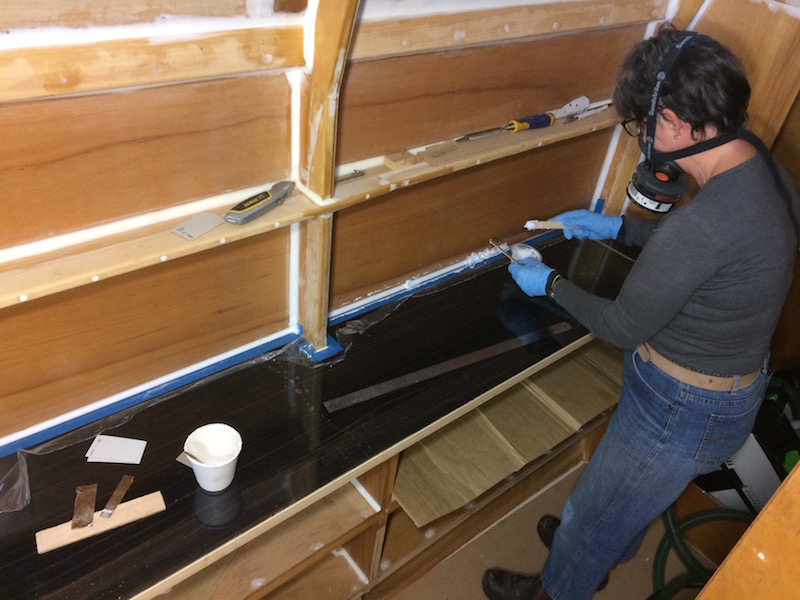
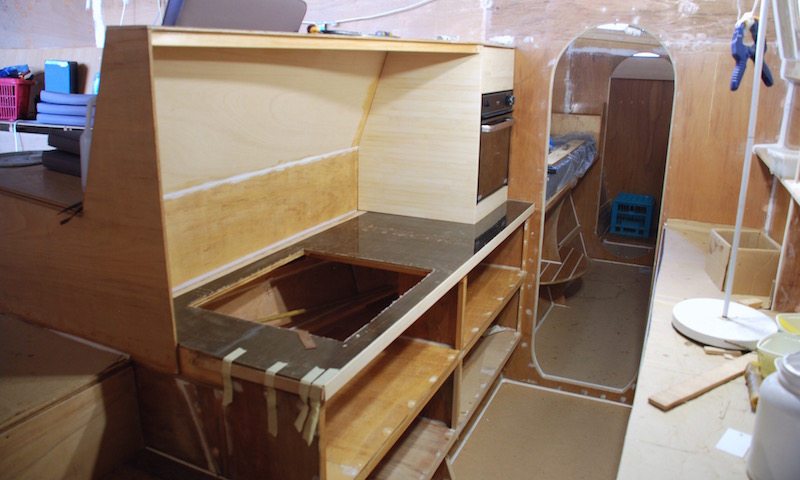
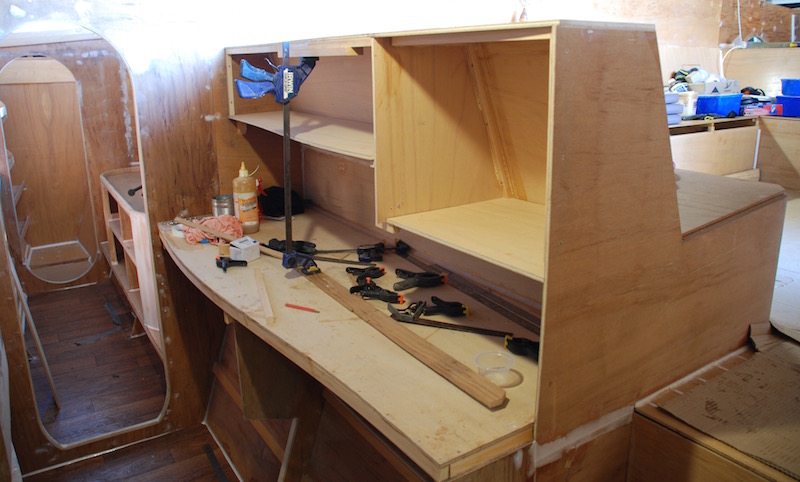
It took Deb two days to bond the galley bench to the hull. It turned out to be a difficult job. The bench top doubles as a hull strengthener, so it had to be a strong structural join without spoiling the laminex benchtop. We had previously reamed the laminex back to provide a ply bonding surface. She then used painters tape to protect the laminex, and laid down a thickened glue bond, followed by a fairing compound and sanded it smooth.

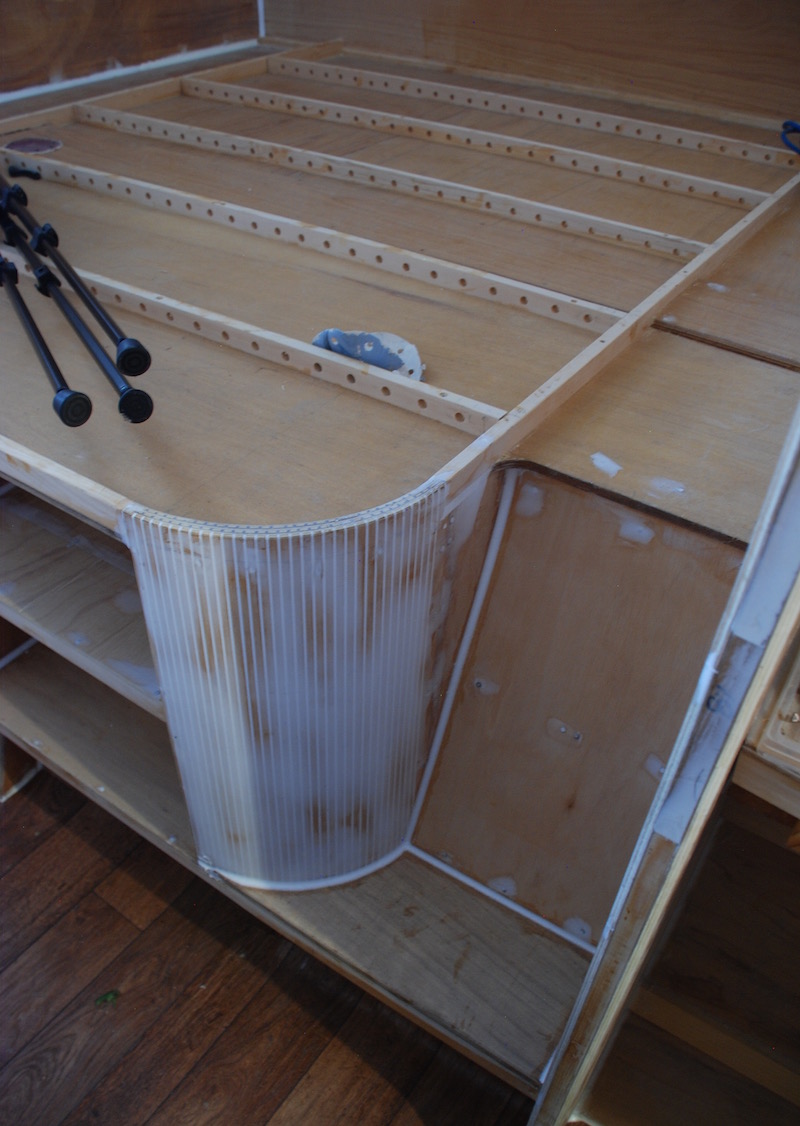
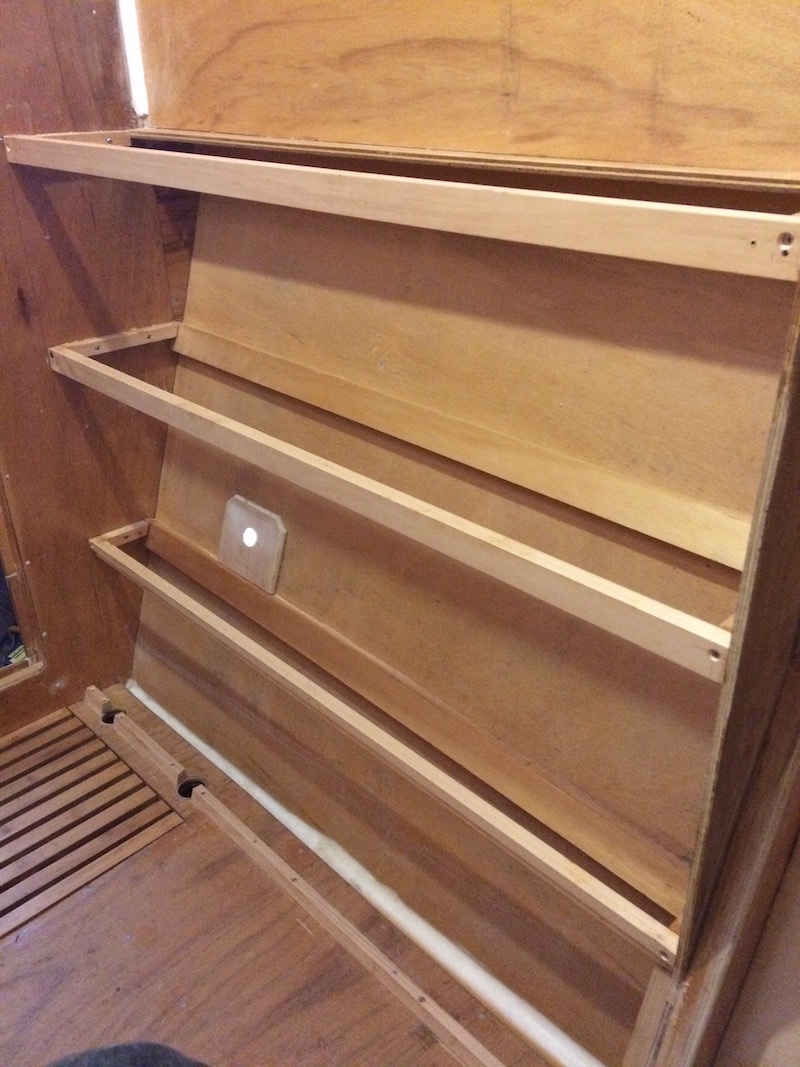
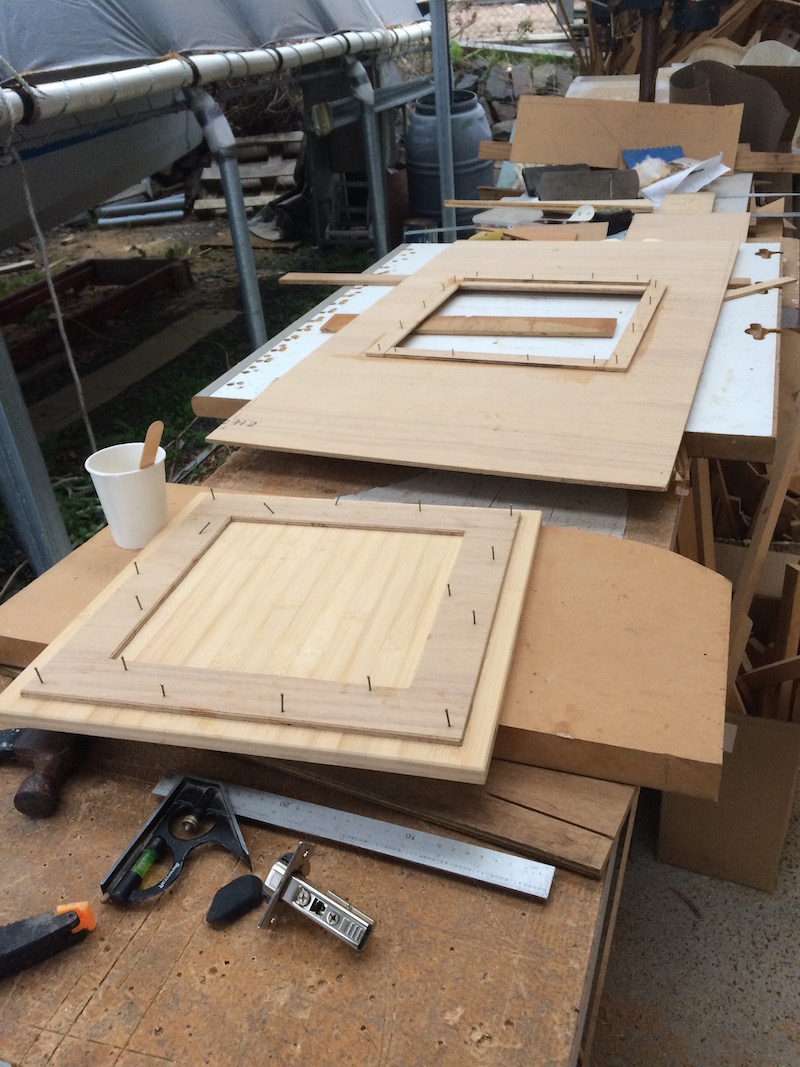
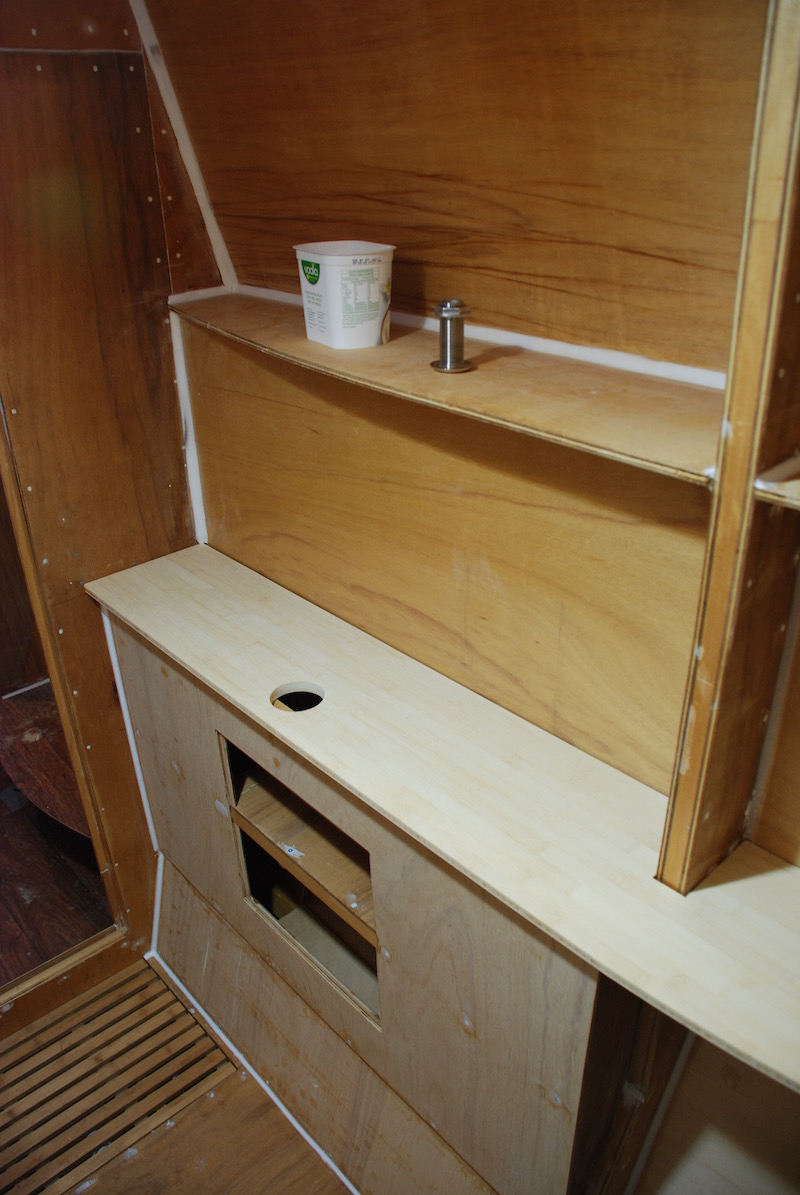
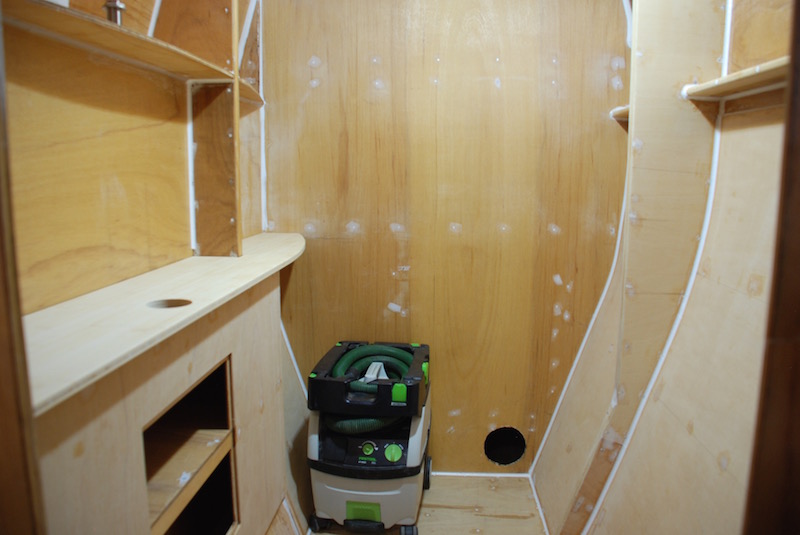
Meanwhile Pete started on the bathroom cabinetry. We had spent a lot of time talking about the bathroom. Its a good sized space and we were keen to keep it as open as possible, with the minimum of clutter. This was one of the reasons why we chose not to install a washing machine here. If the budget allows, we plan to add a glass screen to separate the shower compartment from the toilet. If the glass quotes are too high, we will use a curtain, but we have built provision for a glass screen which can be added later on.
We have been fortunate to secure the services of a plumber who is willing to fit and certify our gas galley. Under new regulations, gas fitters carry legal liability on installations they certify indefinitely. Not many are willing to take the risk. Last week, we arranged for him to come and do first-fix and confirm our layout. All went well, but he has stipulated that due to the close proximity of flammable plywood, we must install non-flammable linings in the area surrounding the cook-top. He was, however, happy with our plans for the oven, so after he left we were free to go ahead and install it.

The last major internal fabrication is the office / navigation / electrical switchboard area. Here we have decided to follow the conventional layout, as suggested by the designer. This places the switchboard close to the battery bank, which is installed under the adjacent saloon seat.
We have been on a bit of a shopping spree recently. As well as the transducer, we have purchased an external rinse – shower set, main pressure pump, hot water system and a B&G Vulcan chartplotter. Another important acquisition in the “happy wife” department, was our new mattress. We decided to give the Koala mob a go for a couple of reasons. Firstly, at 32 kilos it was significantly lighter than a sprung mattress. Also, as it is a foam laminate, we should be able to sculpt the corners to match the rounded bed end. Koala’s USP is the ability to return the mattress within 120 days if unhappy, so time will tell if the reality matches the hype. We’ll keep you posted!


Hi Pete and Deb – it is so good to follow your progress. We learn a lot about the build – without the hard work! Thank you for your very kind comments and link back to our site. It was such a nice surprise to meet you in Hobart. We are glad the posts encourage you to keep going and give you an insight into what you are working very hard for. It is so worth it!
LikeLiked by 1 person