
I can’t believe its nearly a full month since we finished external paint. As I write this it’s hard to work out where the days have gone, but a lot of fiddly jobs have been tackled, as well as finishing up internal paintwork. I have learned that the days between big jobs can be swallowed up in a myriad of admin and preparation tasks. Little “catch-up” jobs that are postponed during the busy times, but need to be completed to advance to the next stage. My nickname for these times is “changing of the guard”. Usually, it involves sourcing materials and tools, making lots of calls or eBay purchases, dismantling jigs or templates (or building new ones) and other project management work. An example of the sort of job that can at first seem fairly straightforward, but actually turned out to be very time consuming (and expensive) was purchasing all the stainless nuts, bolts, and washers. Purchasing piecemeal the cost is prohibitive. Buying in bulk reduces the cost but involved digging out all the relevant hardware from storage and calculating quantities and sizes. It took us two days and $300 to make up the list and purchase fastenings for the hatches, inspection ports, hinges, and sail tracks. So far we haven’t started on the winches and standing blocks. Unexpected things trip you up. We could not source the large diameter penny washers for mounting deck hardware, so they are literally on a slow ship from China.
Anyway, I don’t want to sound like we are complaining. It was actually a rather nice season as, for the first time, we could complete some finish-up jobs, that were deemed “done and ready” for launch day. Also, after the stress of finishing the external paint before the weather closed in, we allowed ourselves to relax a little and do some fun jobs, before heading inside to begin the last dreaded paint job, the interior.


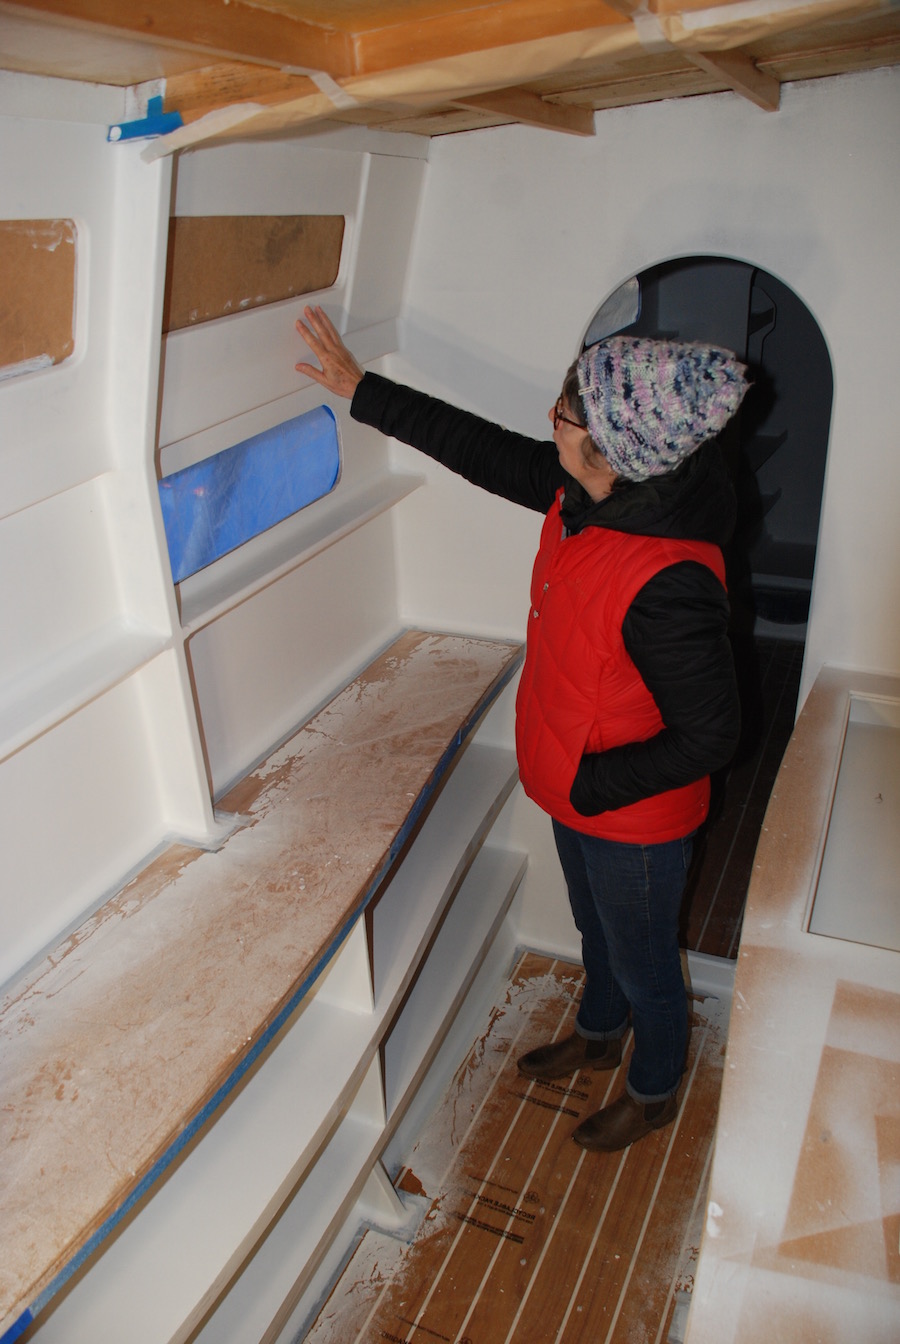
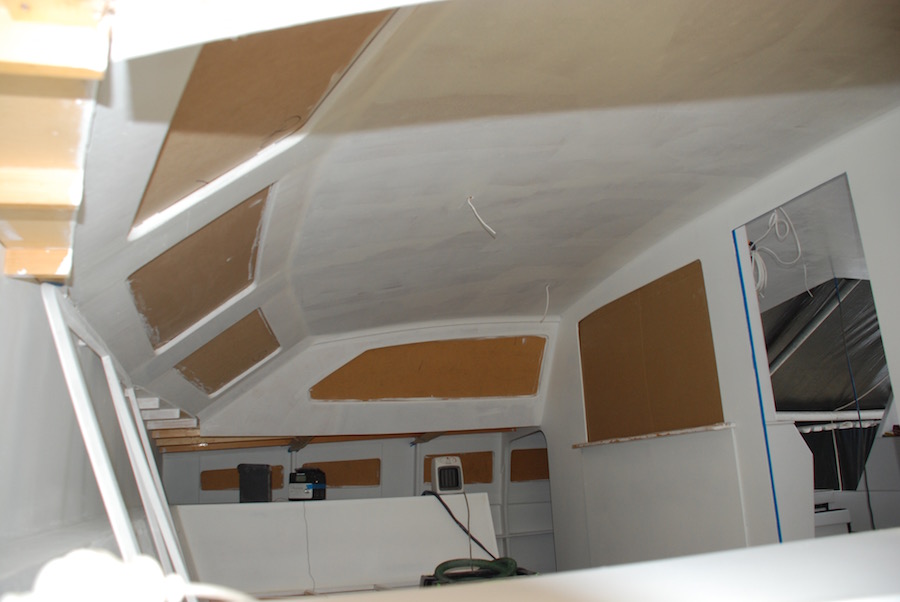
Eventually, we had to bite the bullet and make our way inside to finish up painting the interior, a job we tried to do 12 months ago, but were unable to complete, due to weather conditions. This time around, however, we have a lid, so by blocking the openings, we were able to use heaters to make the conditions right for painting. I took the opportunity to make templates for the side windows (that will later be used to cut the polycarbonate sheets) and use them to block the windows. I also made the frames for the front opening windows.

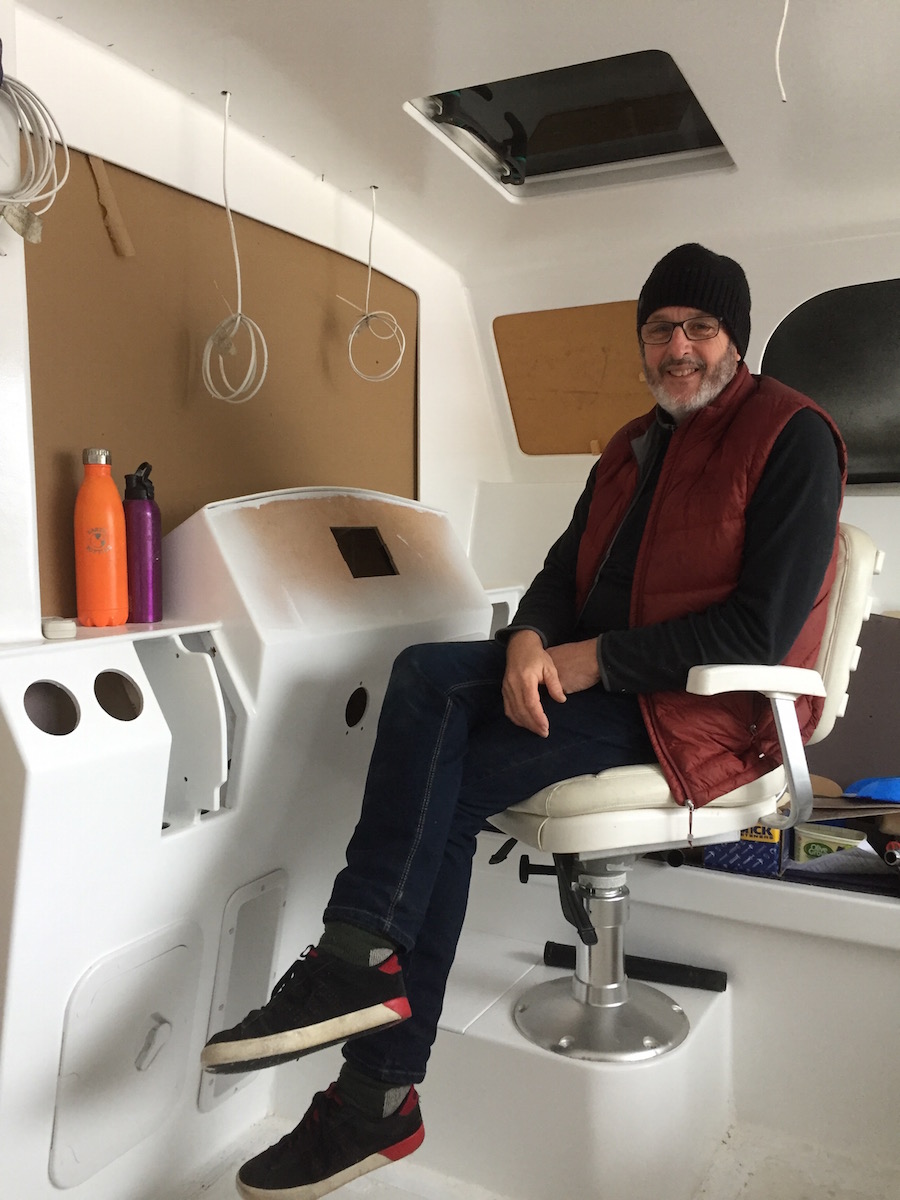
While this was happening Deb sanded and vacuumed all the interior surfaces and re-did the masking protecting the varnished floors and benches where necessary. Then there were no more excuses. We donned our hated face masks, mixed up more epoxy 2 part paint and armed with rollers and brushes, dove below to begin the last big painting job.
At the time of writing we are still only part way through, but expect to be finished by the end of next week.


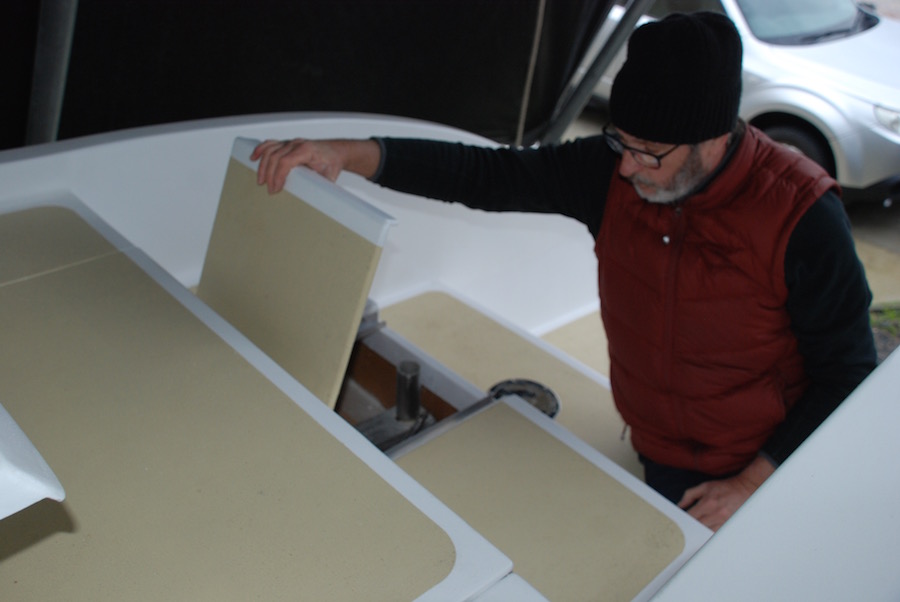
While installing the deck hatches we had a happy but unexpected change of plans. The photo below is the hatch for the large storage locker situated between the sleeping cabins. Originally I had planned to use a secondhand hatch, which proved unsuitable. Russell, our brother and landlord, was visiting when I broke the bad news to Deb. Large deck hatches cost around $600. Russ quickly offered to make a traditional timber hatch for us, saying he would like to contribute to the build (as if he hadn’t already). Selah is being built using contemporary methods, all surfaces sealed with fiberglass, epoxy and/or two-part paints, with very little bright-work (varnished timber). The more we thought about it, a beautifully varnished hatch was a perfect way to pay homage to her Tasmanian origins, so we gratefully accepted Russ’ offer.


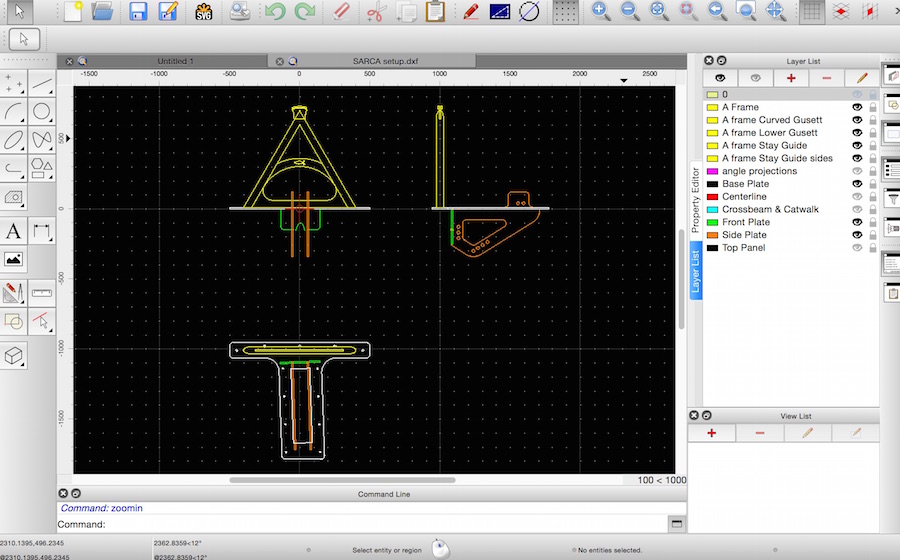
Another ongoing job has been sourcing our metalwork. There have been challenges. Peter Snell, the designer provides drawn plans, but it seems local metalworking shops have largely transitioned to CAD/laser cut processes, and are not interested in hand cutting small jobs. I decided I needed to buy a CAD program and teach myself how to use it so I could provide digital files for all the components. The chainplates and emergency tiller bracket were fairly straight forward, but the anchor retrieval componentry was more involved. I based my plans on an existing design by two Easy builders, James Coomer (Pure Majek) and Chris Guthry (Outback Dreamer), but with a few modifications for our situation. James has published them in his book, A Catamaran Building Adventure.
Once I have checked (and triple checked) the dimensions, I’ll send them off for laser cutting, then deliver the components to a local welding shop.

Looking so good Pete and Deb!
LikeLike
I can imagine what it feels like and if it’s anything like when I painted my hulls id be crying like a baby. Super happy for you.
LikeLiked by 1 person
Yep, its a good feeling Dean. Thanks for your encouragement. Just a few more days of painting and we done below. Then it’s the windows.
LikeLiked by 1 person
yeeees! beautiful work
LikeLiked by 1 person
Thanks Selvin.
LikeLike