
Now that we have returned from Alice we are focusing on completing the internal fit out in preparation for painting.
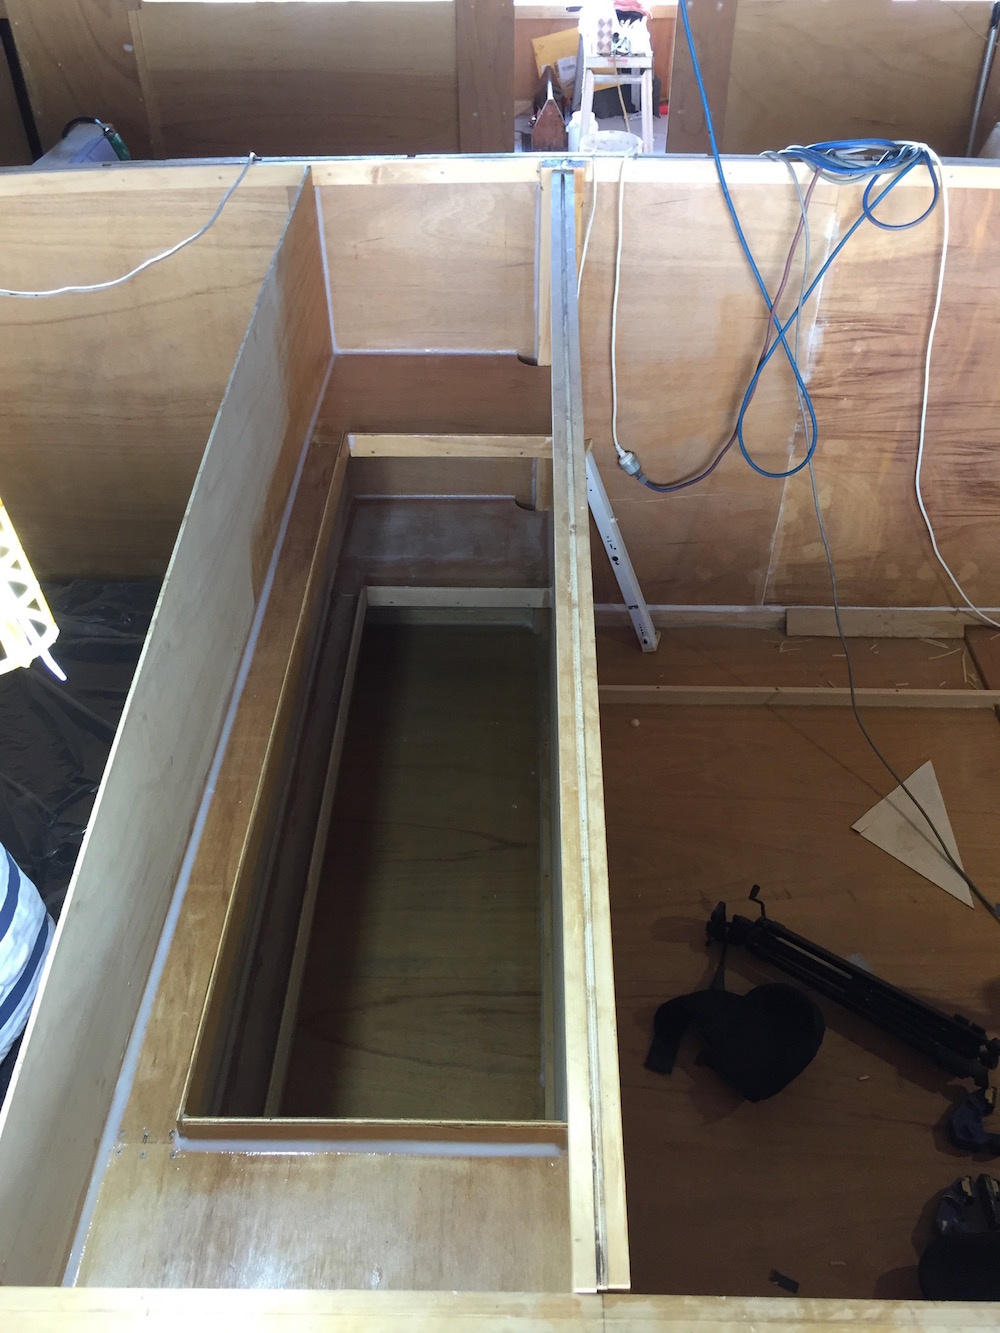
First cab off the rank, was the bridge-deck storage space. This will be accessed from an overhead deck hatch. Two levels of shelving were filleted in place, which also served to stiffen the partition with the adjoining guest cabin.
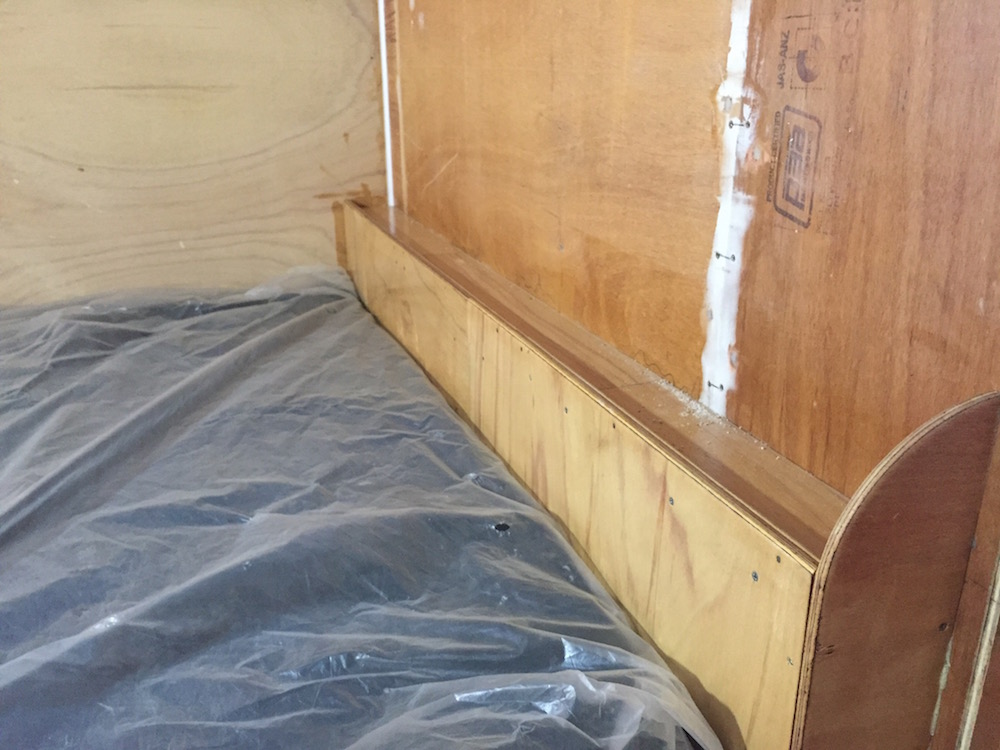
After that, we moved into the guest cabin, and fitted mattress fiddles, foot locker and the access step. Other than a padded bed head, which we will make off-site and fit after painting, this cabin is complete.

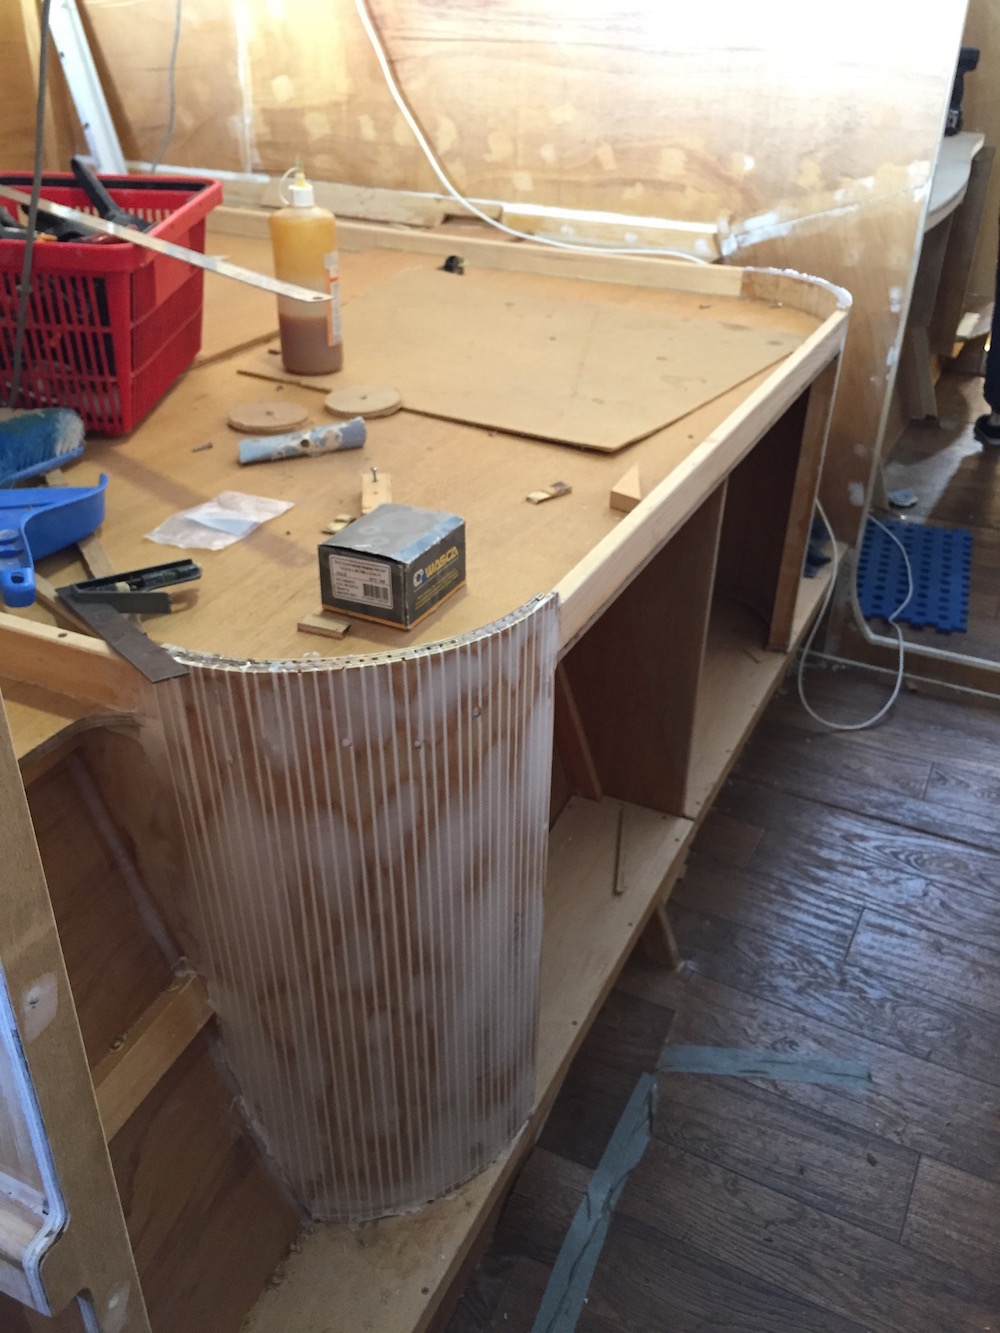
The mattress in the master cabin is positioned athwartships (sideways). This creates an island-bed configuration, with a crawl space either side, allowing much easier access. A nice touch is to round off the corners that protrude into the cabin space. This decision added a few days to the build, as we worked out the best way to create the curve. Bendable ply can be purchased, and would have been quicker, but is not readily available in our area, so we just decided to go with what we had. We experimented by cutting groves in 6mm ply, in line with the grain and found that we could achieve the bend without splitting the ply, Then we filled the grooves with epoxy mixed with Qcell and sanded smooth. Time consuming: but very satisfying and we were happy with result.


We have become somewhat obsessed with weight. This may seem at odds with a cruising boat build, but we are aware that we have made some decisions (such as solid kitchen doors) which will add weight that needs to be pulled back elsewhere. Peter Newman, a local yachtsman who has built two catamarans, warned us “Be careful with the fit-out. It is easy to over-build. Too many lockers, too much detail. Keep it simple and light”. To that end, wherever possible we are using 6mm and 4mm ply for non-structural elements. That philosophy can be seen in the photo below of our shelving in the small storage cabin immediately forward of the master bedroom. By using lighter guage ply and wicker baskets we have kept the weight down to less than 2 kilo’s for the whole assembly.

As a rule we try to complete one area, before moving onto another. Sometimes however, there are times when we need to find a fill-in job, while we wait for epoxy or resin to dry. So we have begun lining the walls in various cabins, a relatively straight forward task that can fill in a couple of hours.


I must say I am excited every time you post as these are things I am looking forward to. We have a saying here in the States “ it’s easy to impress the public but it’s hard to impress a woodworker “. With 45 years in the trade I am impressed 🤓
Just curious what size bed is in the guest en suite ?
I will share a little preview of what I have in store later. I have a Silhouette if a Beaver that I will paint in random places. It will be the same color as the background but will have fluorescent filler added to it. In the day it will not show but at night it will pop out at you. I will post the pic of the Beaver on my blog.
Happy building!!
LikeLike
Hi Jim and thanks for your kind words. We are using queen size beds 2040mn x 1530mm. We are not installing any other bunks. Kids can sleep In the saloon. With all your grandchildren it is probably possible to put turn the forward guest ensuite into a sleeping cabin, but with obvious compromises. Your beaver silhouette idea sounds like a bit of fun!
LikeLike